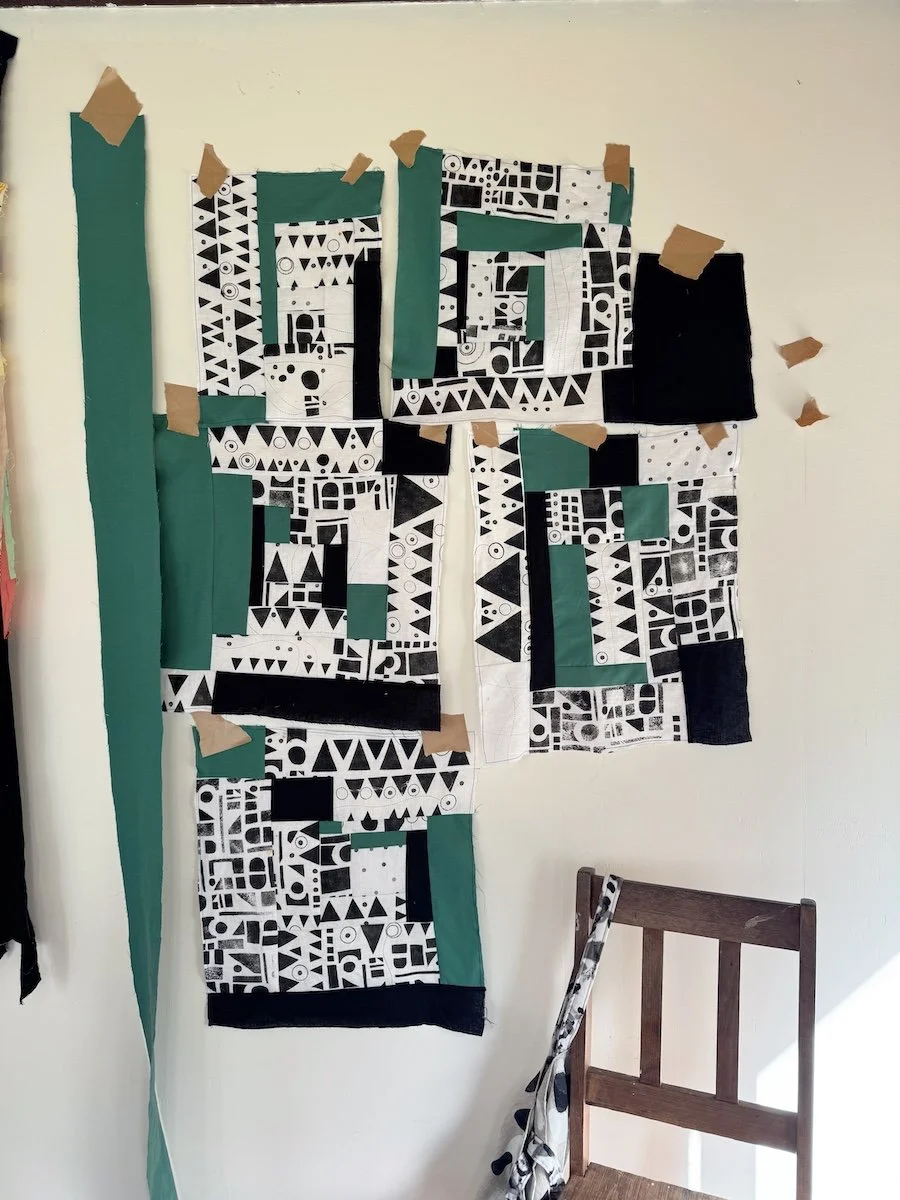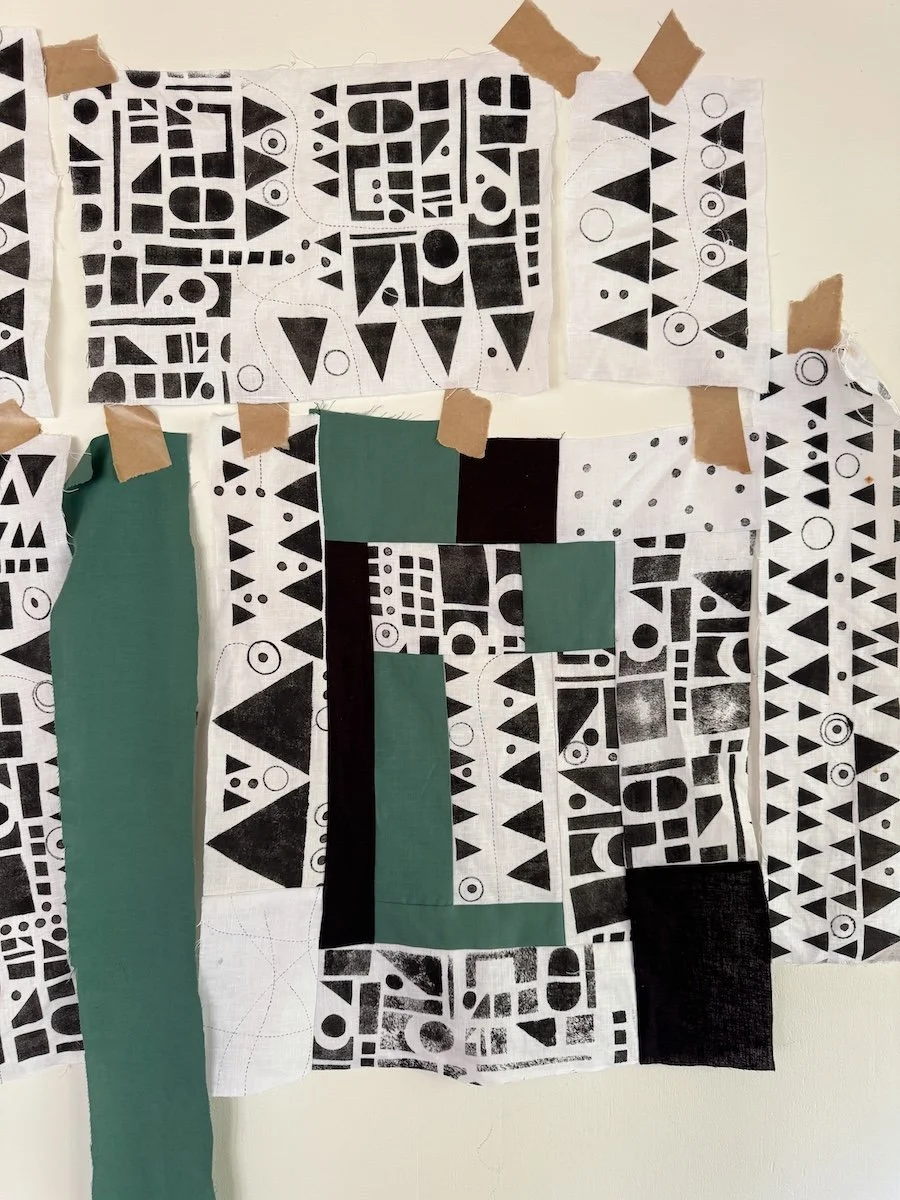
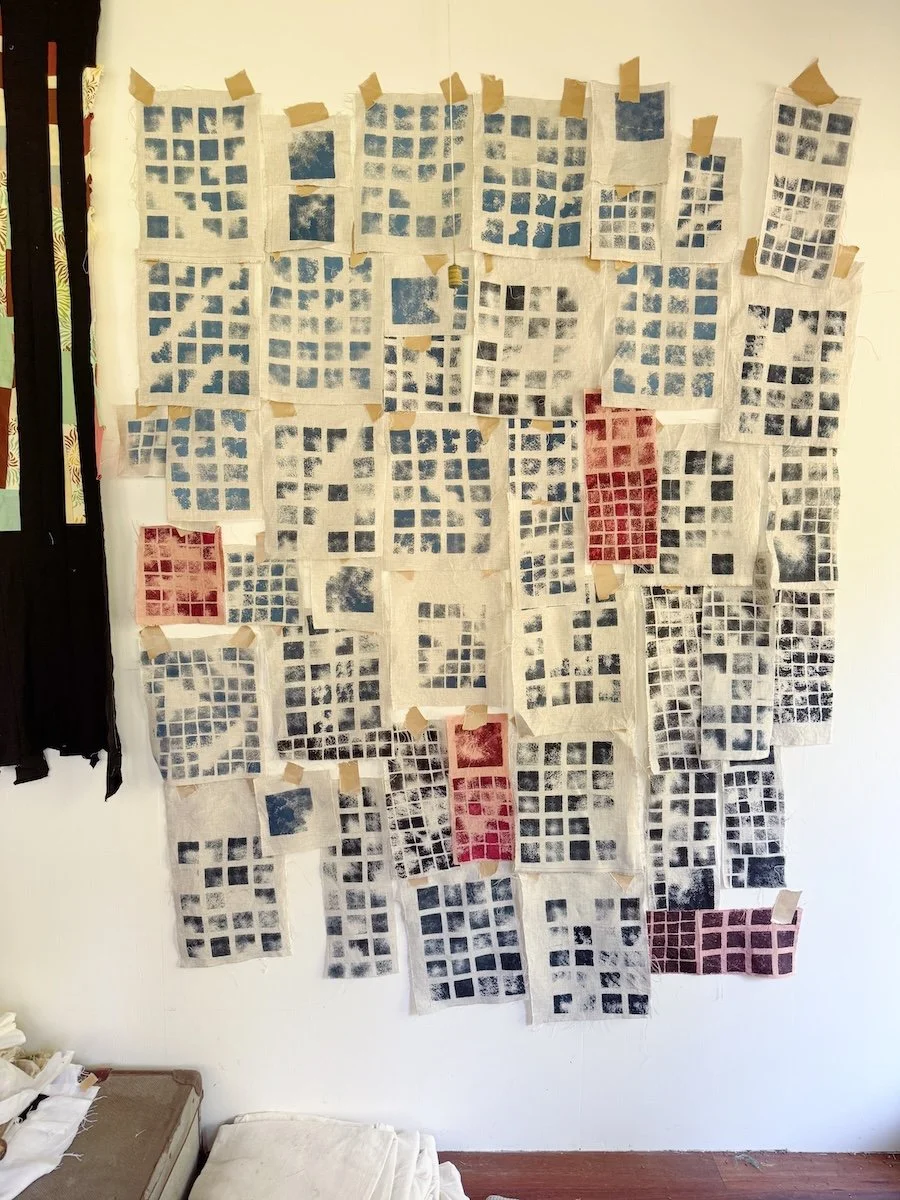
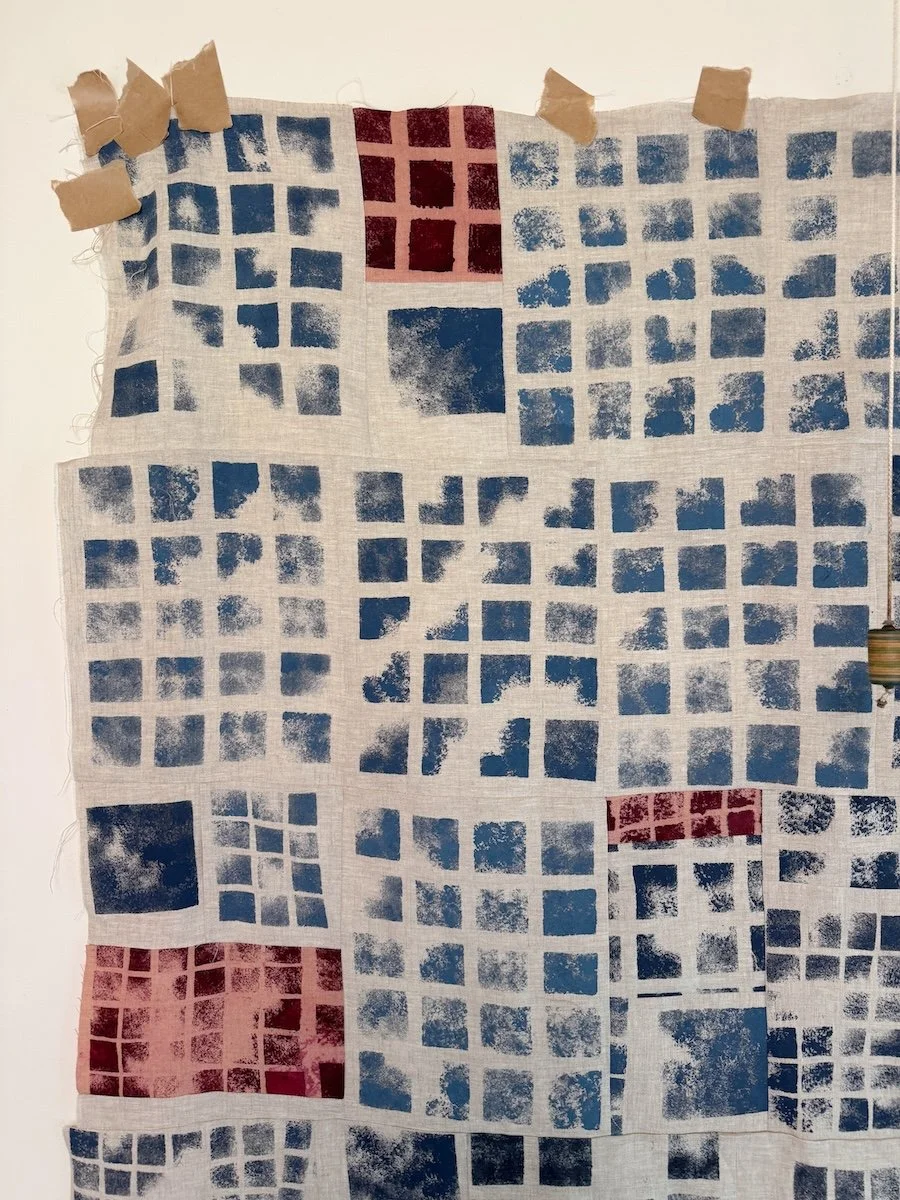
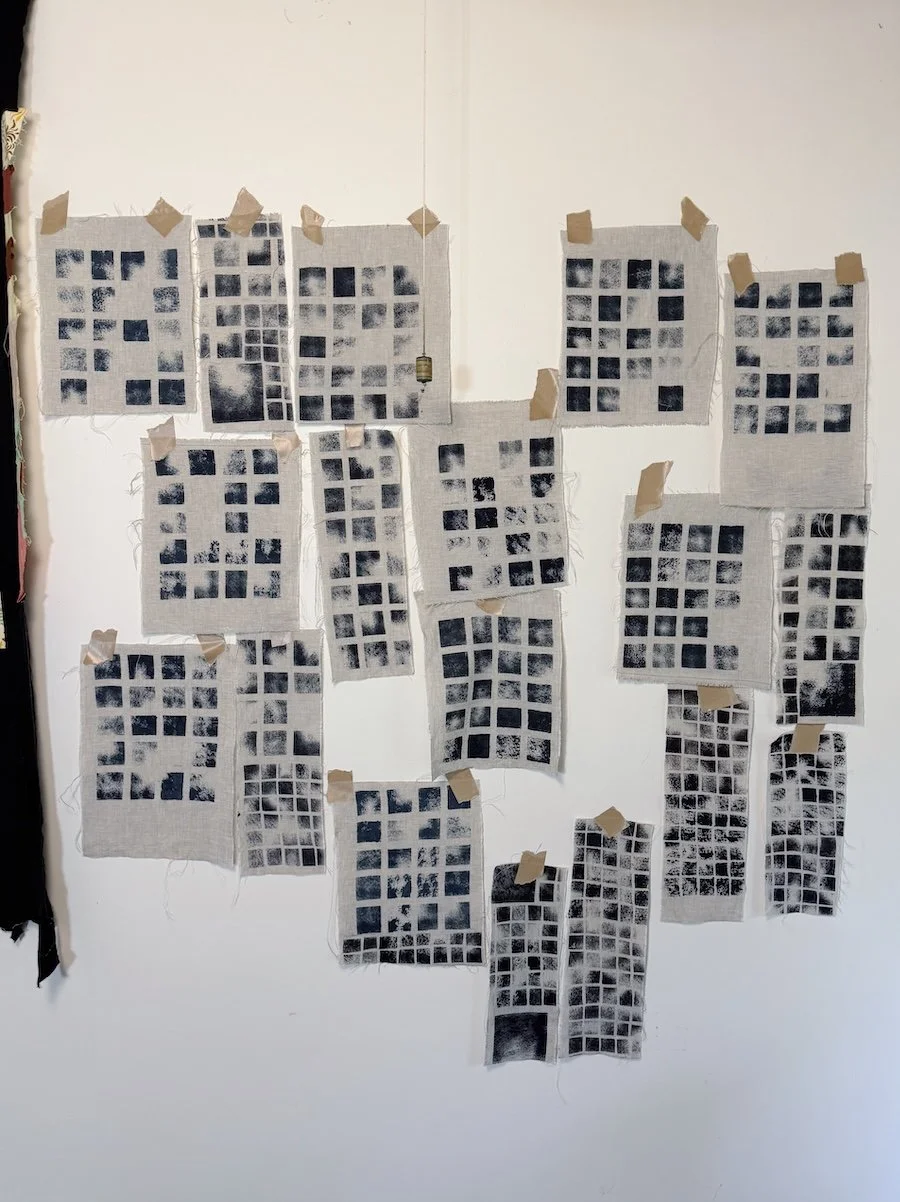
I’ve had these pieces of linen on my wall for the past week-ish. And just today I’ve finished sewing them into a quilt top. The design was hand stencil printed using natural indigo.
I’ll keep it on my wall for a few more days; as a way to decide if it needs some extra piecing. Or if it’s ready for the next steps. I’m not sure if I want it to be slightly bigger. Perhaps I might add a border of pink-ish or maybe a whole indigo-dyed fabric. Or perhaps I’ll leave it as is.
For the fabric I hand cut the stencil with rough squares in various sizes. I wanted it to have a ‘wonky’ feel, so drew the lines by hand, rather than perfectly measured ruler drawn. Of course, if you’re making your own for sure you could make the design very exact squares.
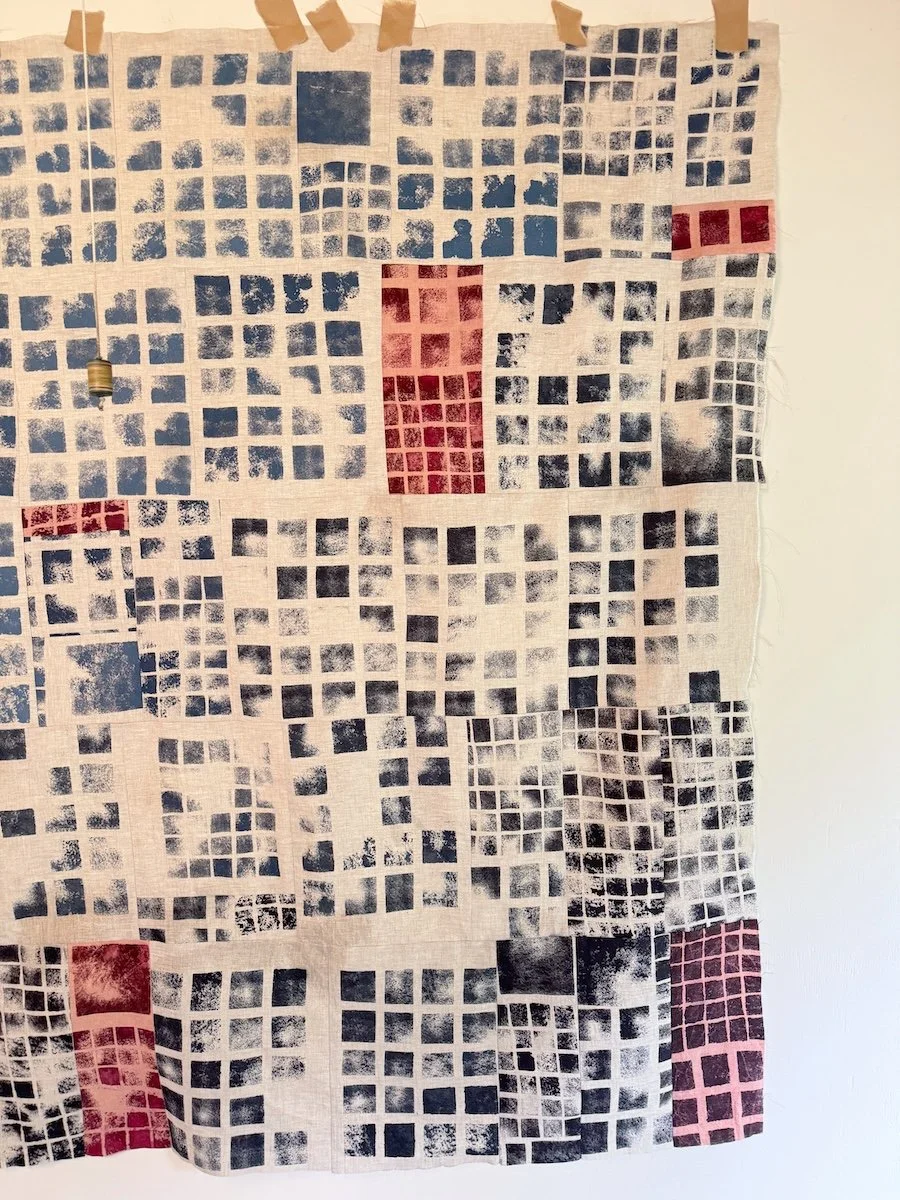
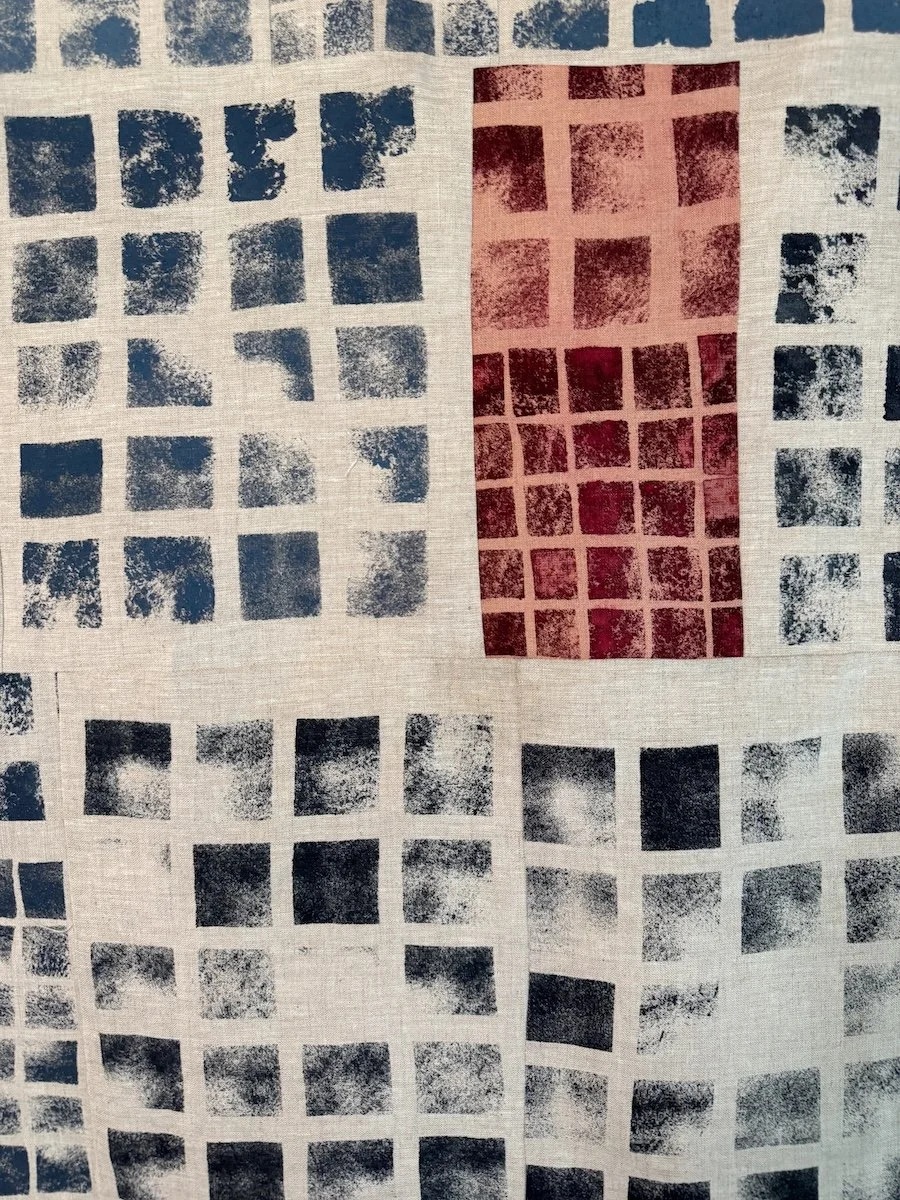
This quilt was designed in the printing stage, rather than the piecing stage. I wanted the hues to be lighter in one corner through to a darker blue. As my stencil paper is an A4 size, I cut the linen slightly bigger than this for the middle-size square design; which is the main design component of the quilt.
I decided that there would be only a few of the larger squares and arrange them through the quilt top. They’ve been pieced with a smaller block of tiny squares.
The pink pieces I hand printed with natural cochineal powder, that I mixed up with a fabric-paint medium. I actually hadn’t anticipated or planned for the printed squares to bleed out into the whole piece of fabric. But I love that it did. One of those wonderful unexpected aspects of using natural dye and experimental processes.
I know that cochineal powder is really strong, and a small amount goes a long way in a dye pot. So I guess that the stencil printing process left quite a bit on the fabric, which then washed out and dyed all the fabric. But how fabulous does it look!
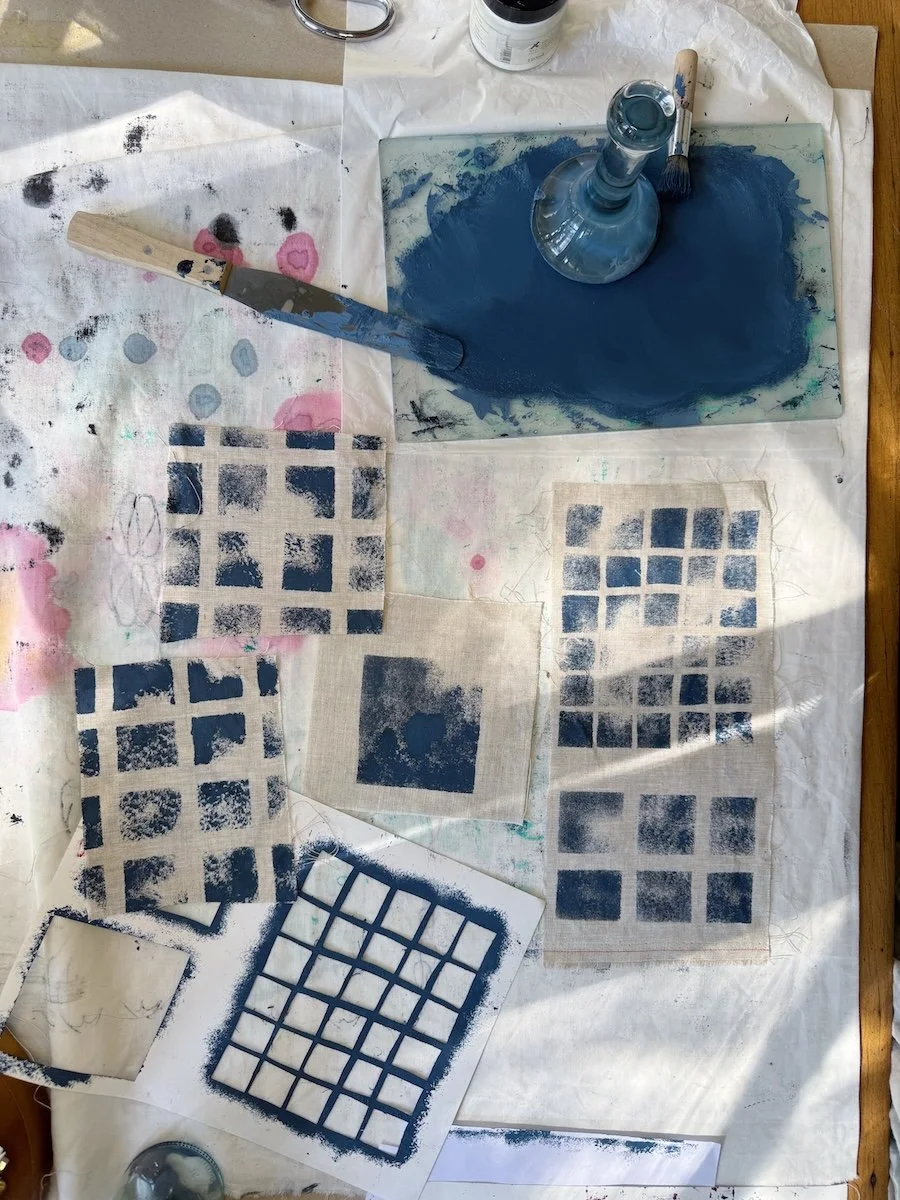
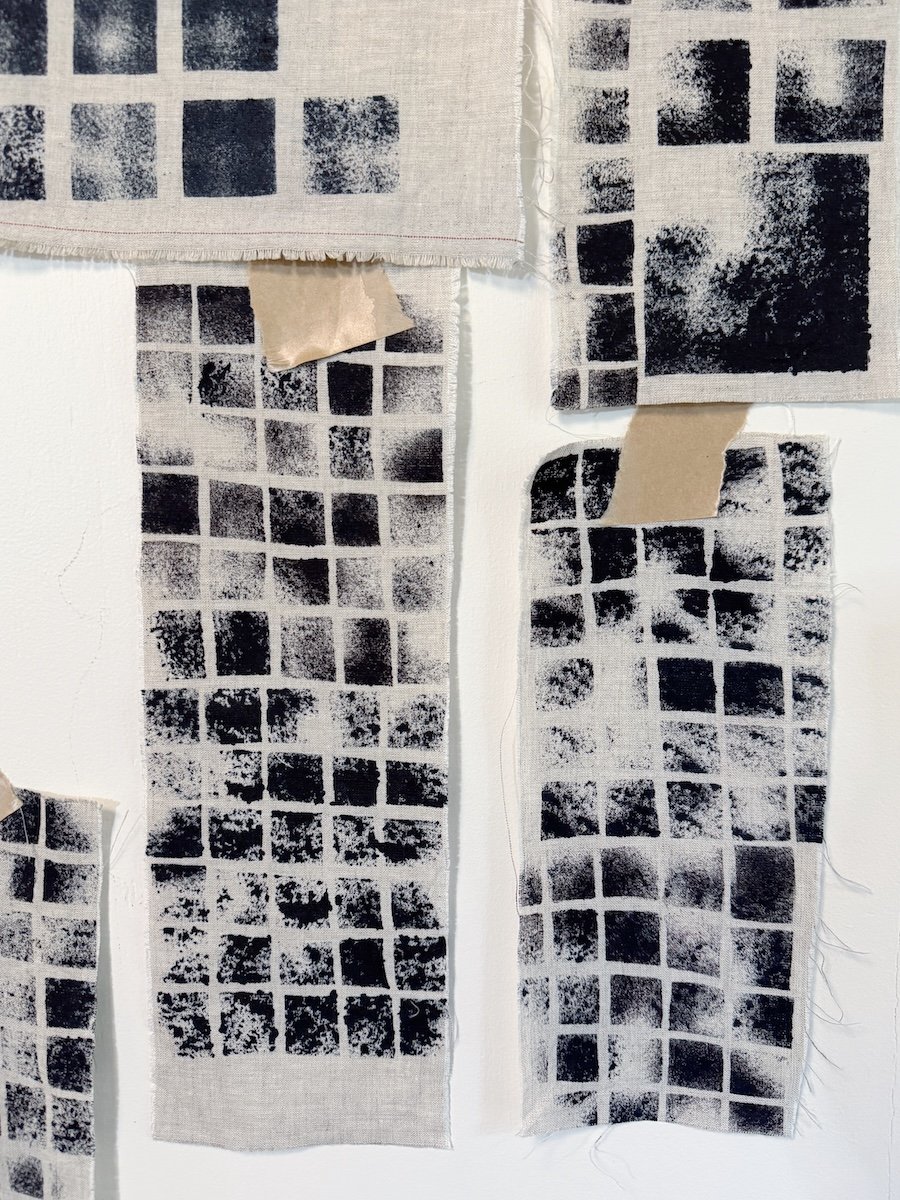
Using a muller (that glass mixing thing above) with a glass piece I ground up the already fine powder with white pigment, as well as some fabric medium. Even though I pre-mordanted the fabric in alum, I wanted to add fabric medium as well. Just doubling up my chances of the colour sticking to the fabric!
If you want to learn the process of mixing the indigo and hand printing these designs with the unique mottled effect I share it in my Print, Paint, Stitch online course here. As well as the quilt-making process.
Now that I’ve sewn the fabric together I have to decide on the backing. I bought a beautiful silky-soft cotton sheet from the op-shop, and might dye it in an indigo vat. (Though still deciding if we should use it on our bed, as it was $4 for a queen size very expensive brand perfect quality sheet).
One of the things I do enjoy about making an improv quilt is having it start as all little pieces and slowly see it come to life. Sam kept coming into the room yesterday and today, watching as it grew seam by seam. Seeing it all finished as one whole quilt top he exclaimed that he loved it.
If you’re unsure how a quilt is going, stick with the process as having all those neat finished seams makes a difference. And then pressing the whole piece at the end is so satisfying. Now I can’t stop looking at this and smiling. And I’m ready for the next top to finish.
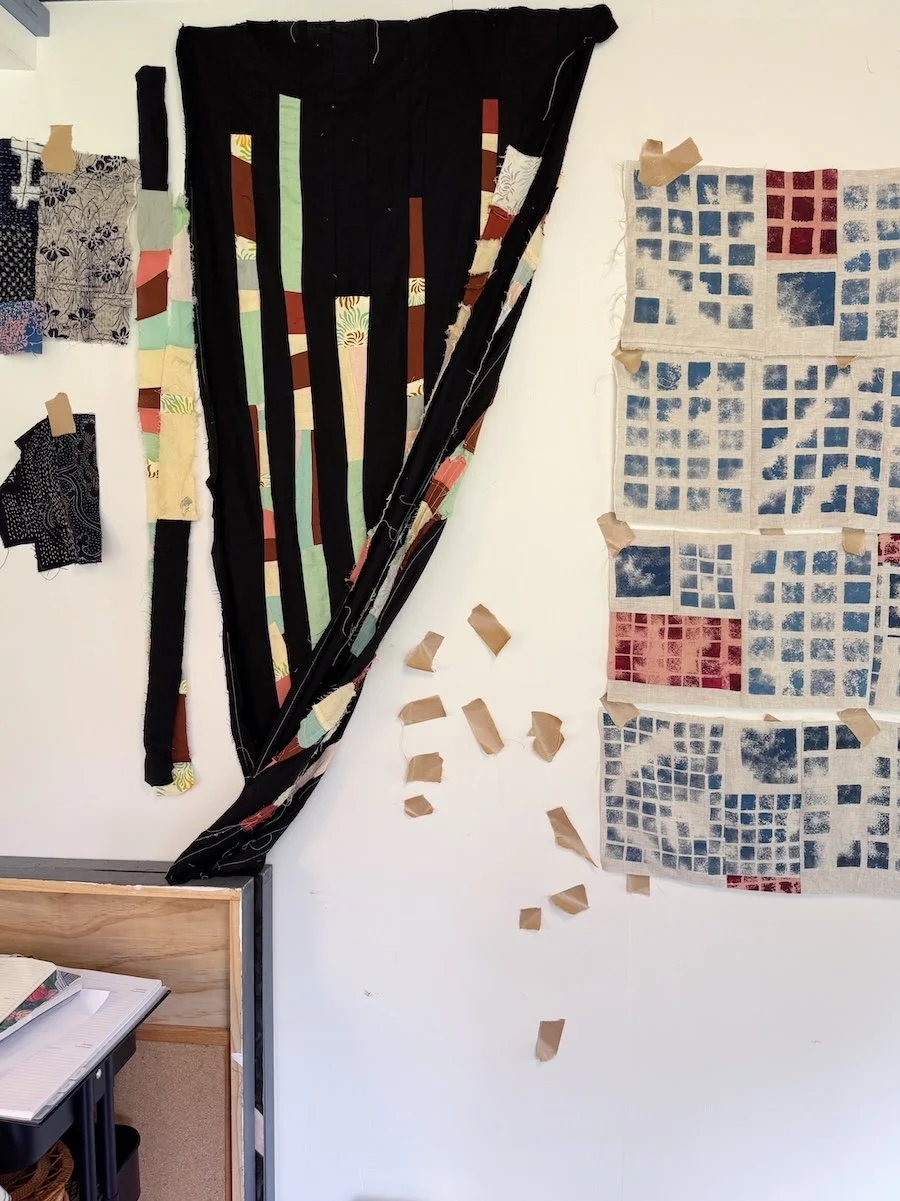
A few other things on my desk and happening in my studio this week:
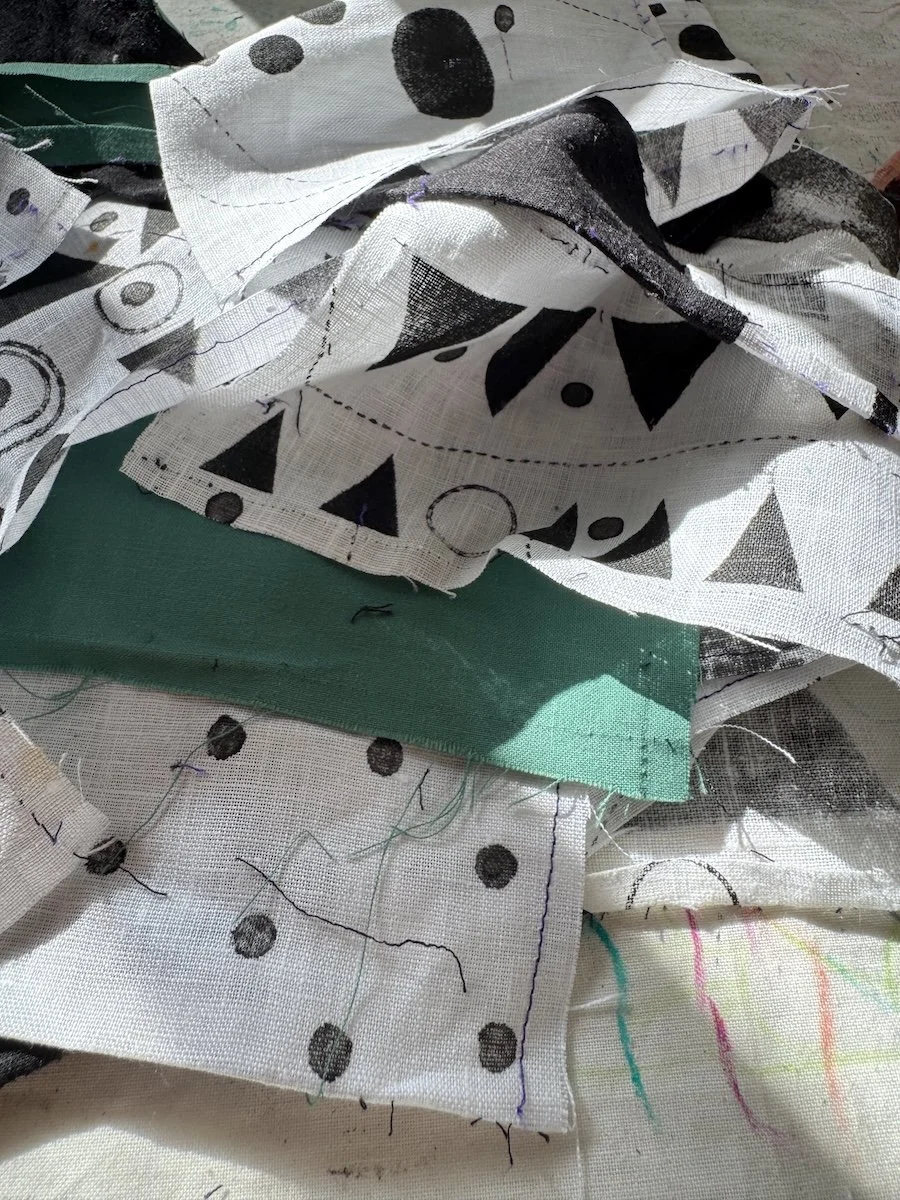
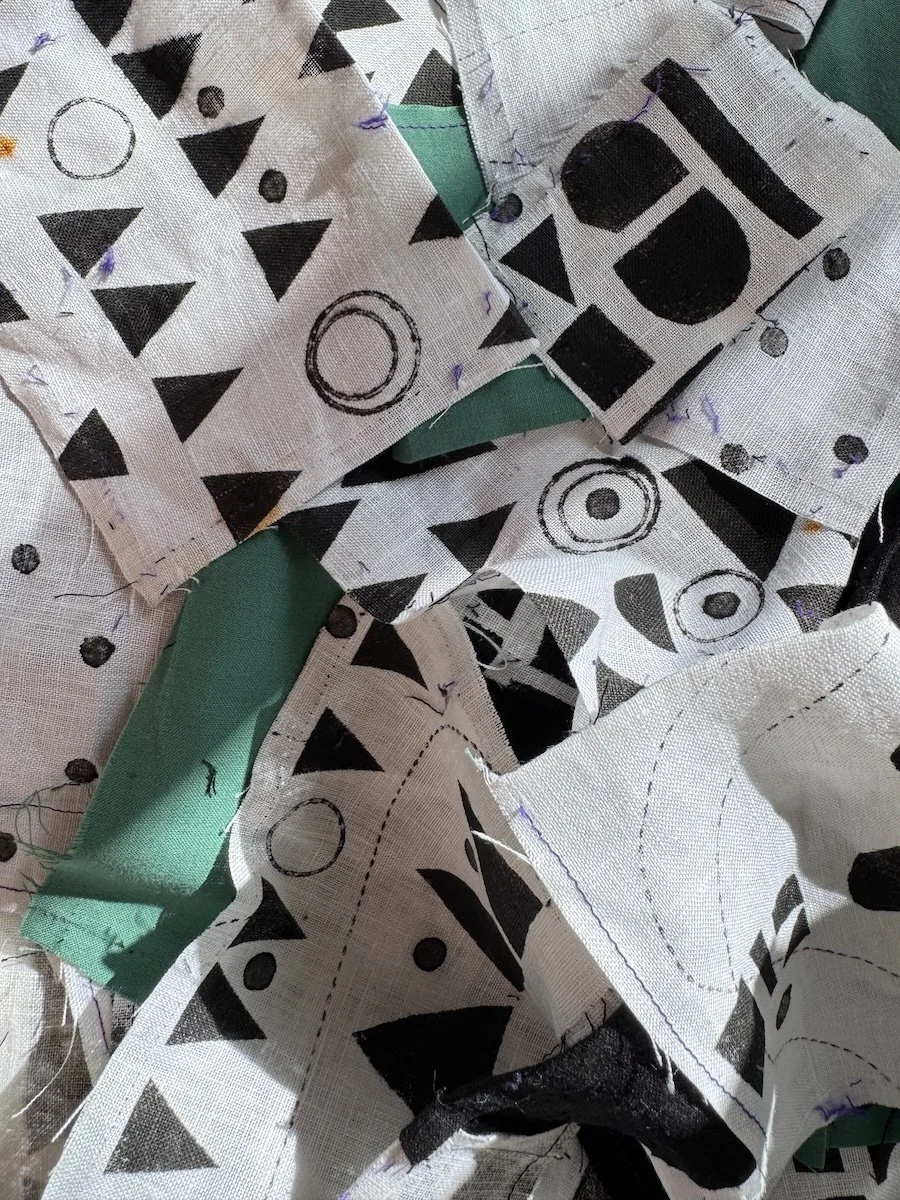
I unpicked this quilt top. It just wasn’t working at all. I find unpicking to be a not-terrible part of my process. While I don’t do it often, it does happen. For me, unpicking is a time to reflect and see what next steps will happen with this piece. Or a reminder to slow down and make a few-less mistakes.
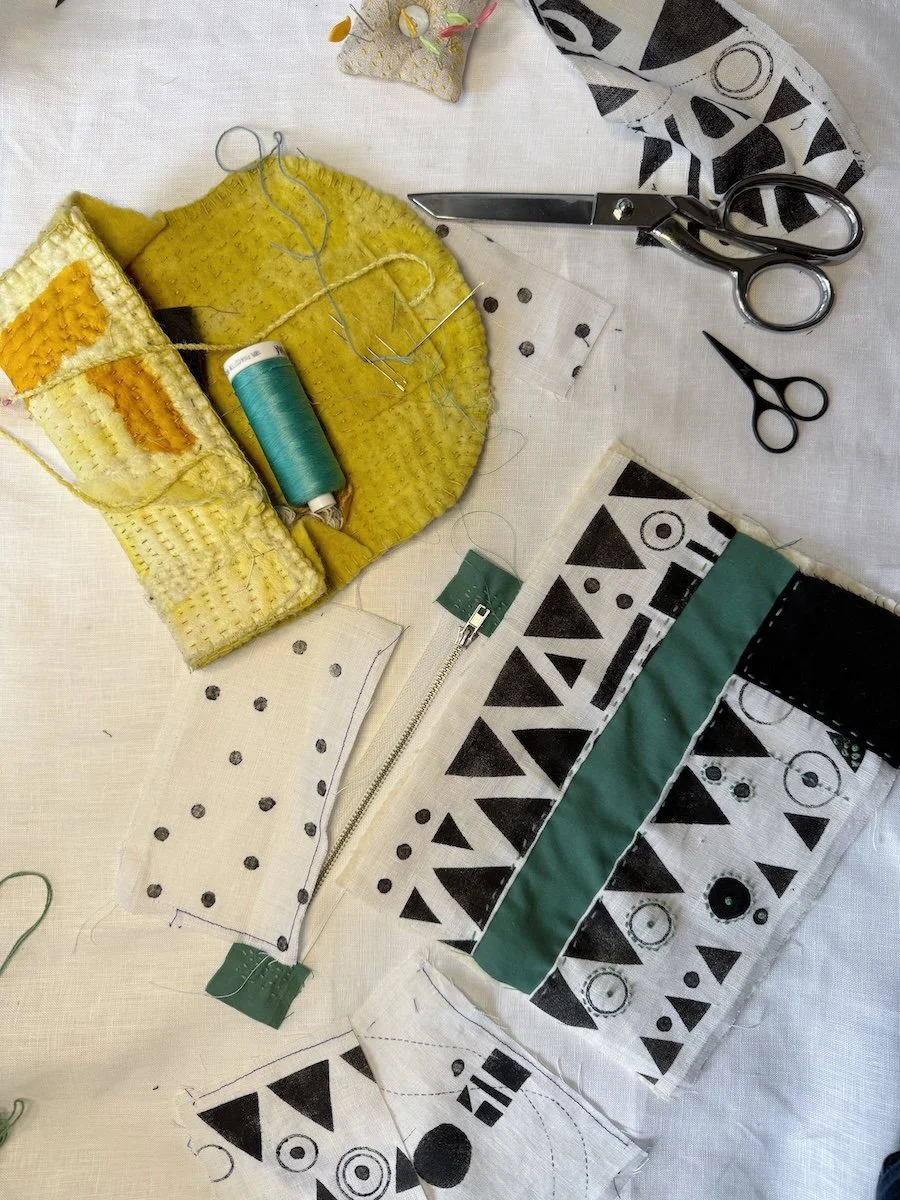
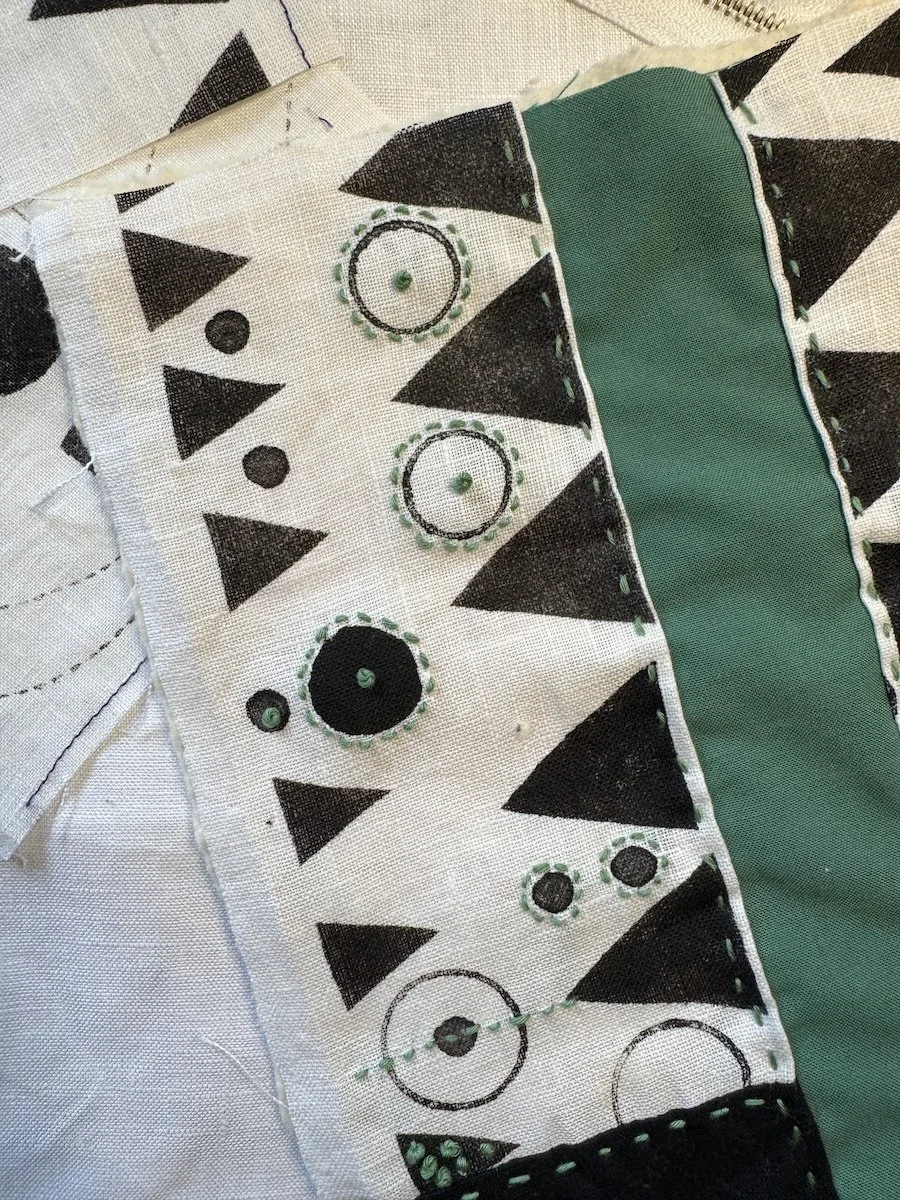
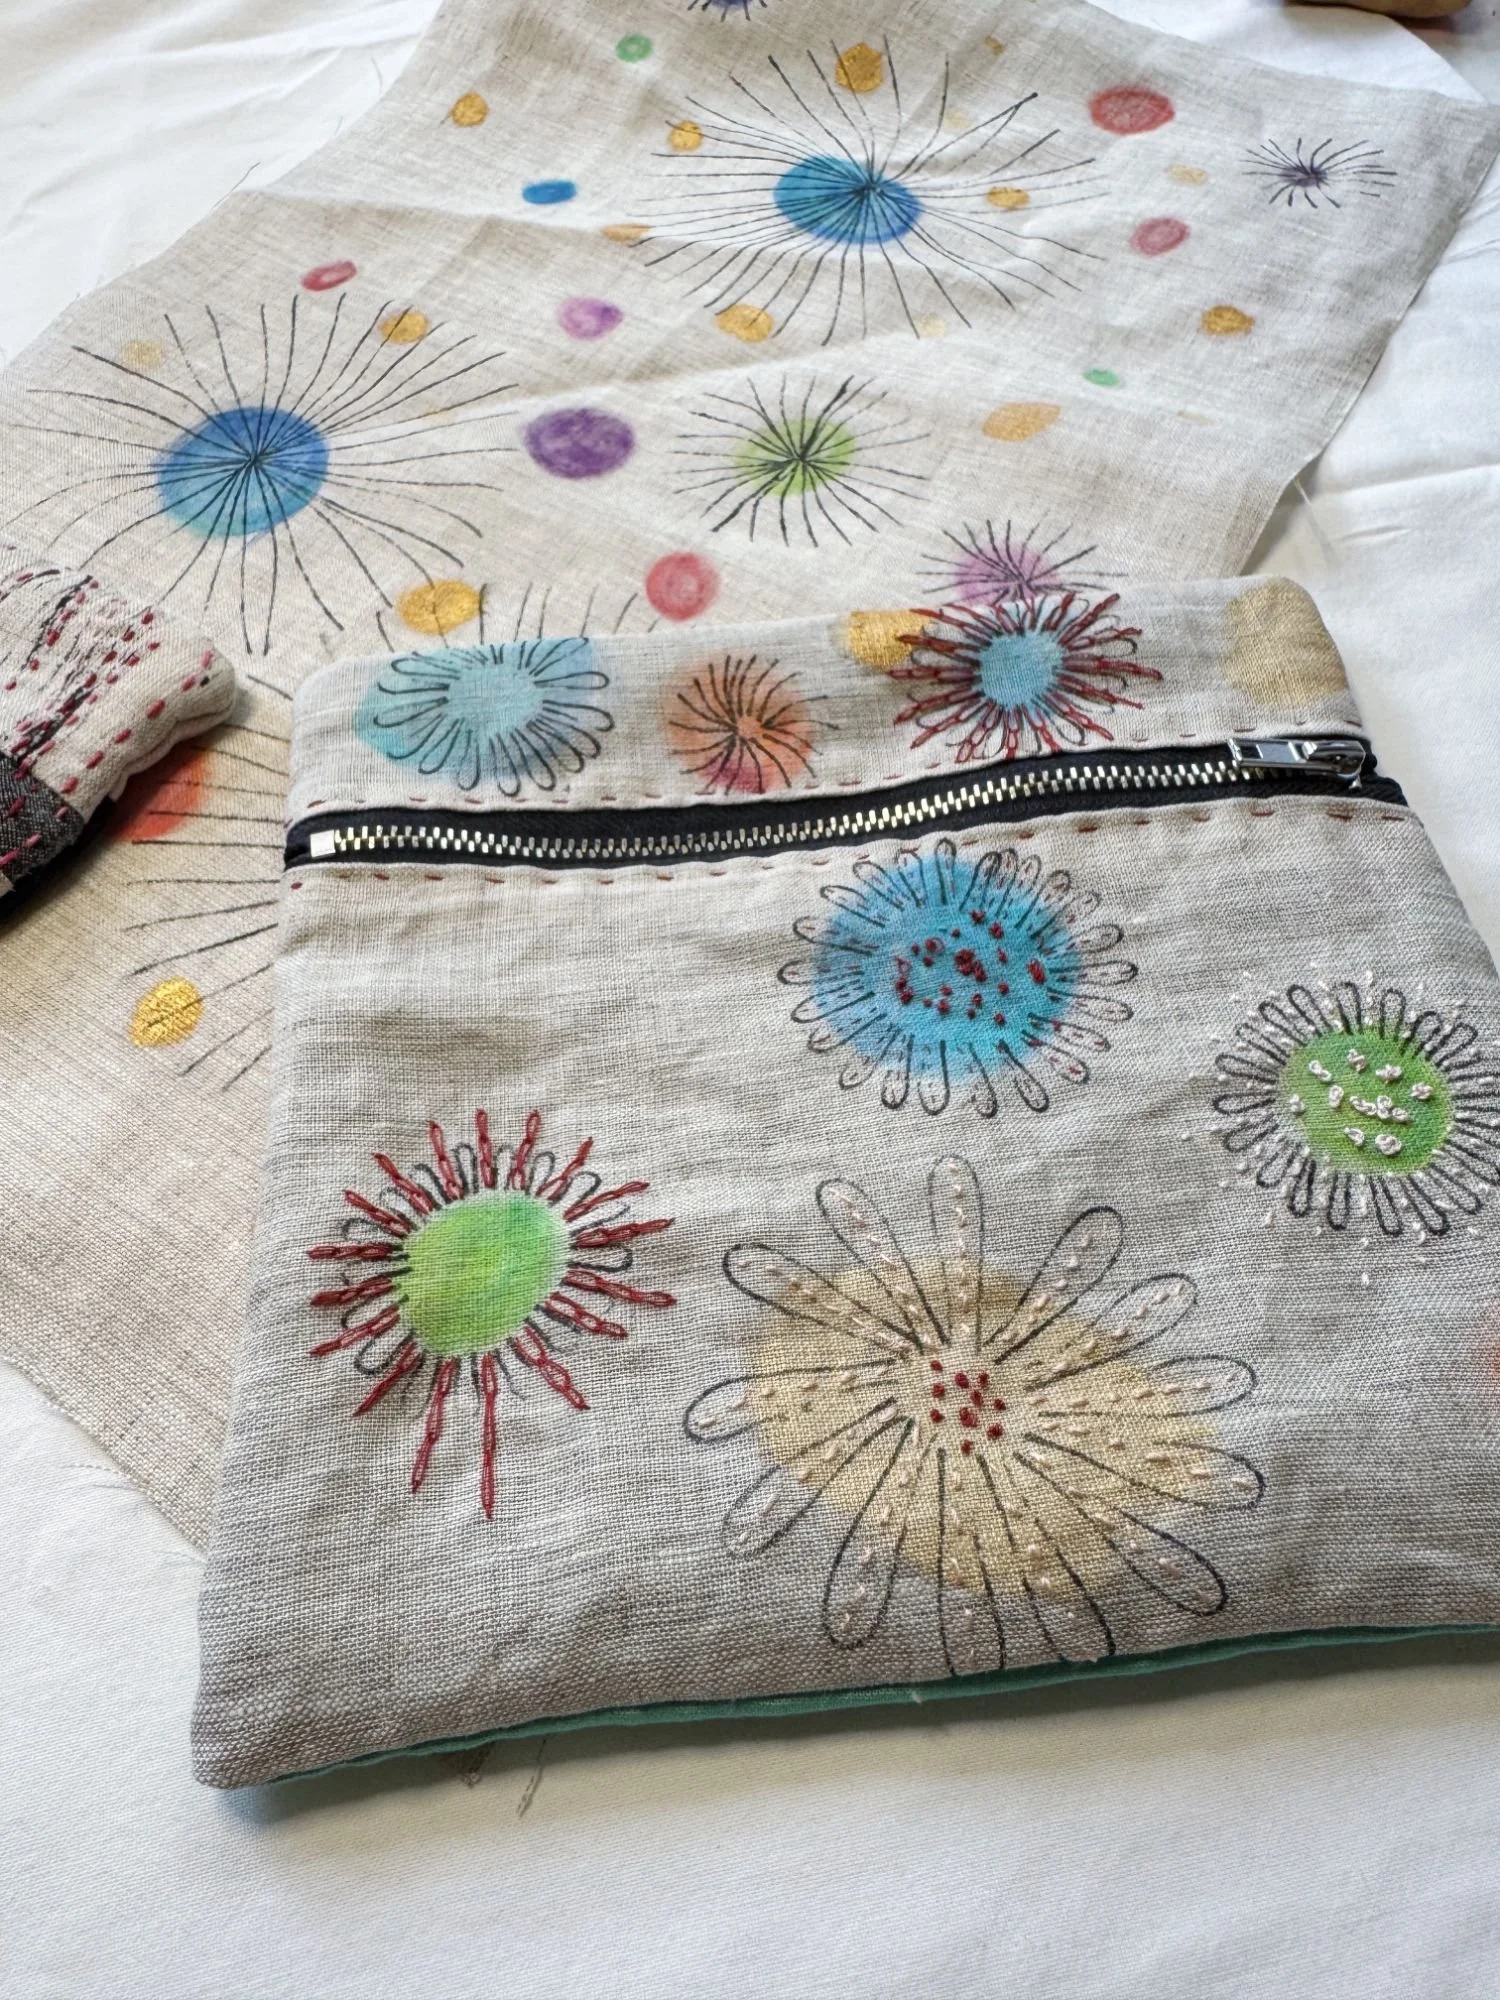
Some of the fabric I am actually sewing into a little zippered purse. I think it’s such a fun print (that I created and hand printed) and it looks so good with little embroidery stitches.
I’ve also had some in-bed days with my FND affecting my ability to get up and do things.