What is slow stitching & how to do it
Slow stitching is a term that has only been used for a few short years, but stems from the history of hand sewing, stitching, mending and repair that humans have done almost since we learned how to make string. It’s something that I use in most of my everyday creative practice, as well as share in my workshops and online courses.
Really, it’s a process, an idea, a feeling more than an actual outcome and thing. Of course, the beauty is that it encompasses both process-led-making and making for use.
You’ve probably heard or seen versions of slow stitching in the online world. It’s a big thing nowadays. And I think that’s less to do with fashion-cycle-trends (though of course that helps remarkably), but more to do with the fact that in our ever-increasing-speedy world we are deeply in need of some slow down, of being connected to our quiet selves for time.
In essence slow stitching is a combination of different forms of hand stitching. Taking influence from Japanese Boro and Sashiko, Indian Kantha, European embroidery, turned into its own version of hand stitch work.
What actually is Slow Stitching?
It is simply taking a piece of fabric, needle and thread and using simple stitch marks upon the textile. Going with the flow of your fabric, your mind, your thought process. There is no set pattern to follow, no embroidery lines to mark up. Instead you learn to listen to your innate sense of creativity and allow your hands to flow across the fabric.
WHY SLOW STITCHING?
In this world of ever-connected, always with a device in our hand or nearby, with way-too-easy access to knowing everything straight away we’ve sort of lost sight of the small, tiny, delicate ways of life. The ways our ancestors sat each evening to stitch, mend, create, make with their hands. Fishermen mending their nets, mothers darning socks, children learning to stitch quilts out of worn out clothes.
These were times in a families day where they could connect back to each other, to share stories and experiences of their day. To sit together and pass on their knowledge.
It seems these times, in the not too far distance, are fast becoming lost. As we slouch on the couch, immersed in someone else’s made up reality, a blue glow on our face. Communication happens from room to room in a home via asking a device to send a message. These are times when we are less connected to our selves, our intuition, our sense of nature and how to be in it.
Anxiety and depression are increasing at too fast a speed in our modern day world. The cycle of being on devices is actually designed to keep us there, with the ‘win-win-win’ aspect like a pokie machine. The need to feel ‘loved’, ‘liked’, ‘followed’ by others, to put our sense of worth into someone else’s pockets / hands. We’re forgetting how to sit with our own selves and appreciate the things we create, make and enjoy.
When we sit with our slow stitching we are able to connect head, hands and heart to mend ourselves in this world. To create a thread of connection between others doing similar things, or consider people around the world who have been doing hand stitch work for centuries. The history of our fabrics, the fabric of our lives becomes more tangible to more we sit with our slow stitching.
When you’re hand stitching you automatically slow down. The process of sitting quietly and watching needle pull through the fabric, makes you more conscious of the moment you’re in. This slows your breath down, meaning that you’re breathing deeper into your stomach. Rather than the fight-or-flight way that modern society forces us to live and breathe, you’ll find the sense of stillness settle over you. Breathing into your stomach allows your whole body to settle itself, to let go of the stress of everyday life, to repair and replenish itself from the fraught day.
Slow stitching is also an excellent way to use what you have, to learn to mend and make do with the supplies at hand. It’s a deeply environmental act to do away with using new fabrics and embrace what’s already in your fabric piles or even unworn clothes.
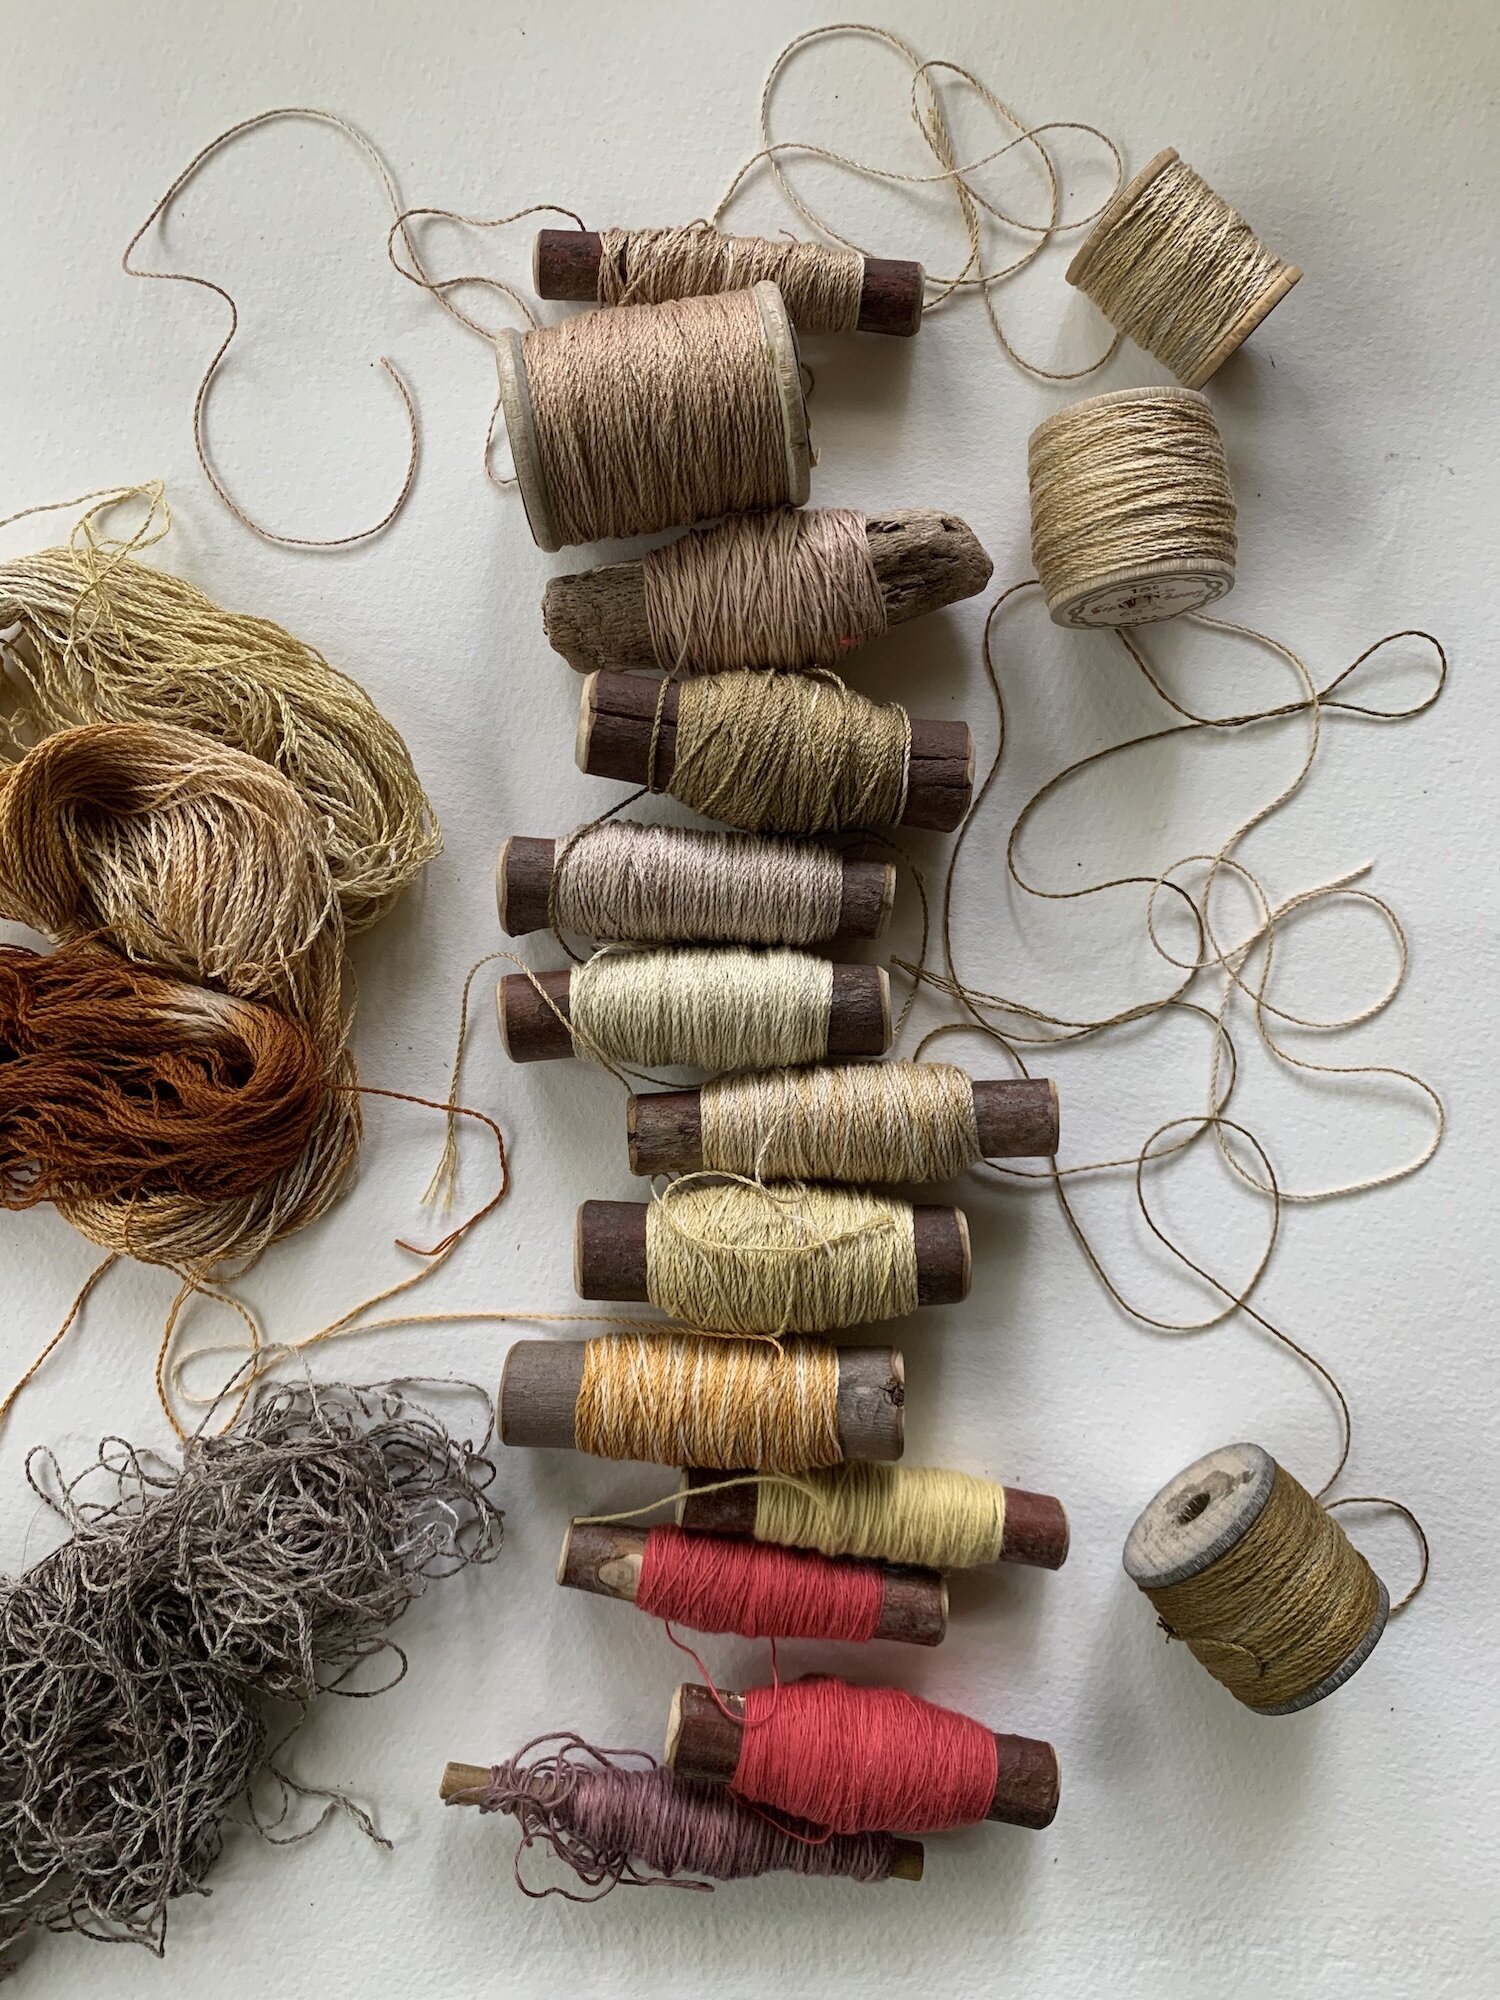
As you only need small pieces of fabric, you can create something out of almost nothing. The threads that I use are a combination of different weights and materials, which means you can use what you have and what you find at second-hand shops or in your sewing friends’ cupboards. See the threads that I use here.
Slow stitching is about doing things your way. About {re}learning your own sense of creativity. About not following rules, but settling into what happens when you sit and stitch. Many of my students have grown up being told they have to follow the patterns, pull out rows of stitching when they did it wrong or too messy, that they don’t have any of their own creativity.
This is absolutely and completely untrue. Thankfully I was not raised like this, but rather in the way that continuously told me to explore, take risks, have adventures, do things and make mistakes. And while I don’t always listen to this advice, and do sometimes think ‘I’m not good enough, or expert enough’, I am not at all like this with my slow stitching.
I hope that once you begin you’ll find that you can discover your own creativity. That you know the answer and don’t have to ask others for ideas or answers. That the more you create the more you’ll want to keep creating your own amazing pieces of textile art.

HOW TO DO SLOW STITCHING
Truly all you need is some fabric, threads and needles. Set aside some time. I like to boil the kettle and make a pot of tea. Settle somewhere lovely, comfy. You might have children or family beside you. You might be on your own somewhere.
Start small
This makes it easier to hold your piece as well as feel less daunting that you’ve got this big piece of fabric to work on and finish.
Choosing your fabric
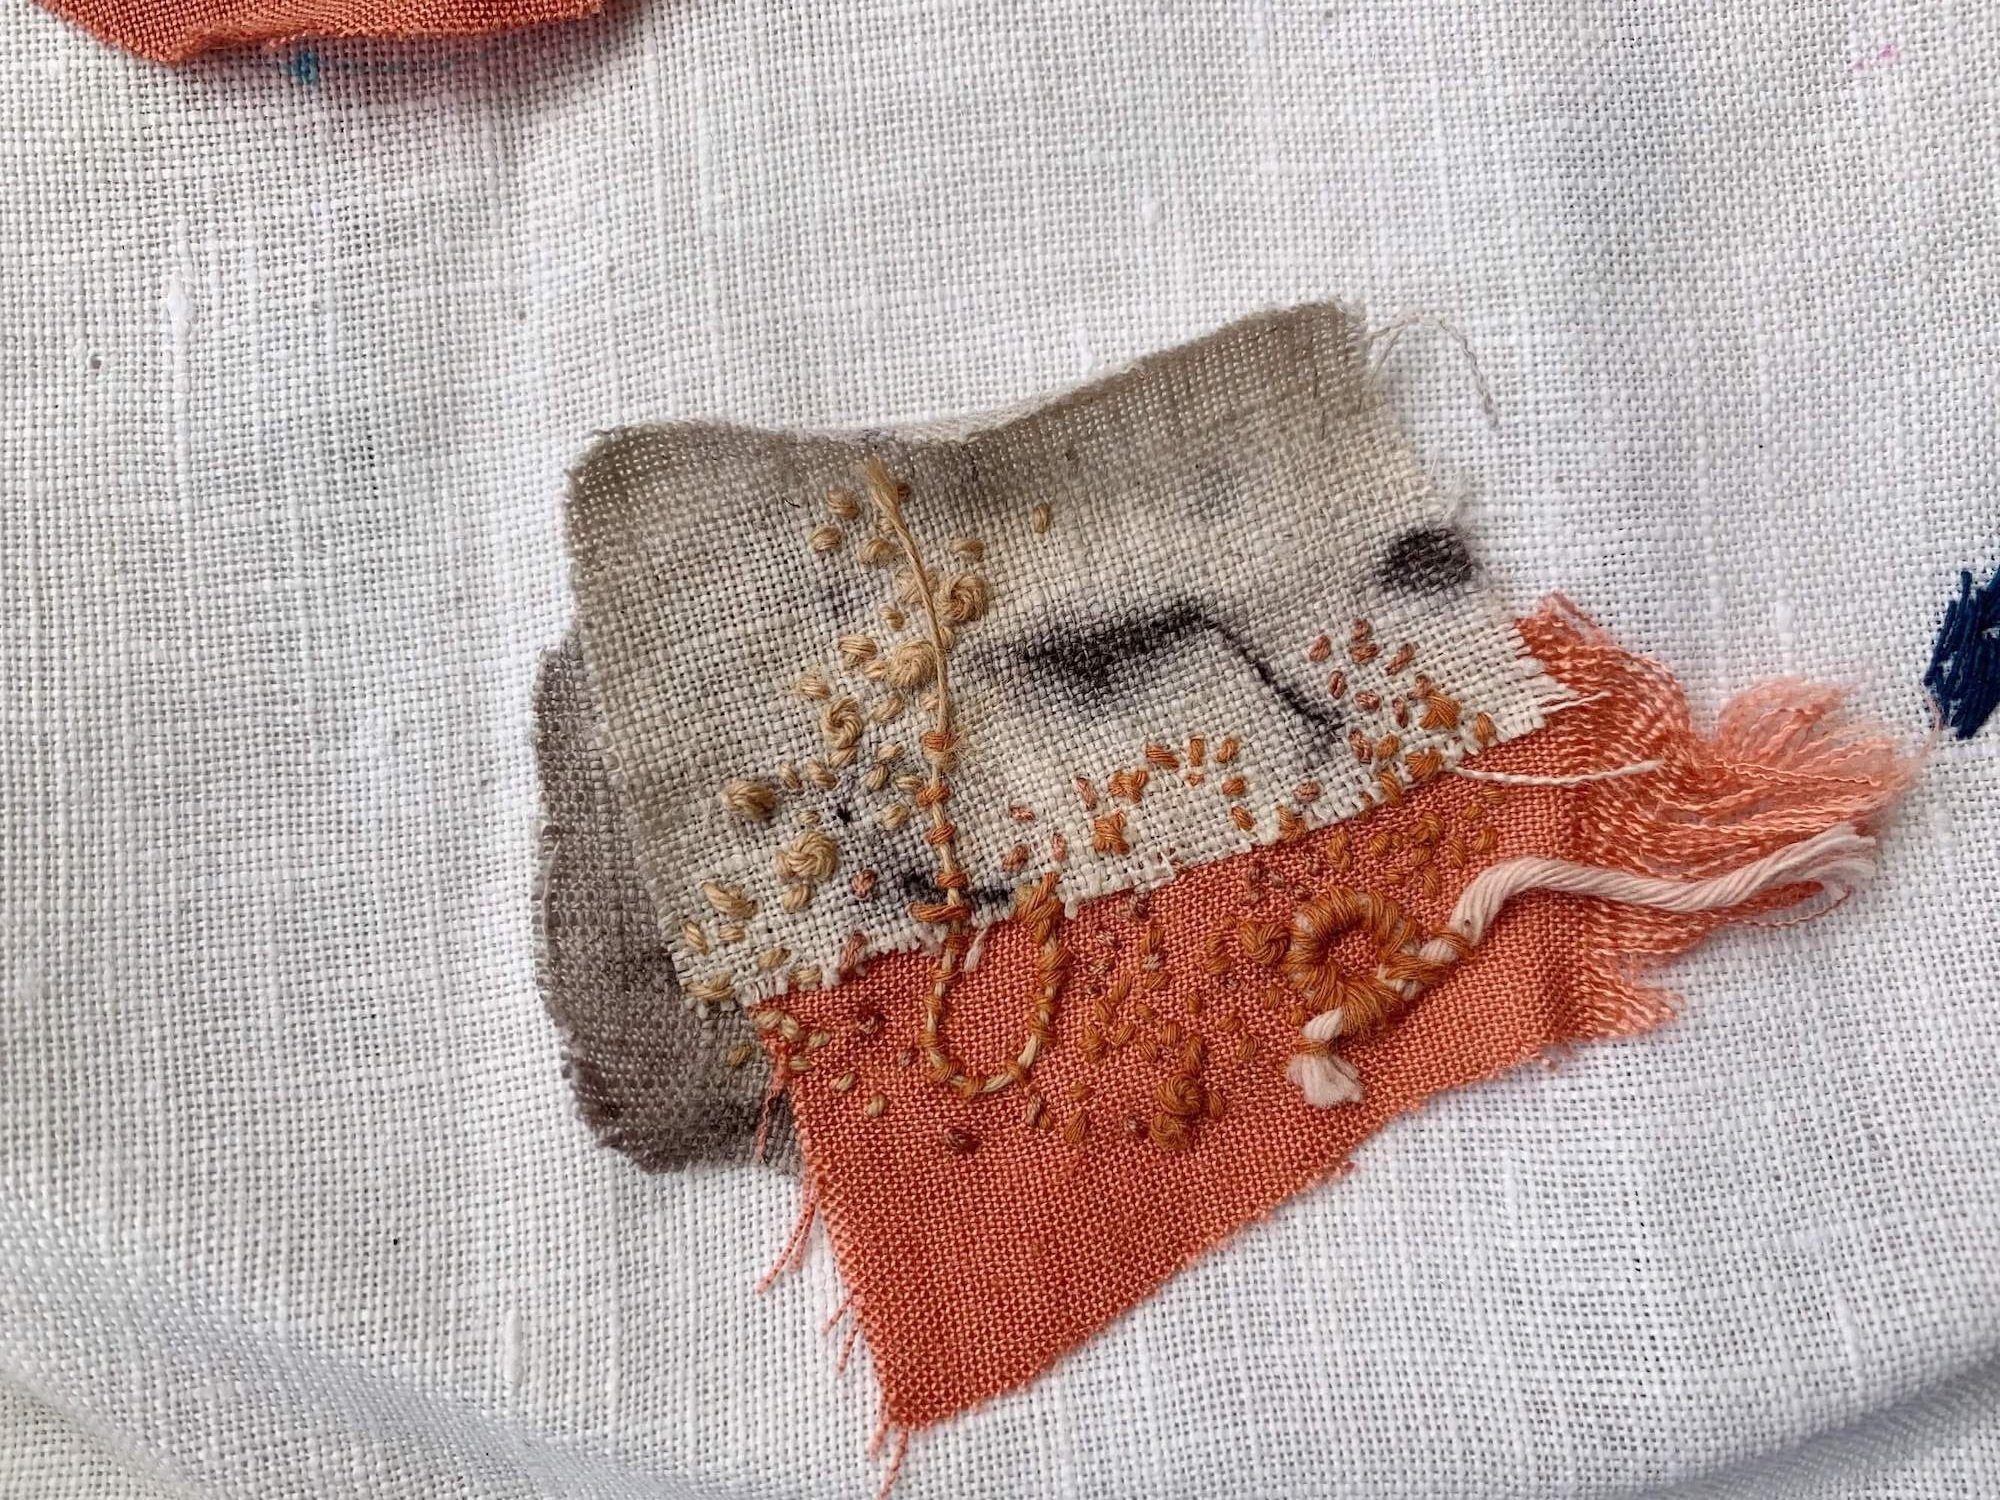
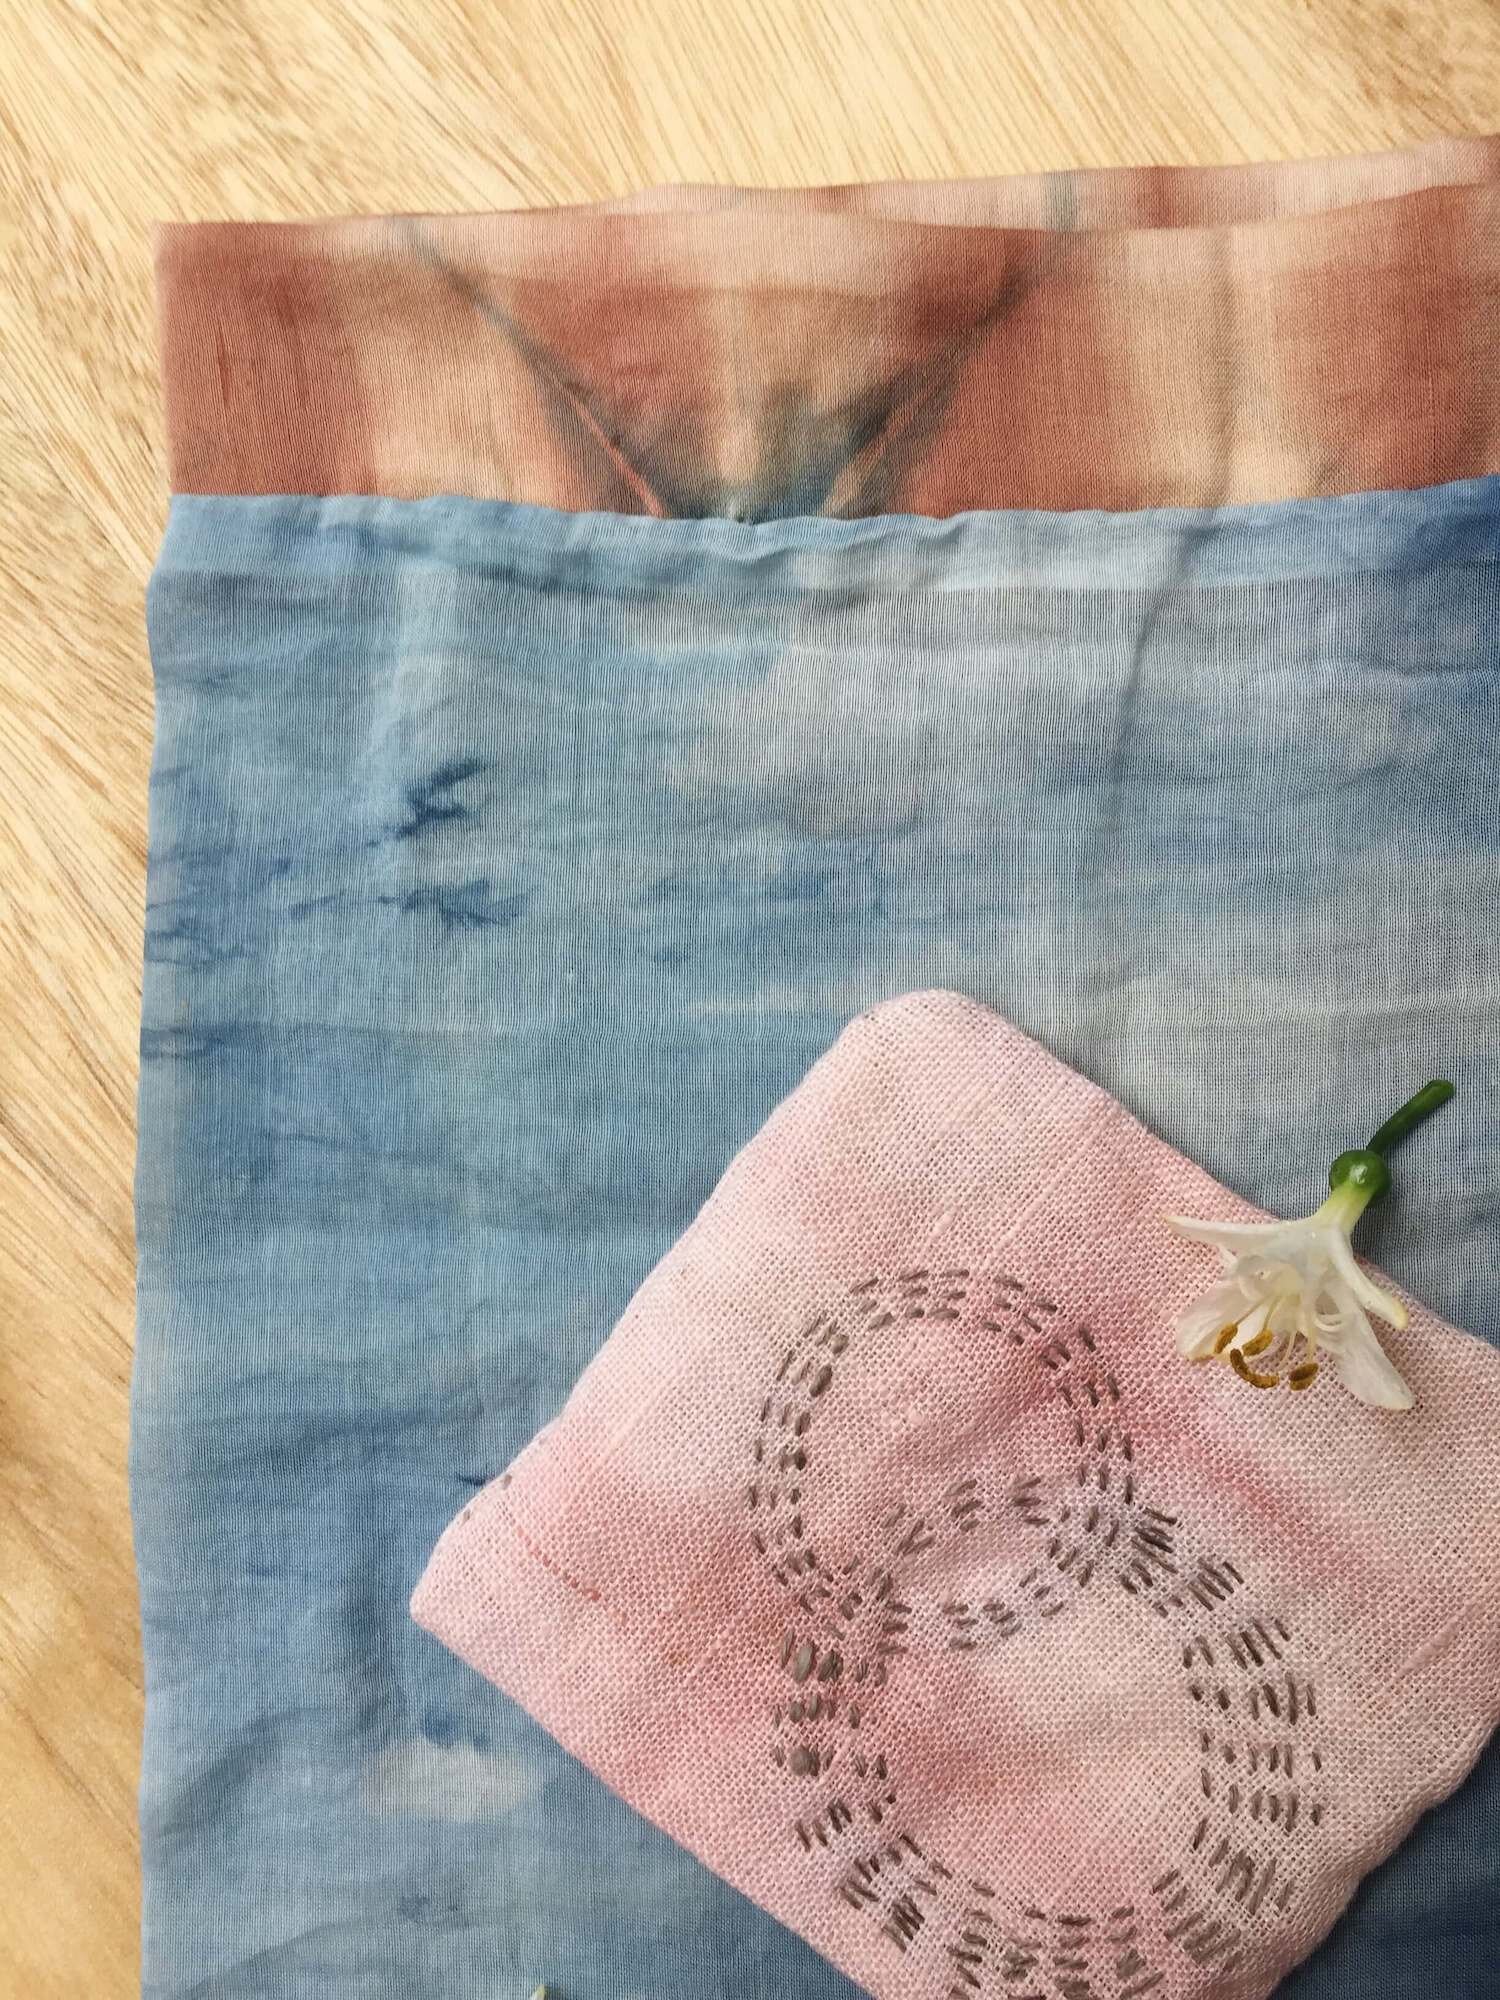
Start with a piece that is about 10cm / 4” square. But don’t measure it too accurately. Whatever you have. Also, don’t cut it square - it can be rectangle, it can have wonky edges, it can be whatever it is right now. This fabric can be a simple scrap, we’ll use it for a backing to stitch onto. Use something not too thick - a fine calico or old linen tea towel are good, or a piece of quilting-weight cotton.
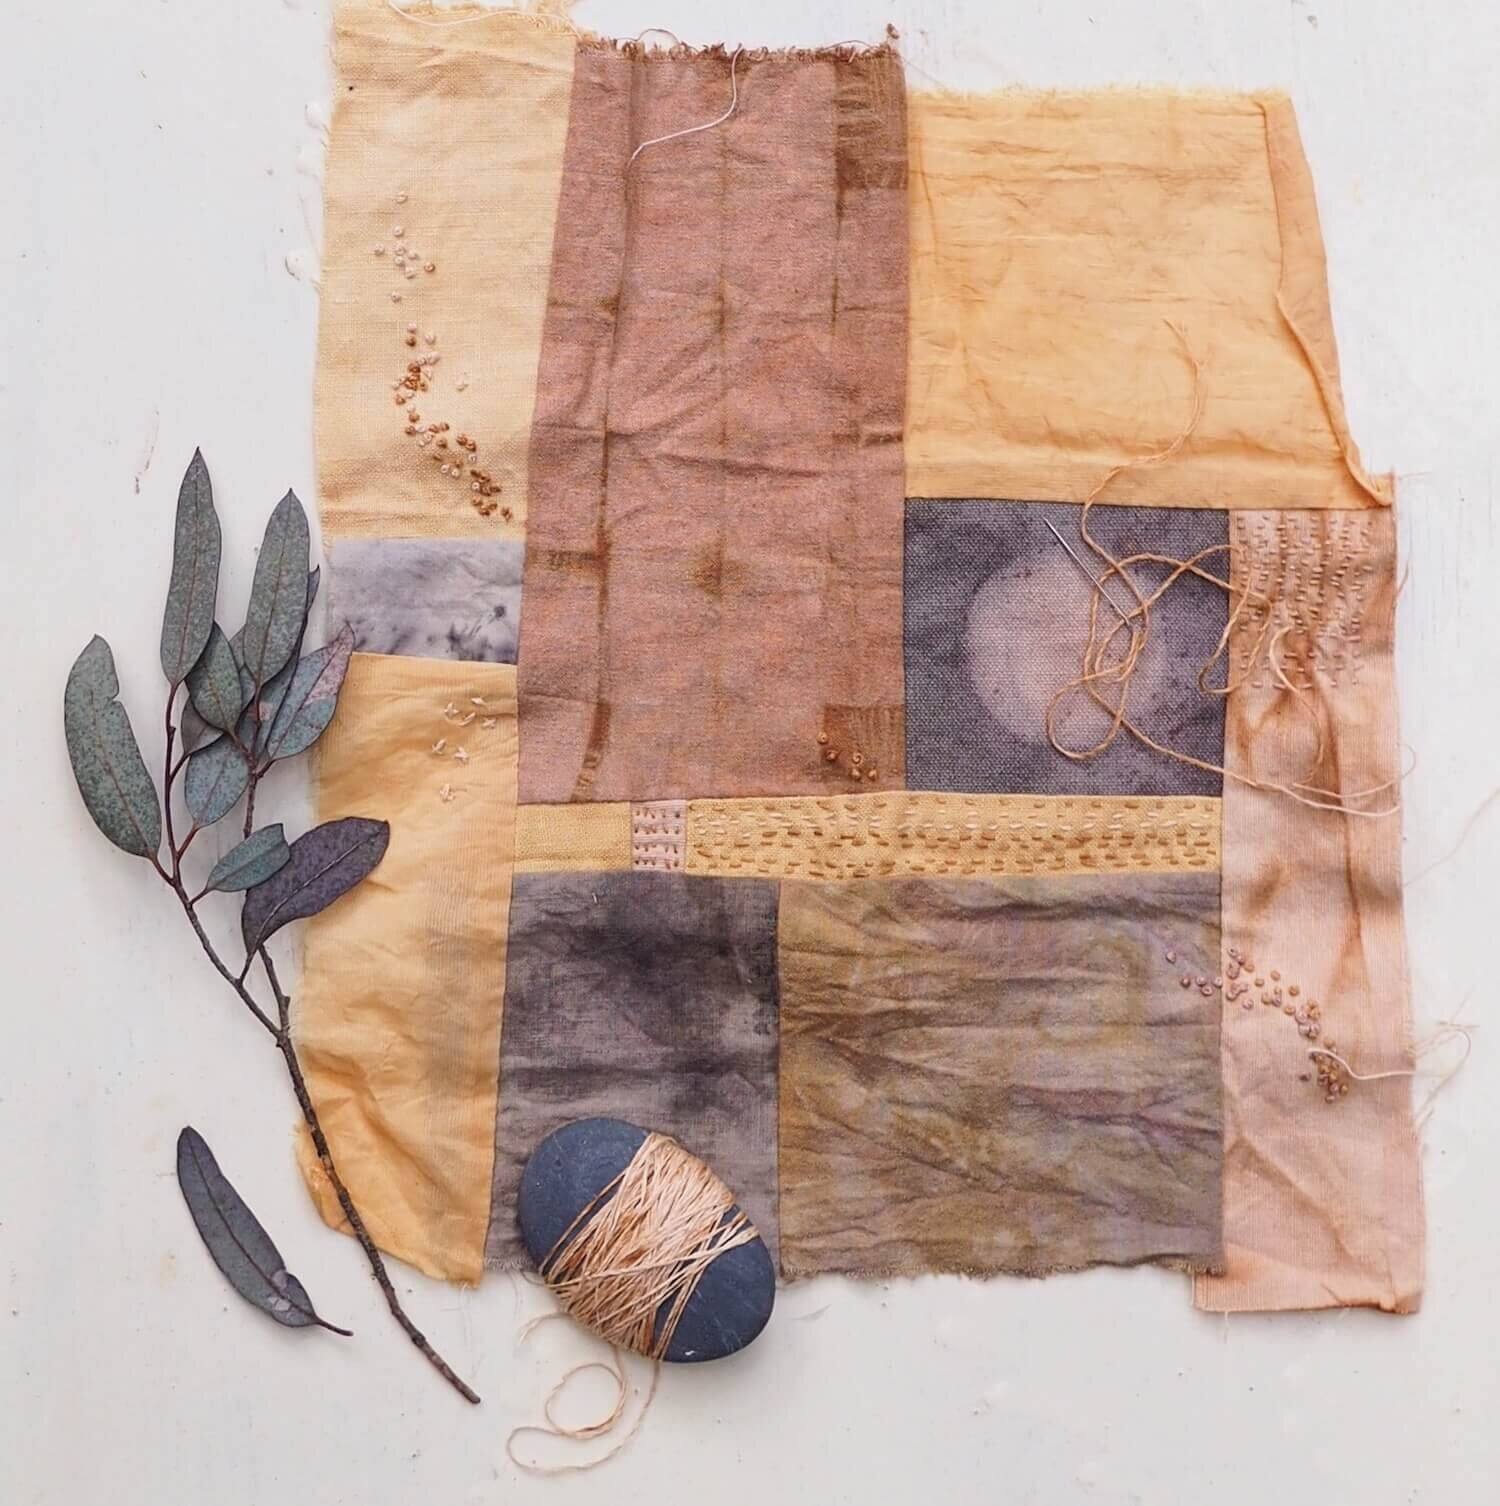
Take some smaller pieces - scraps - of fabric. These can be offcuts from other projects, little corners snipped off bigger pieces, torn fabrics from clothing. Precious linen, silk, cotton, etc from treasured linen cupboards.
Threads
In terms of threads to use, start with what’s there. You might have regular embroidery thread, or pearl 8 cottons. These are good. Or even a very fine crochet cotton. Please don’t go and buy anything. You can start to add more thread options to your supplies down the track, once you’re well and truly addicted to this process of slow stitching.
I use a combination of different threads and fabrics. Some because I love the material, the pattern, the way it works with the other ones I’ve chosen. With threads I like to use a combination so that I build up different textures in the work.
Arrange & play
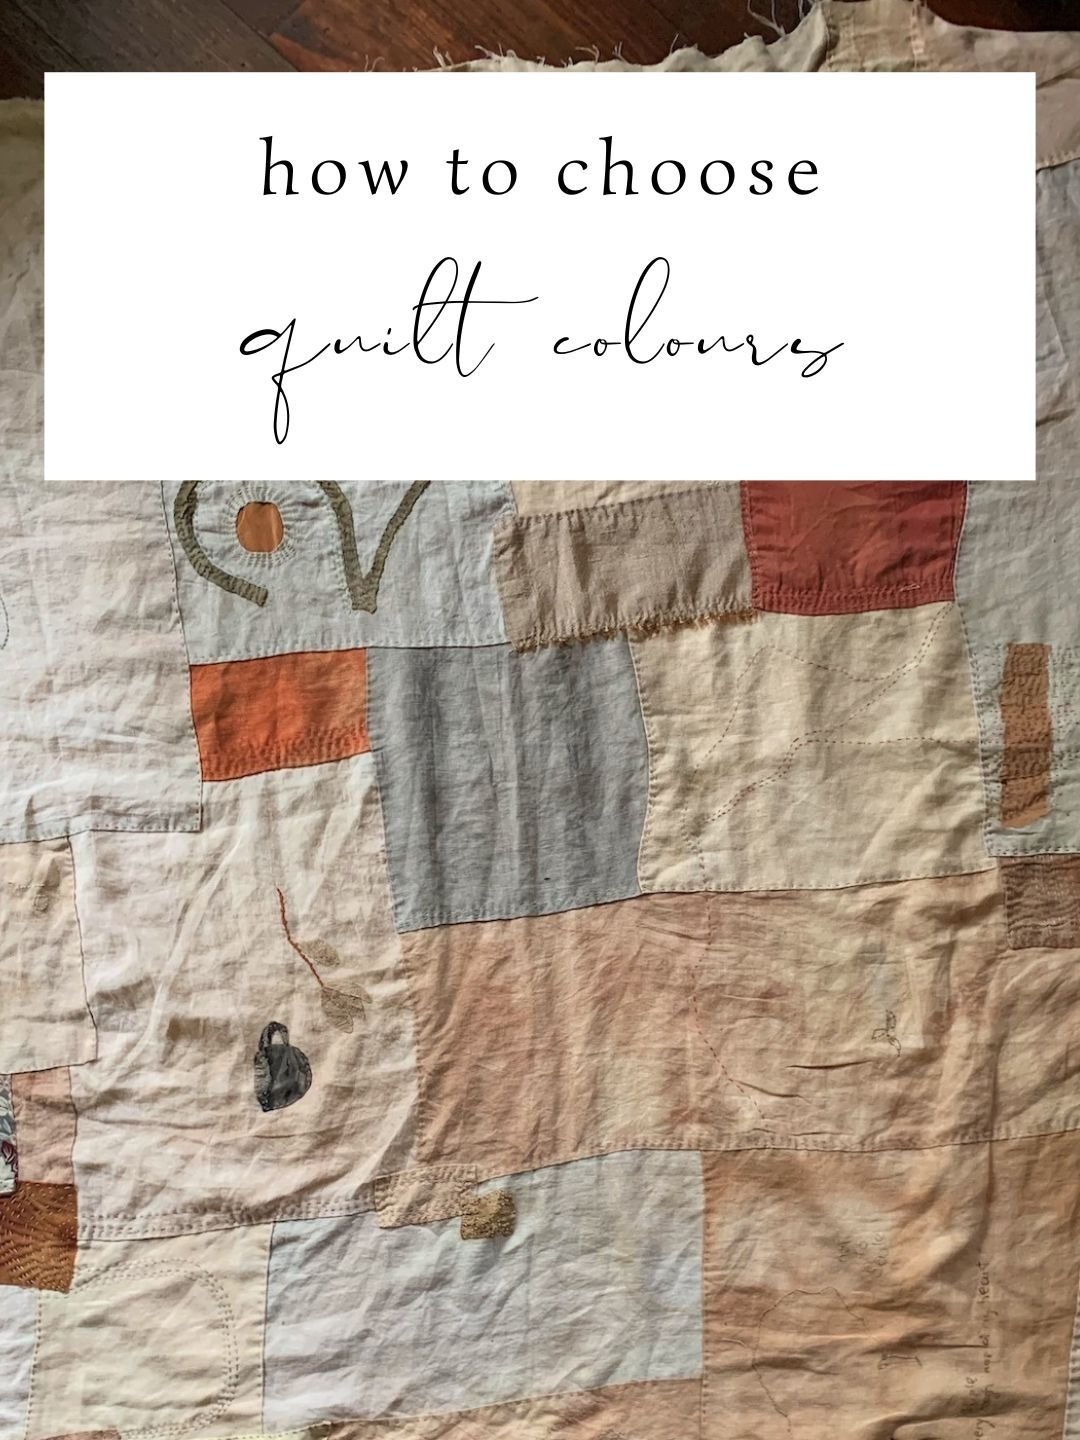
Using the smaller pieces of fabric arrange them onto the larger backing piece. Take your time with this. Play and see what you like the look of. Allow your eye to guide you and your instinct to find the answer to what colours, patterns, prints, textures, weaves work together. {Here’s a few ideas on how I start this process of arranging and playing with colour and fabric}. This isn’t a piece of clothing so it doesn’t matter too much to consider those aspects. You can pin them in place if you’d like, or take a photo to remember. Sometimes I start with a design, but then as I stitch it will evolve and change during the process. I like when this happens.
Begin on an edge and stitch
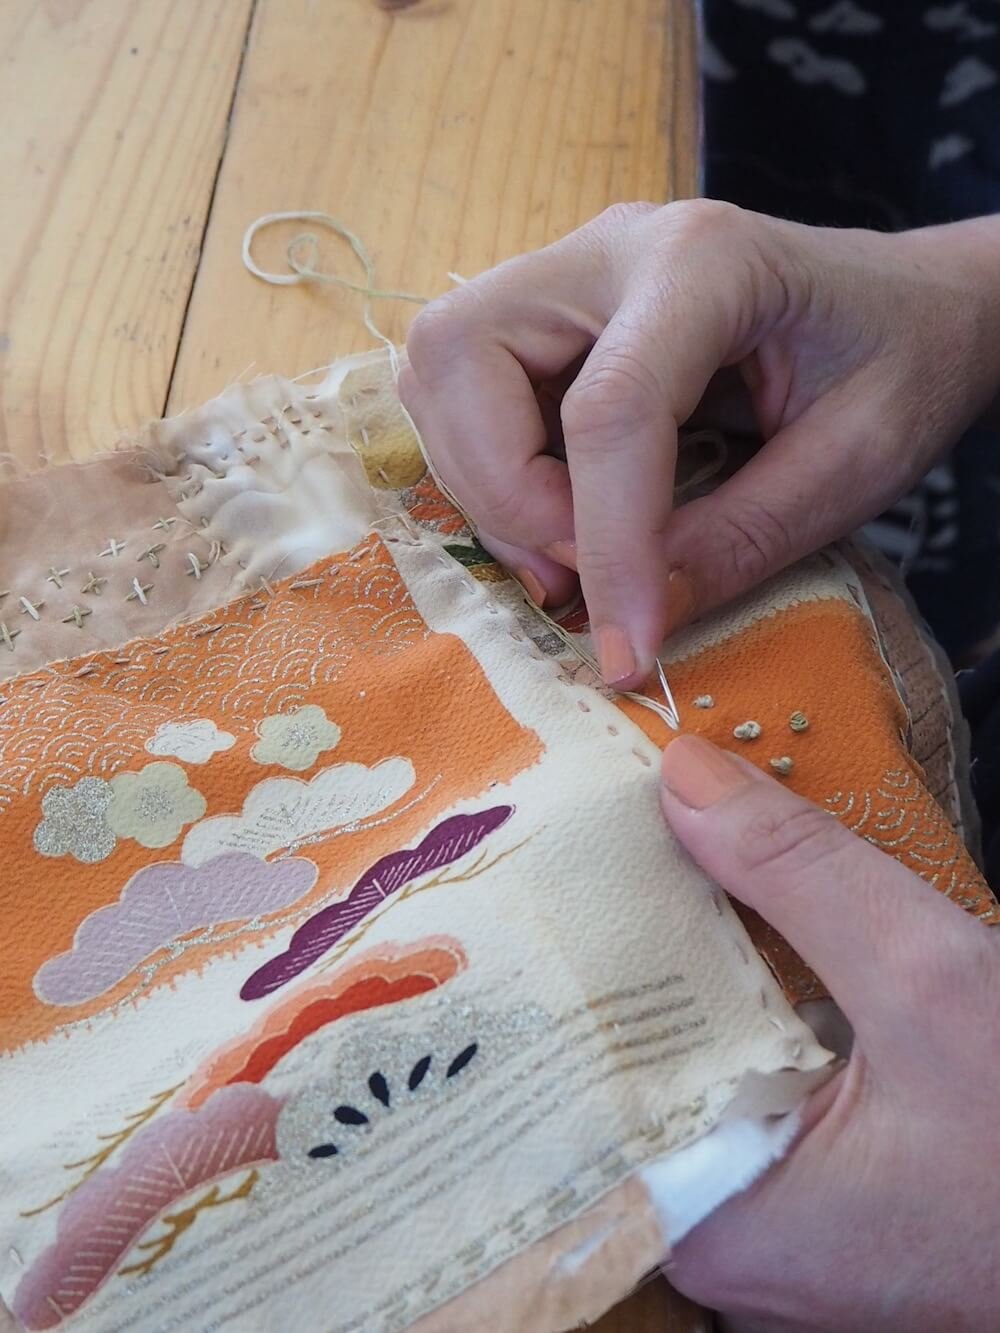
Stitching the top feature piece onto the backing piece, it’s sometimes easier to start on one edge and move across your fabric. Use a simple running stitch. The idea is that after practice and time your stitches might be similar length, but for now don’t worry about that. Just stitch in-&-out with your needle on fabric. Rather than doing one stitch at a time, load a few stitches onto your needle and then gently pull them through. Take care to not pull the thread too tightly or create too much tension of the fabric.
Keep going in a straight-ish line
Once you get to the end of the first small piece, turn around and stitch back the other way. Continue in this way until you’ve finished attaching the first piece. Your rows of stitches can be as close or far apart as you like, experiment to see what looks good for you. But if they are closer then you’ll see that beautiful ripple texture effect that happens and makes me think of kantha-quilts.
Pick up another special piece of scrap fabric and add it on.
Starting on your next piece stitch it to the backing piece. You can use a different thread, make the stitching go in a different direction, or follow along the same way.
I suggest that you continue this first piece with simple running stitch, before adding in other stitches. This means that you’ll learn the quietness of the doing, rather than worrying about how to do other stitches. I know that once you start on this piece you’ll be looking for all the fabrics and threads to use.
Make sure to watch my free online slow stitching course to see the process of this, as well as make yourself a needle case.

WHAT CAN YOU MAKE WITH SLOW STITCHING?
There’s lots of different outcomes for this lovely piece you’ve made. Sometimes it can simply be the process of the making. Doing for doing’s sake. This is important too - remember that often it’s about how and why, rather than what. The journey. The mindfulness of making.
But, I know that sometimes it’s wonderful and satisfying to have a finished thing, an outcome from your quiet slow stitching. So, I thought I’d share a few things with you that I’ve made with my slow stitching practice.
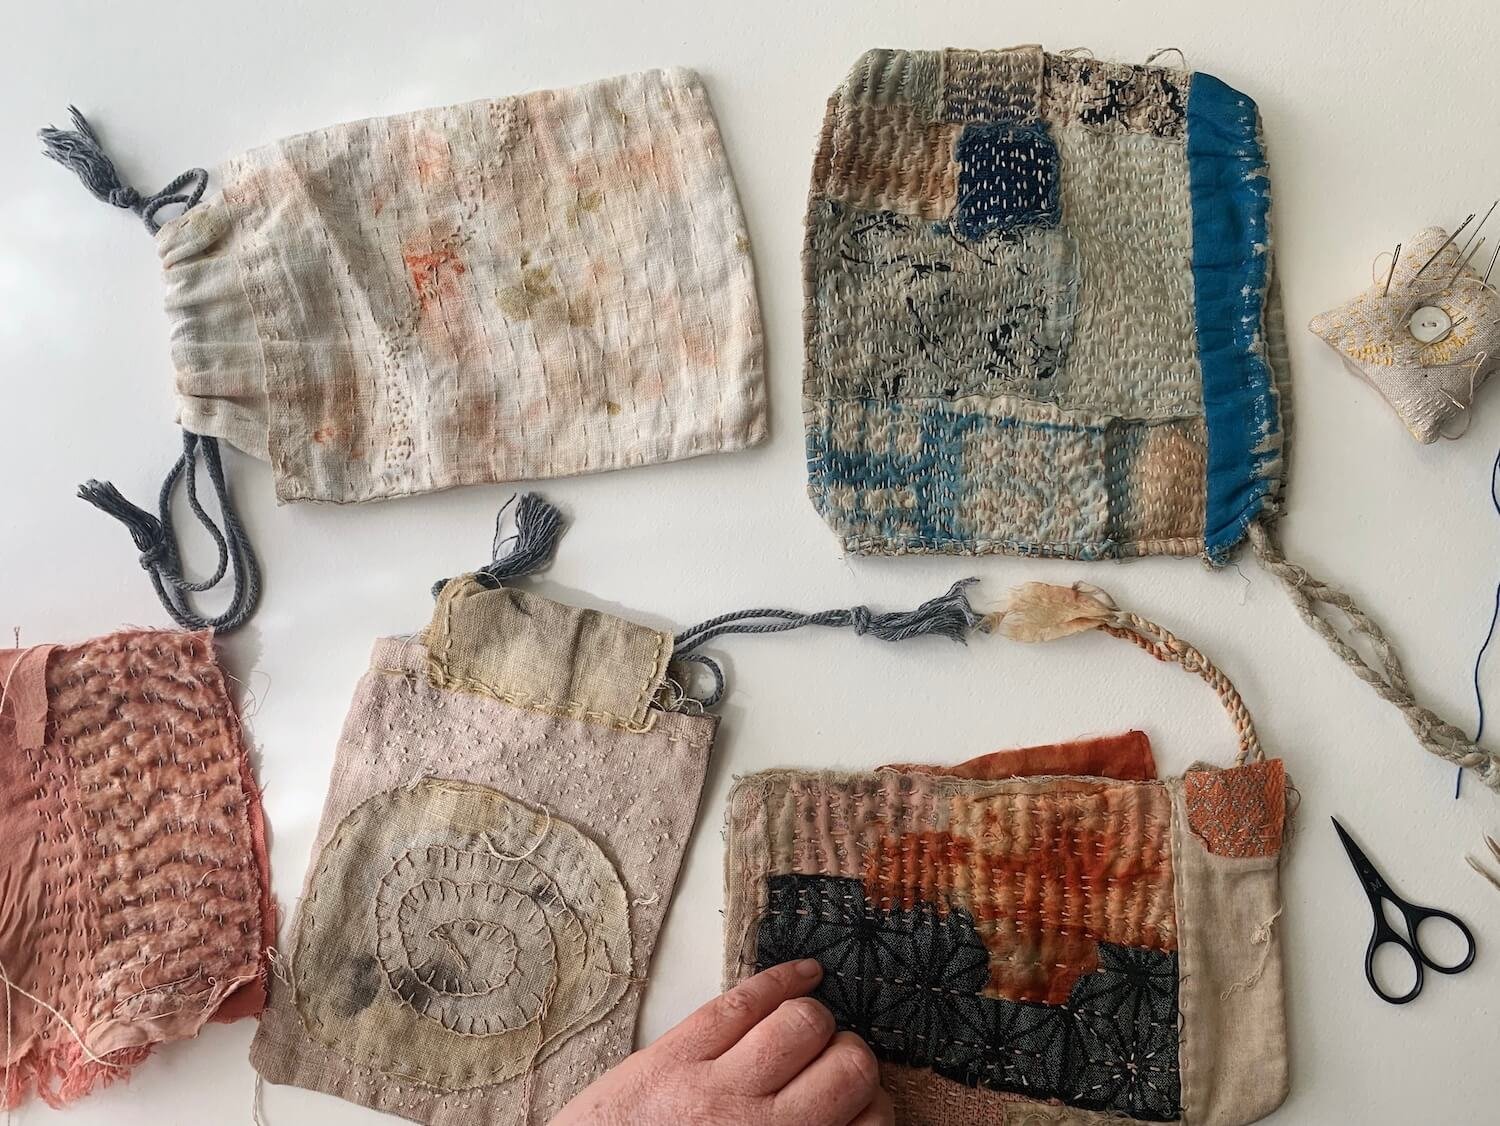

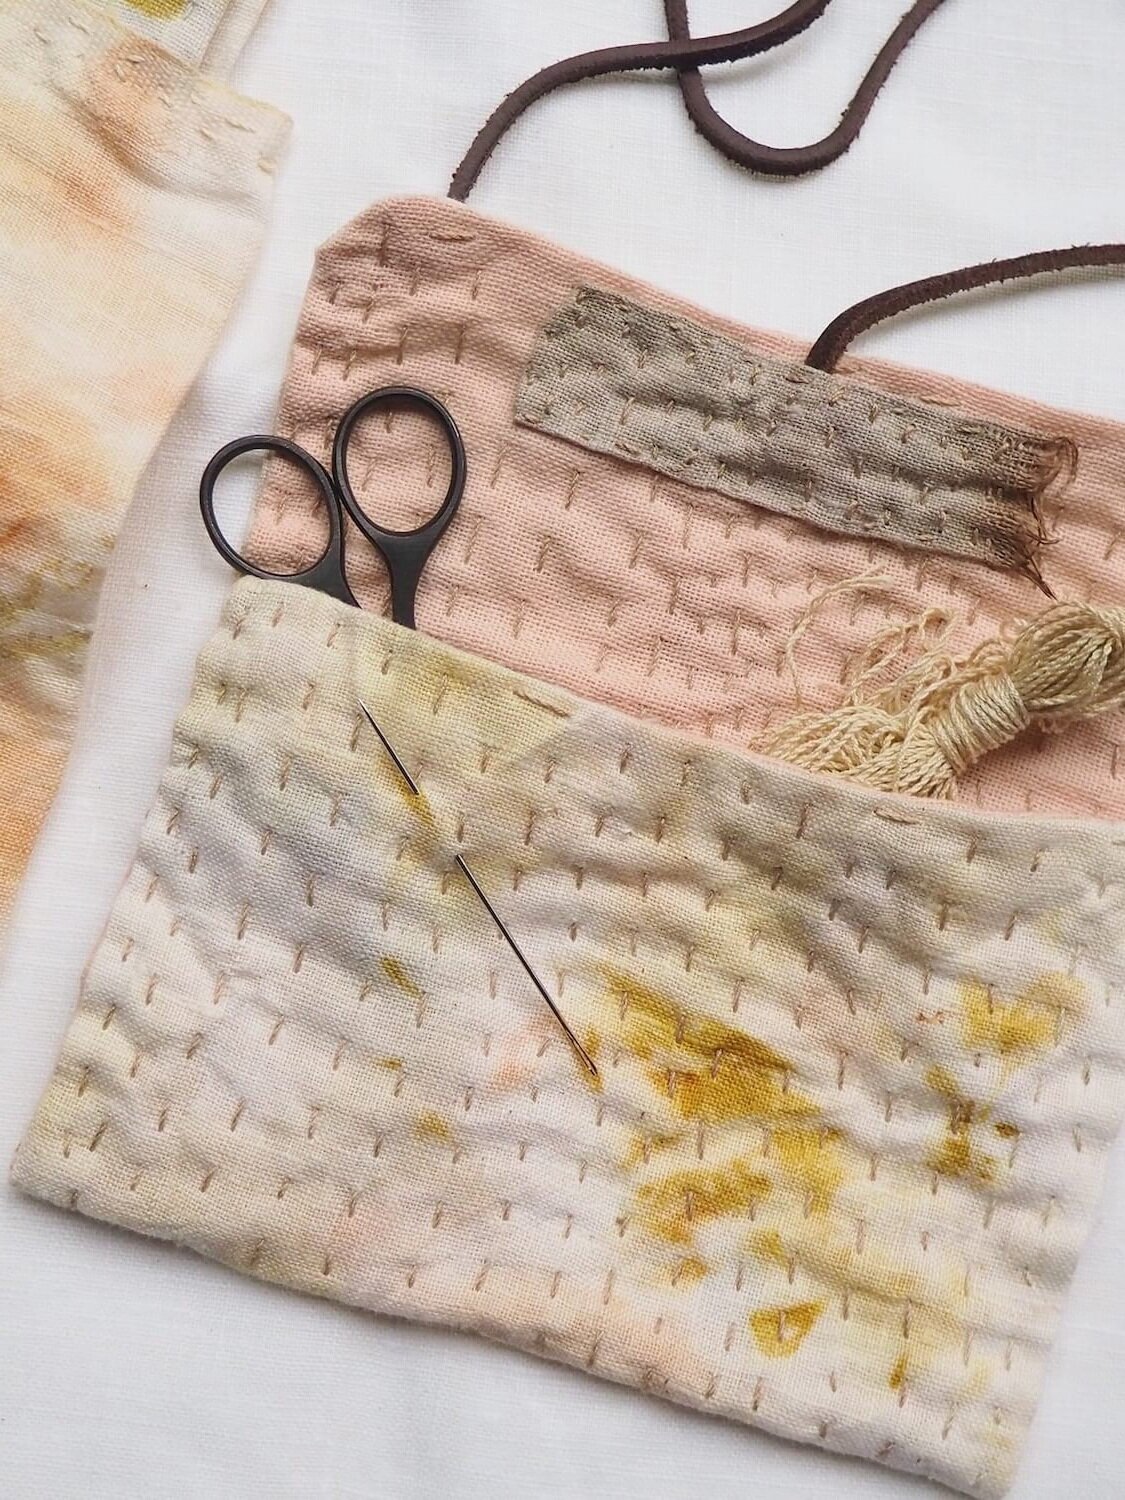
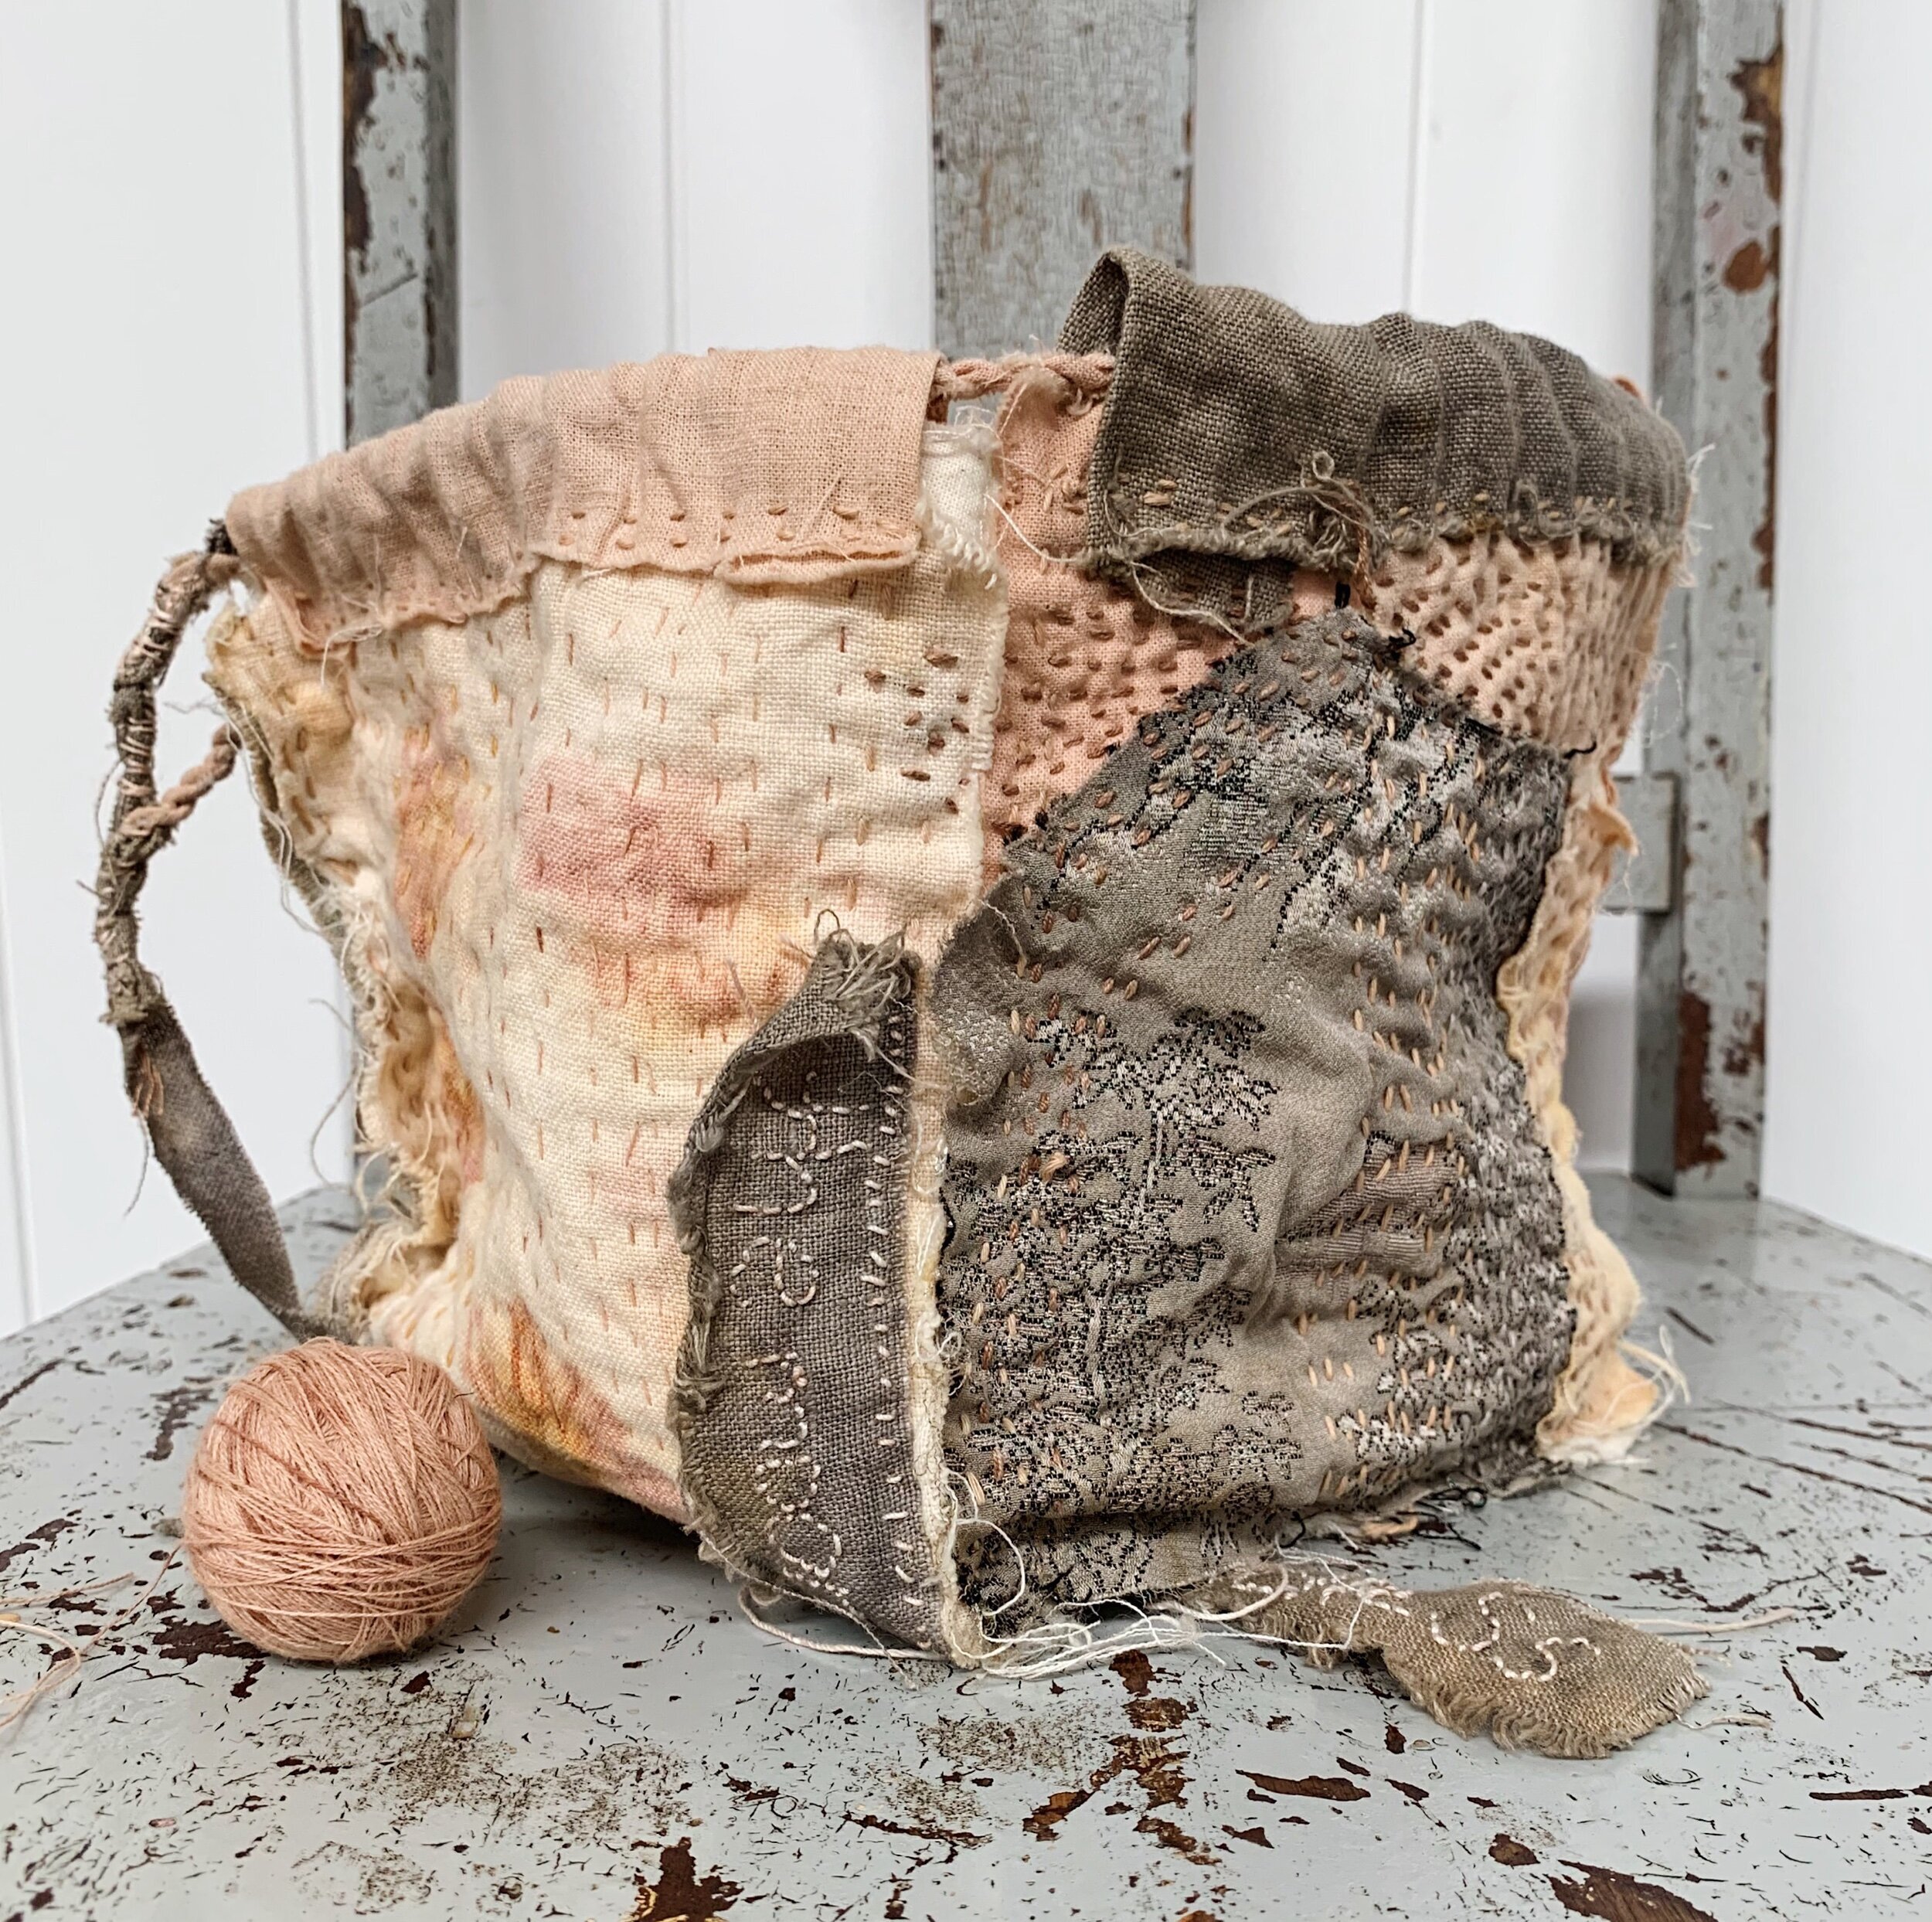
Little stitched drawstring bag pouch
These are one of my favourite things to make with my slow stitching. They’re practical, always have a purpose (all your handbag things, to store other sewing projects, for gifting, to carry your purse and phone, or your face-mask or… ). I have been making these for years, and they almost become better with age.

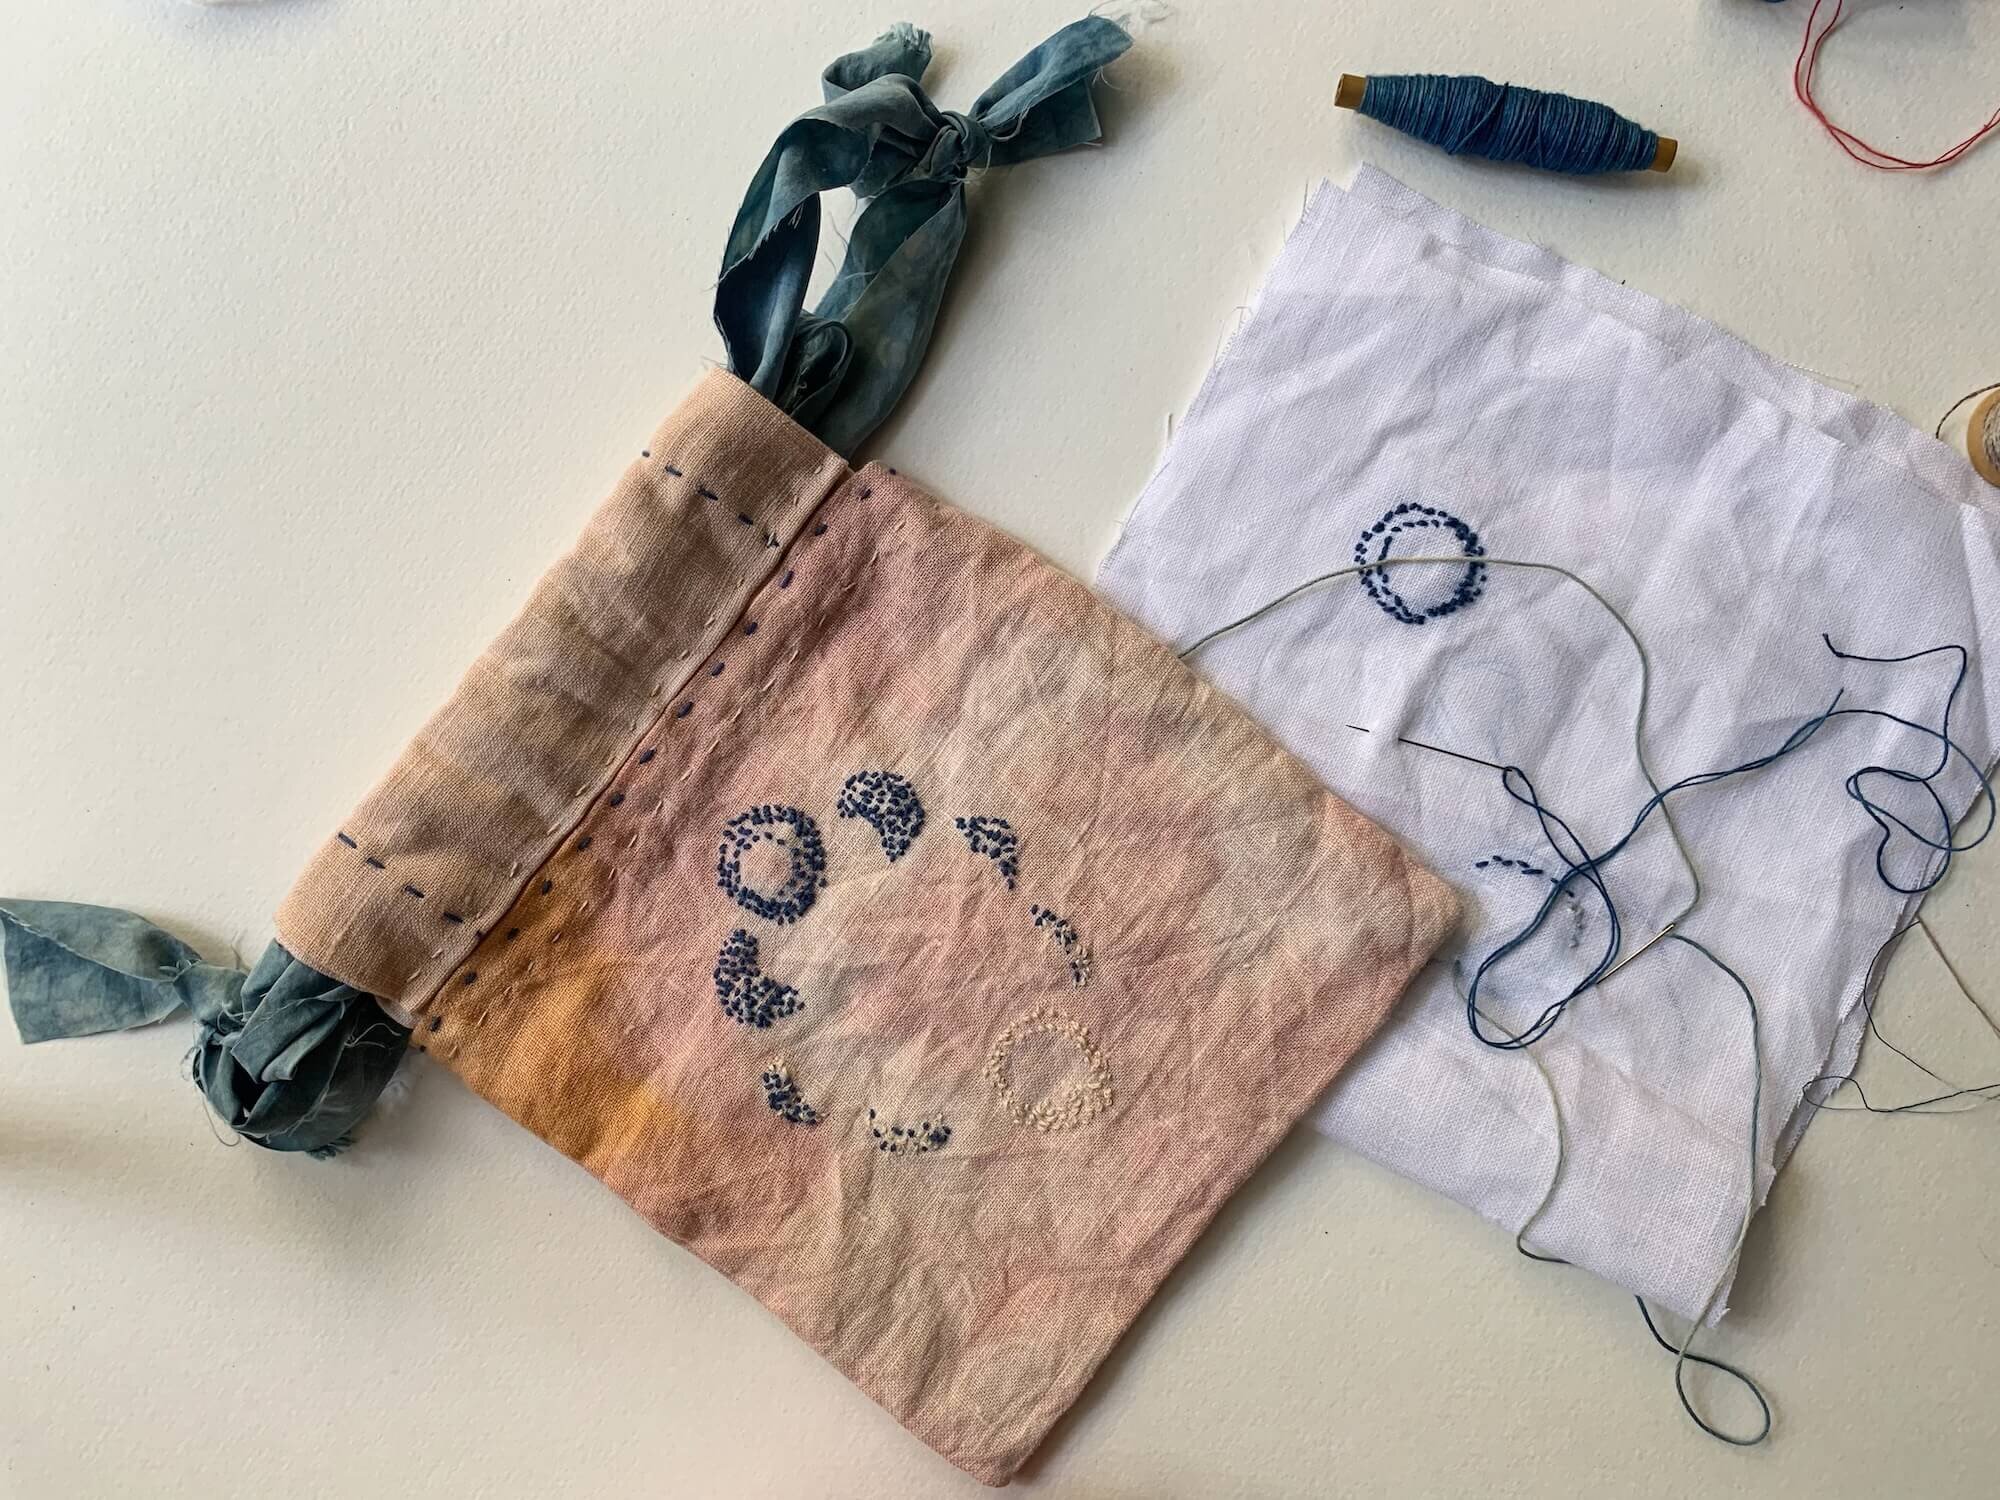
Japanese Komebukuro bag (a Japanese rice bag).
Traditionally used to carry rice to the temple for offerings and made using special scrap fabrics. Mine is rough re-imagined version, with a combination of naturally dyed linen, vintage kimono fabrics, hand made fabric string and stitched words using linen and silk threads. I use this to carry my camera and love holding and looking at it.
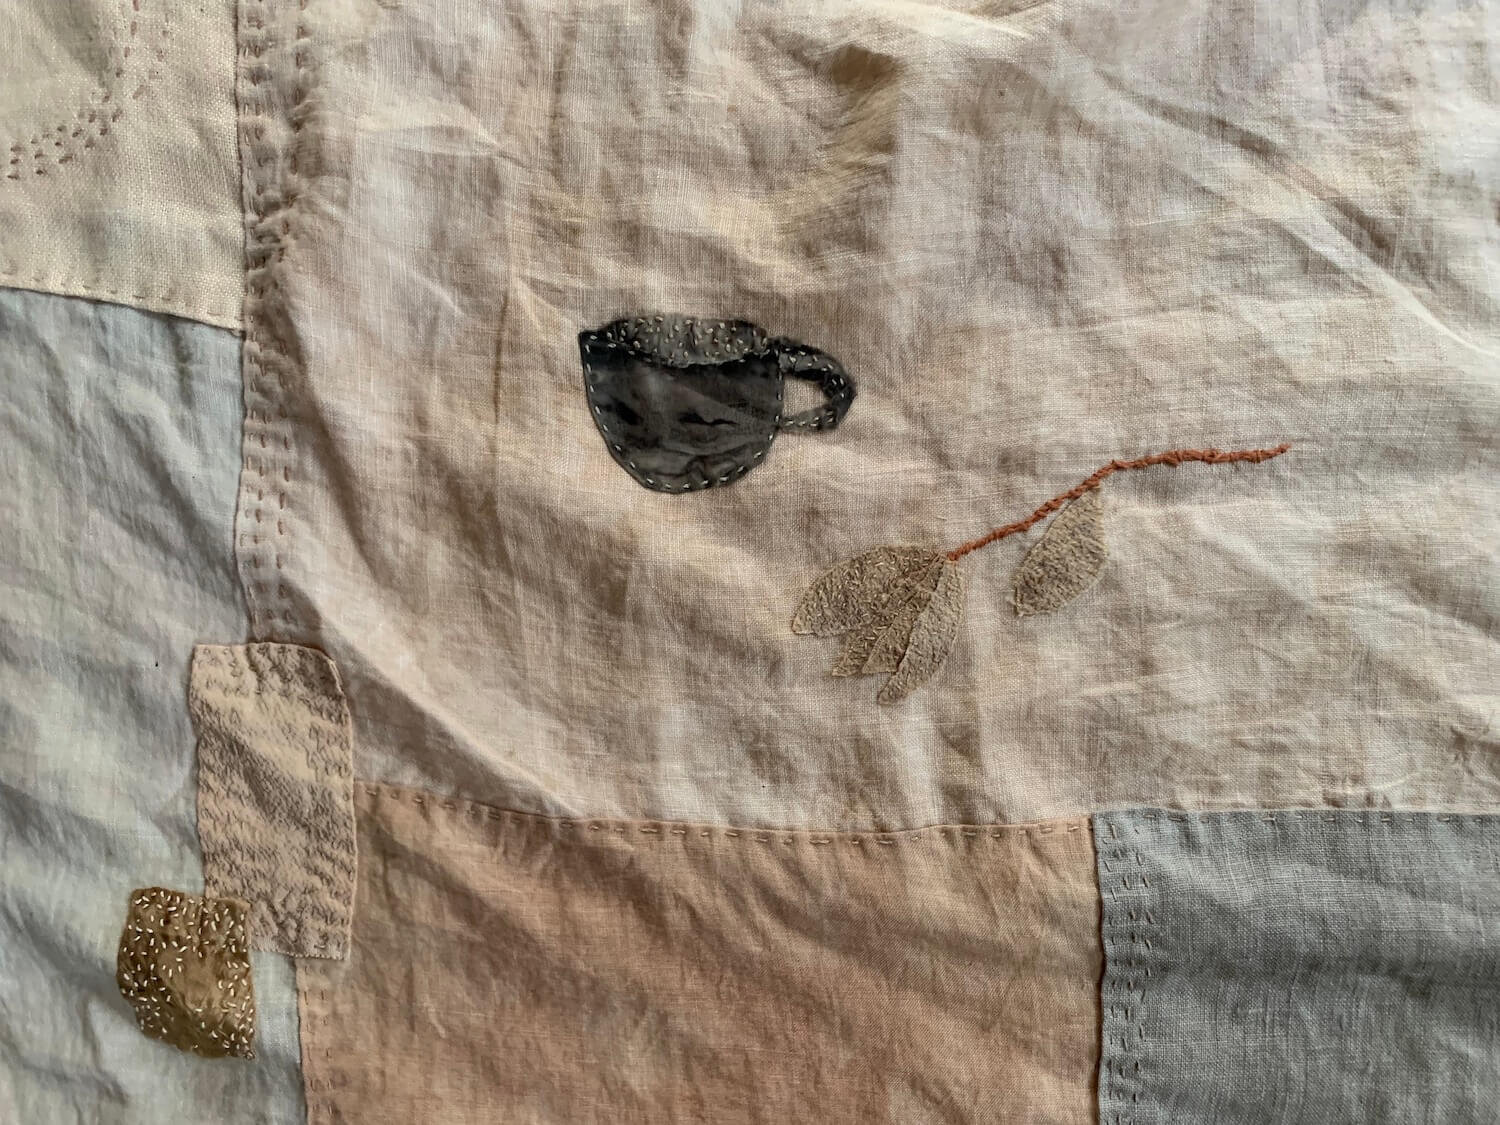
Artwork - wall pieces & wearable
This is one of the most fun ways of using your stitched treasure into something beautiful to look at. Some pieces you make might not be usable, but you don’t want to have them hiding in a draw. Hang them on a hook on the wall, frame them, add something to use as a necklace or a brooch and show them off.
Elevating your gentle slow stitches into art work is a vital way to remind yourself of your creativity.

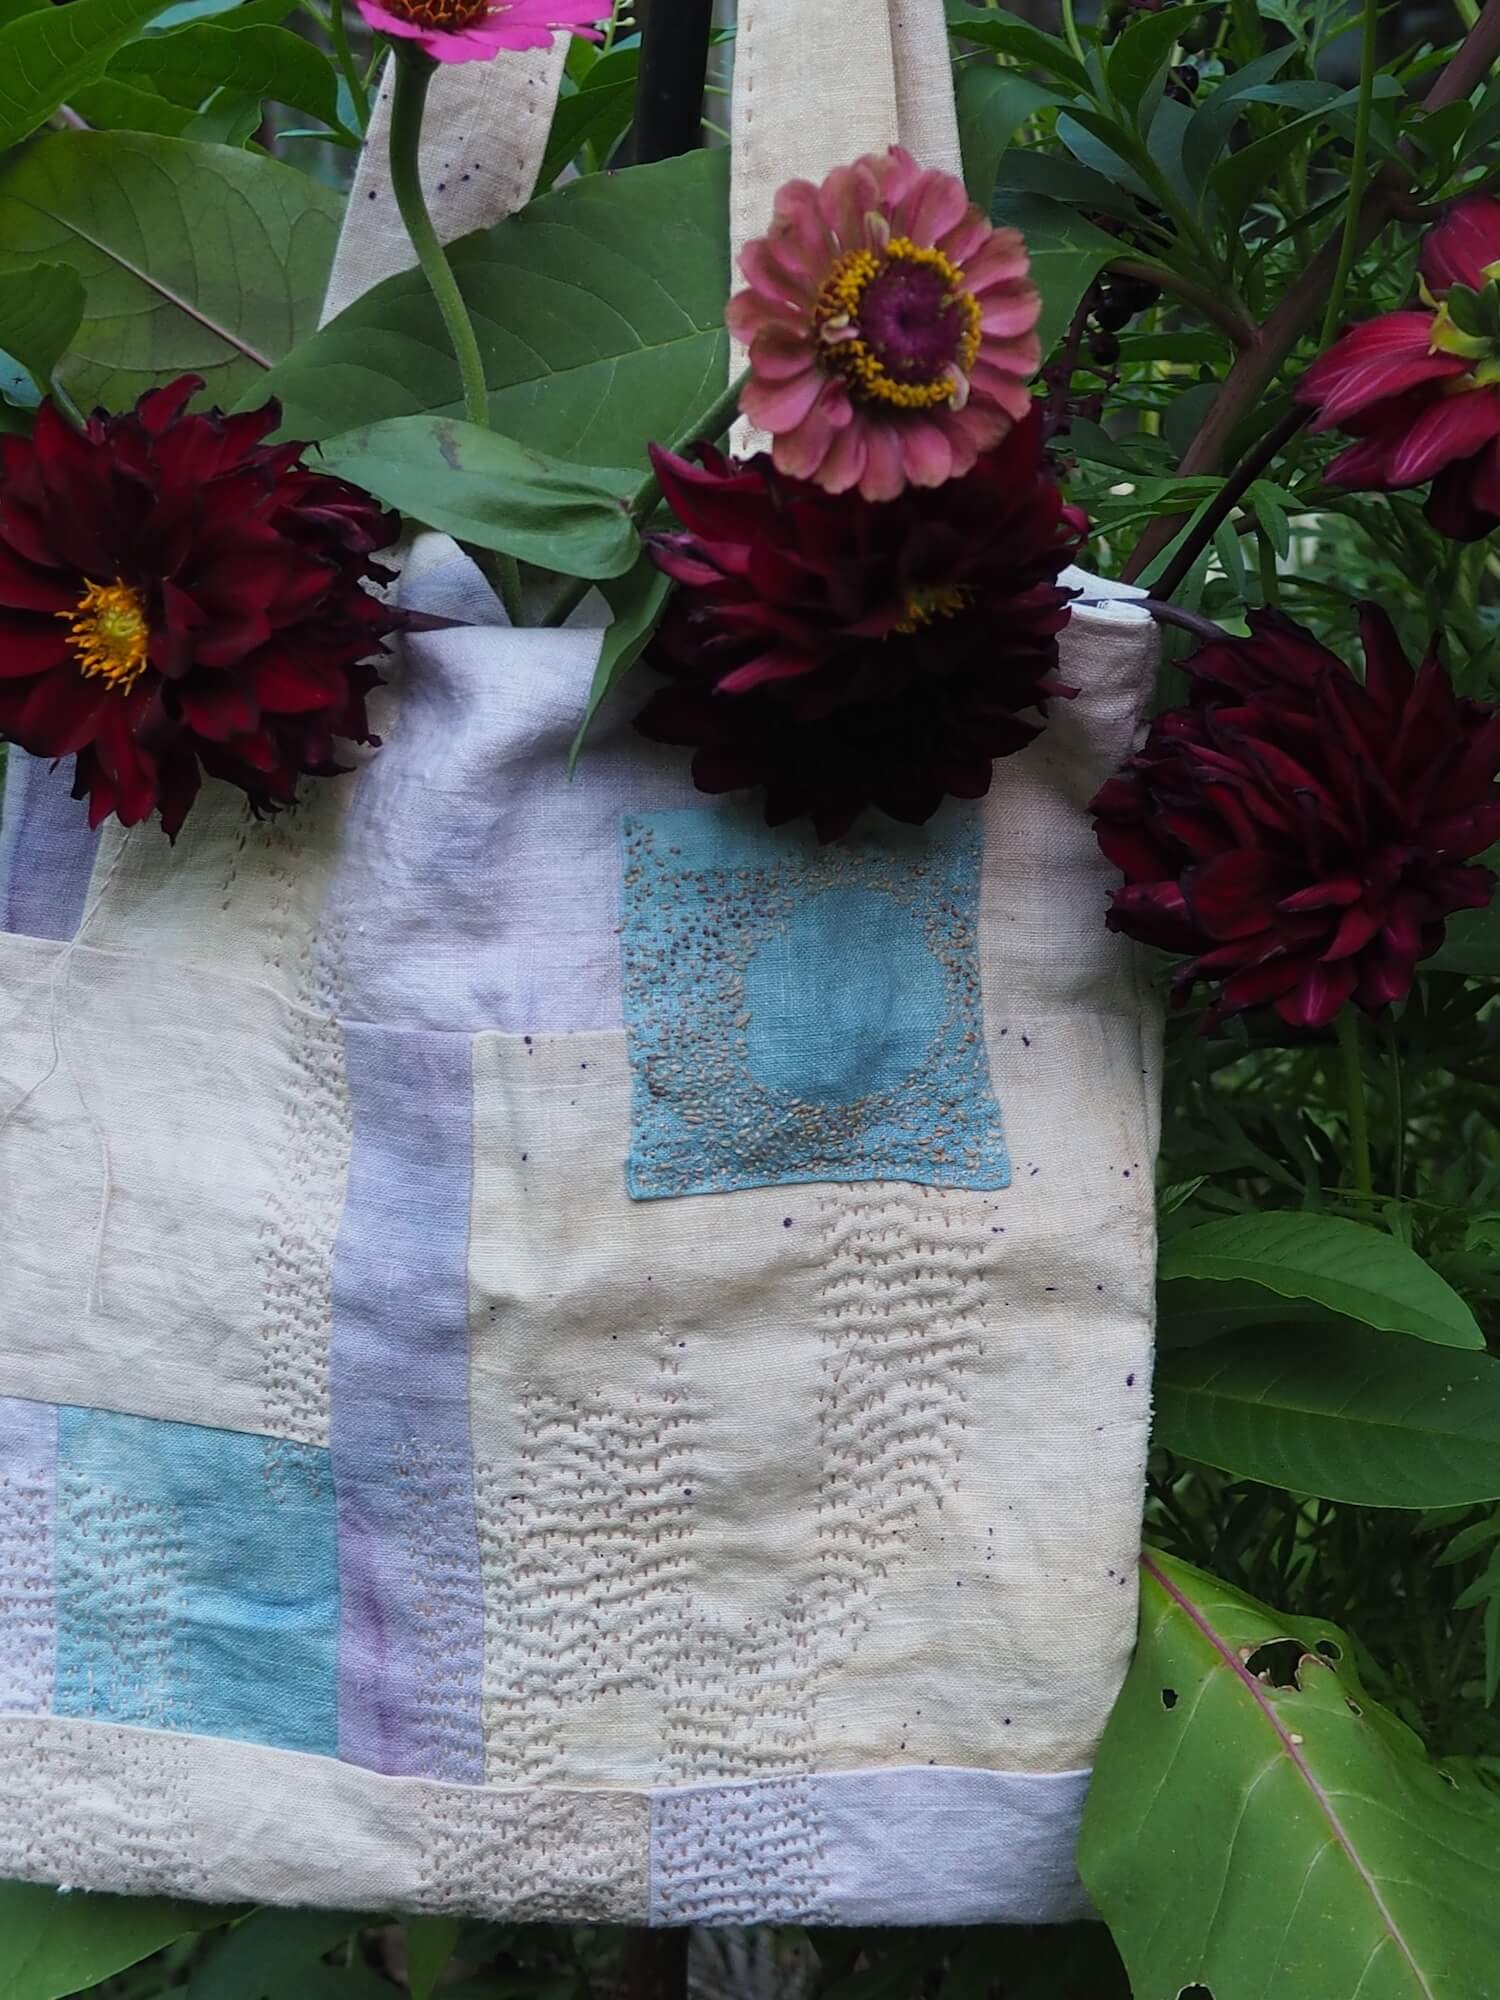
Tote bags
I used to make a lot of tote bags years ago, when we did screen printing in our previous incarnation of our business. It was called Red Seed Studio. We hand screen printed, then sewed all the tote bags and cushions in our home - while the kids were sleeping or playing.
Who doesn’t need another tote bag, or library bag, or something to carry to the farmers market? (Actually I think my son might have about 20 different tote bags, so I probably shouldn’t make any more for him). Depending on the size and dimensions you make your bag it can be used for different purposes, from kids carry matchbox cars to adults carrying drawing books.
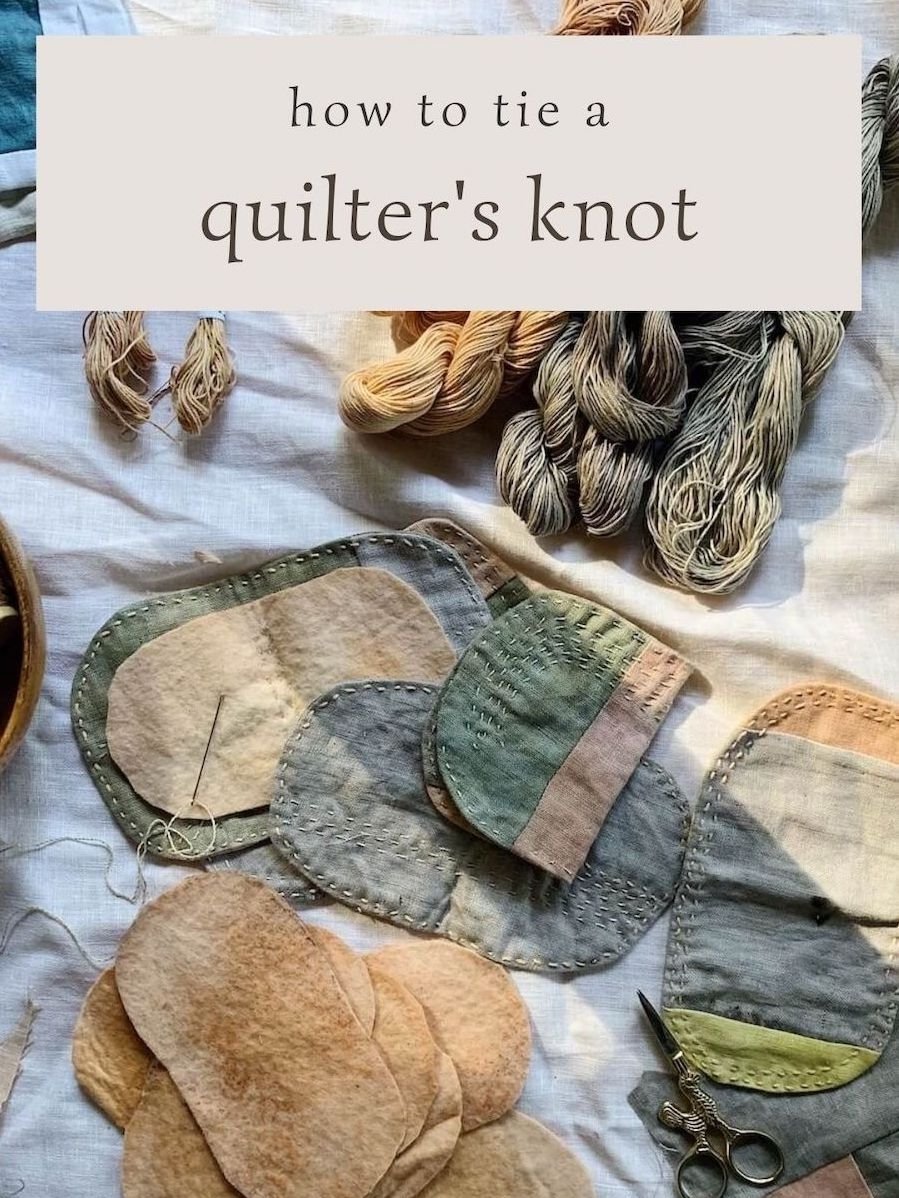
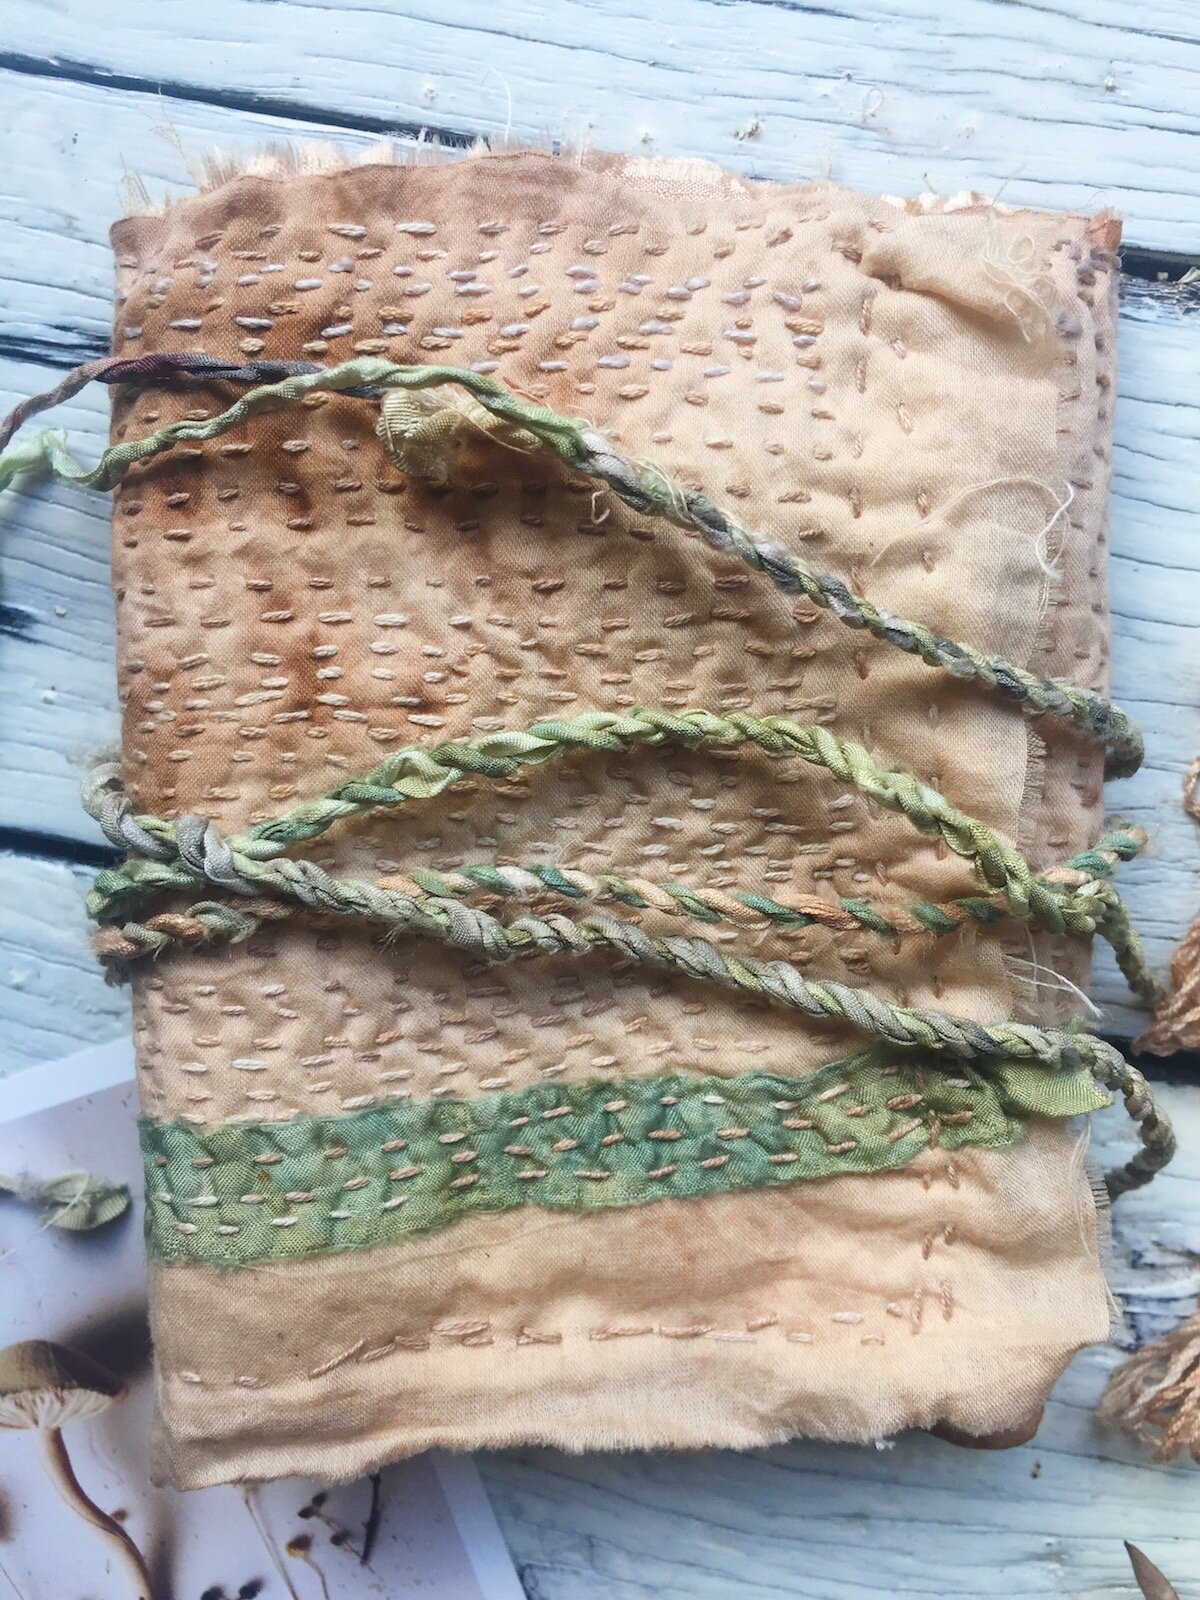
Needle case
Once you start sewing and hand sewing, you’re going to need your own needle case or two. They’re simple to make but so so practical. You can make them however you like, whatever best suits your needs. But I love that these can be hand stitched using your delicious slow stitching pieces.
I always have a sewing kit on me so having a needle case is vital for being able to take projects on the go, to make during times of waiting instead of picking up my device. It also sparks so many conversations, especially at doctor’s rooms.
They make excellent gifts - especially for young people who might not have sewing influence in their lives. A little kit with needle case, pins, needle, thread, fabrics and perhaps a voucher to spending time with you teaching them how to stitch.
My free online course shows you two different ways to make a needle case, so you can decide what you prefer. Each course has different techniques, so it’s a good idea to watch them both and keep learning.
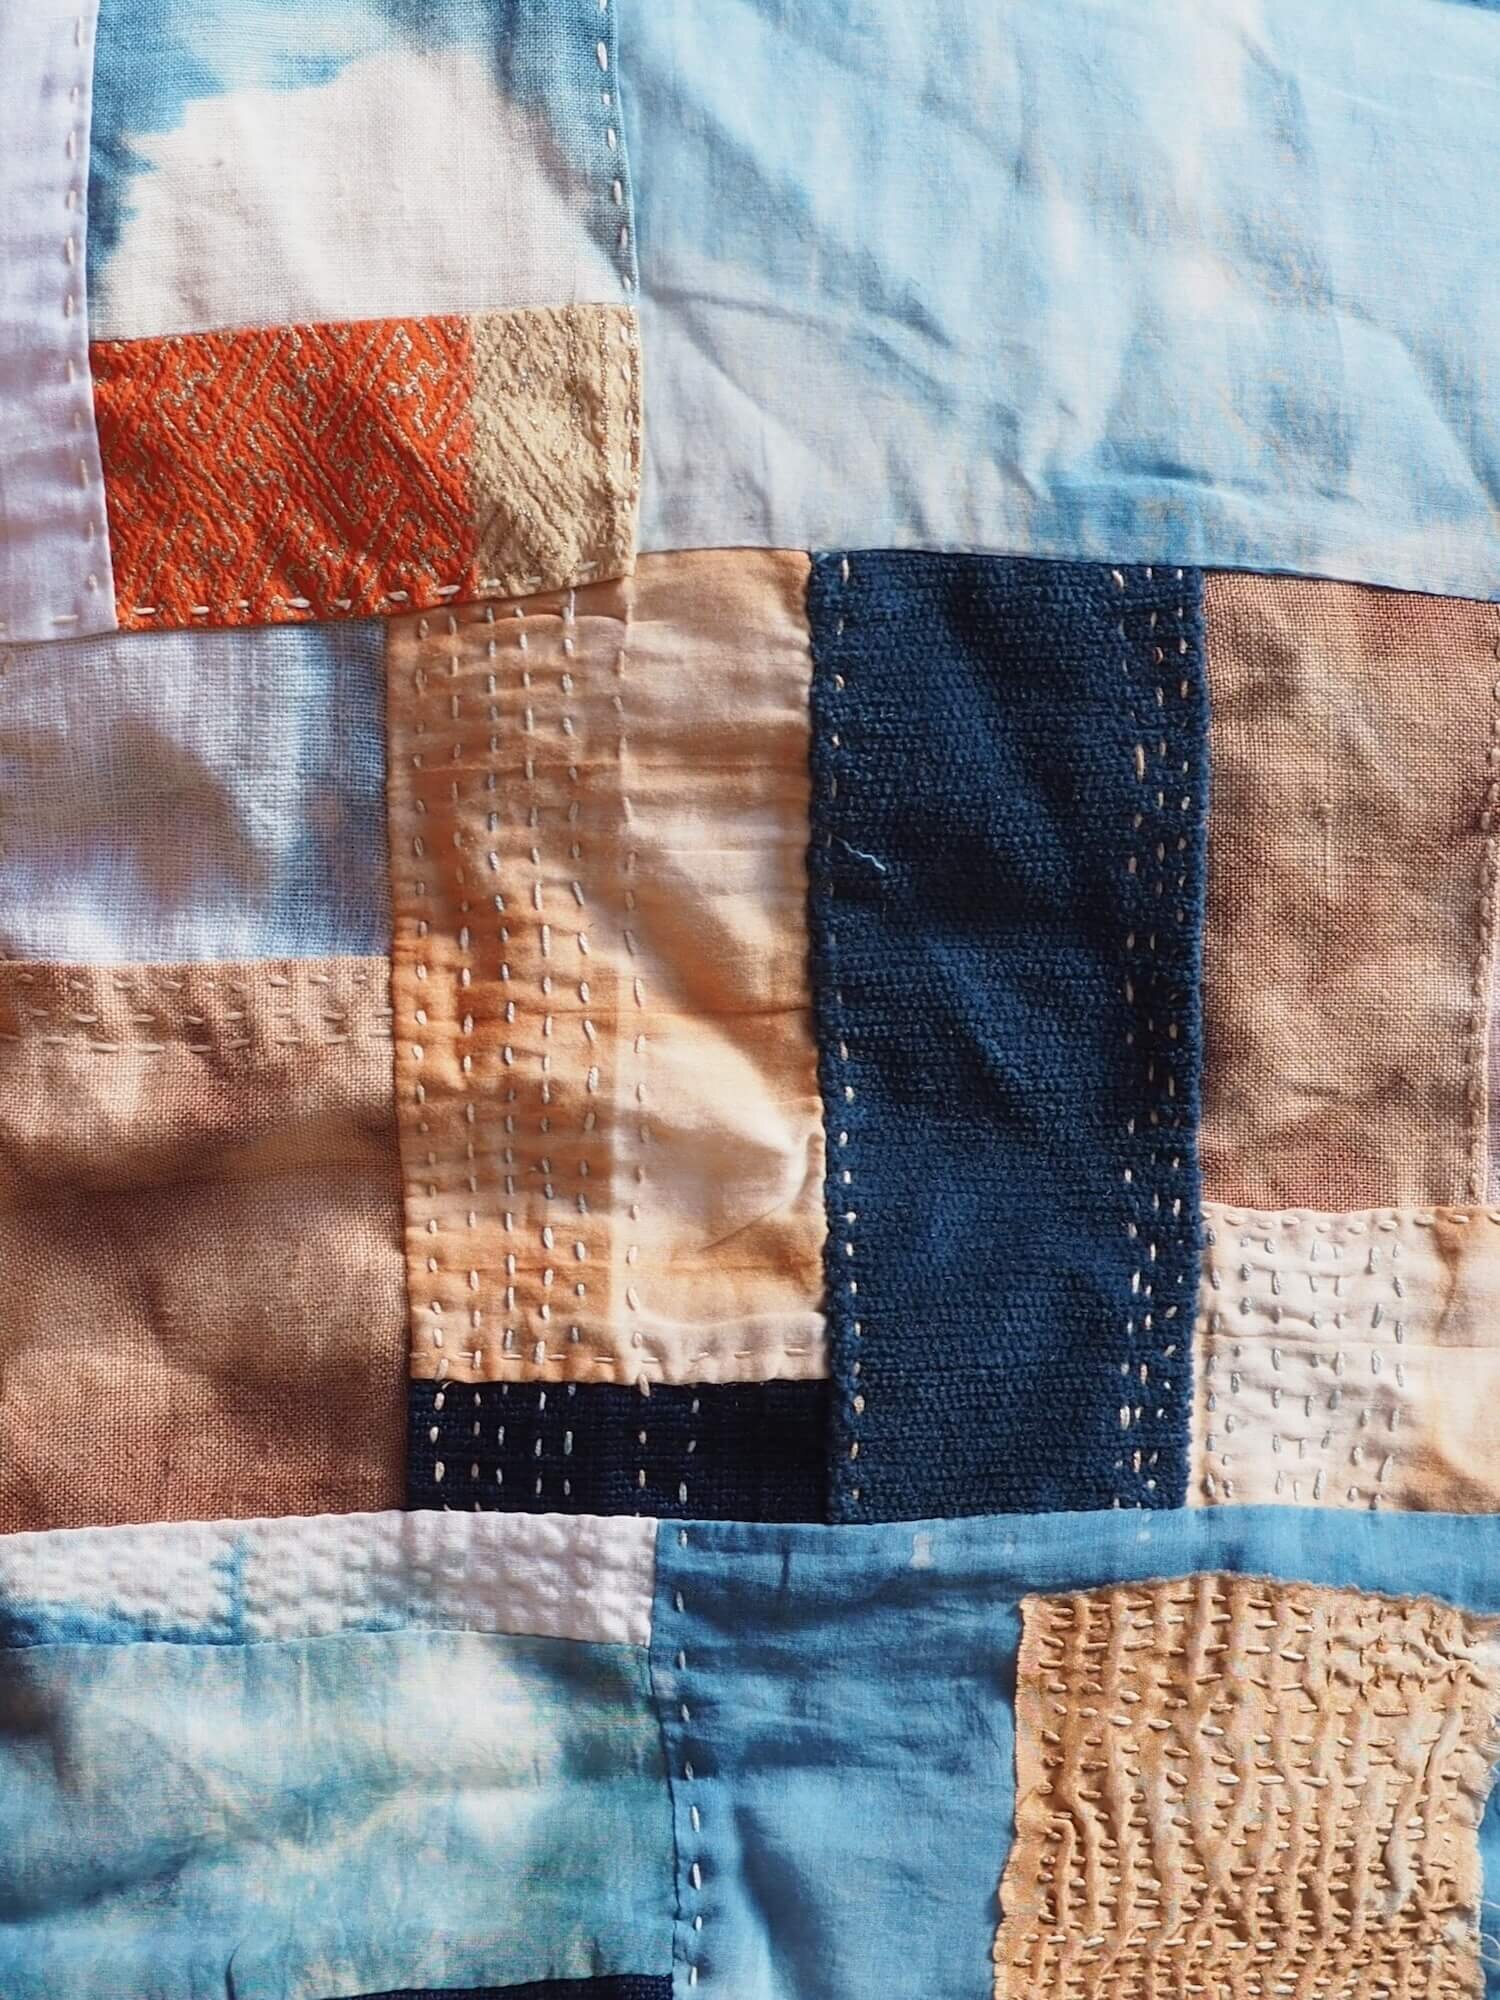
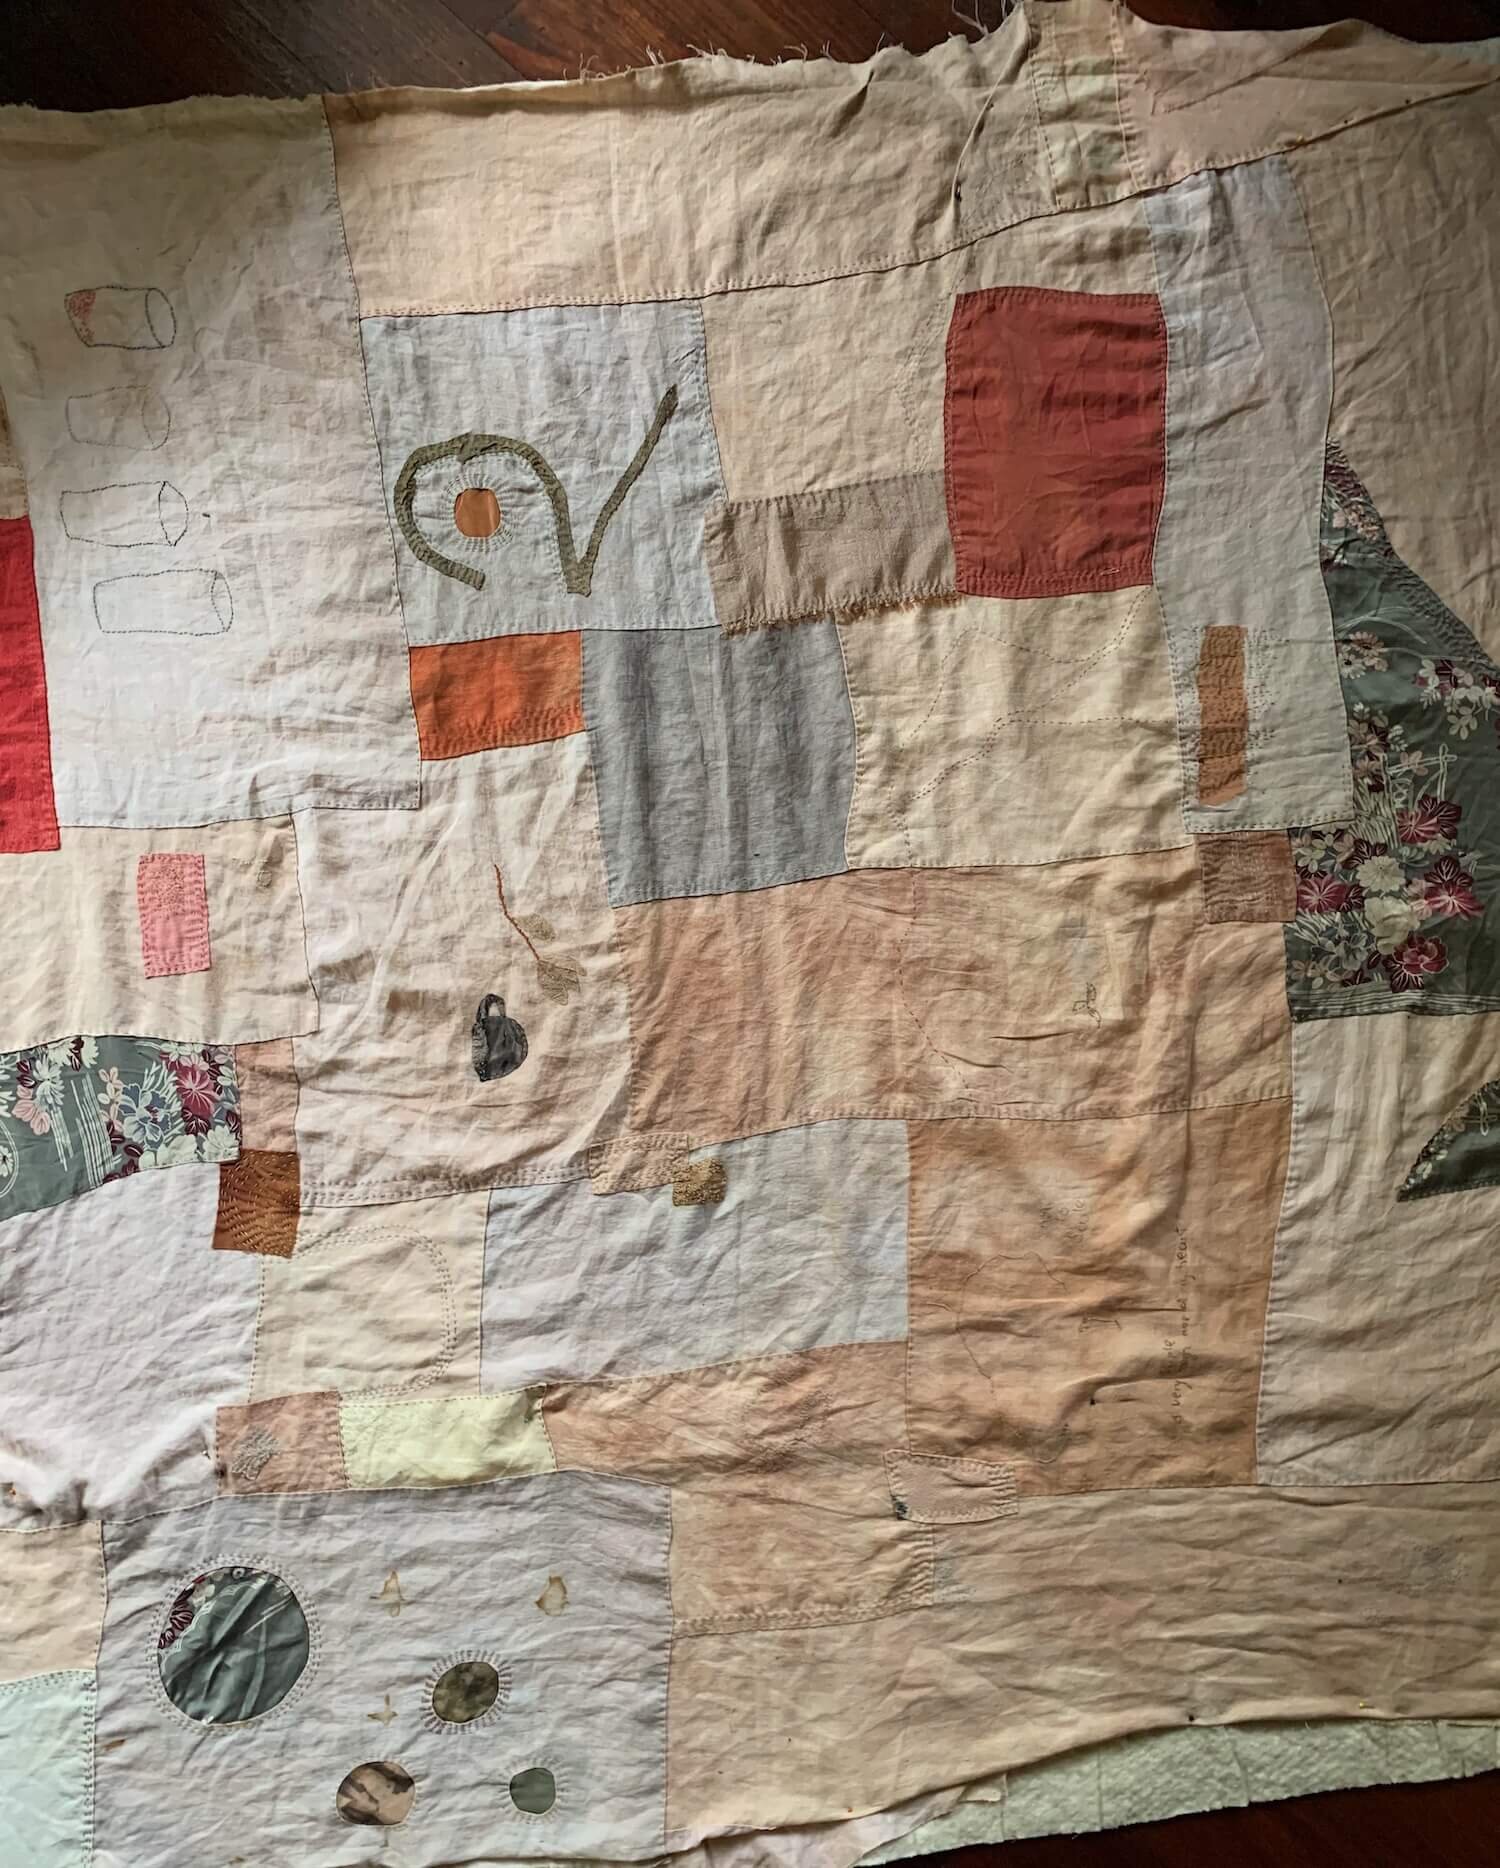
Pieces that will become a quilt top
Often I have lots of little pieces of stitch work in varying sizes, textures, colours and states of ‘finish’. Sometimes they have a theme or are connected in a way. Other times they’re simply their own individual piece.
I like to use them as part of a hand stitched quilt top. Either by using appliqué to stitch them on top, or joining pieces side by side. I talk about this in my online quilt course.
Some other blog posts you might like to read: