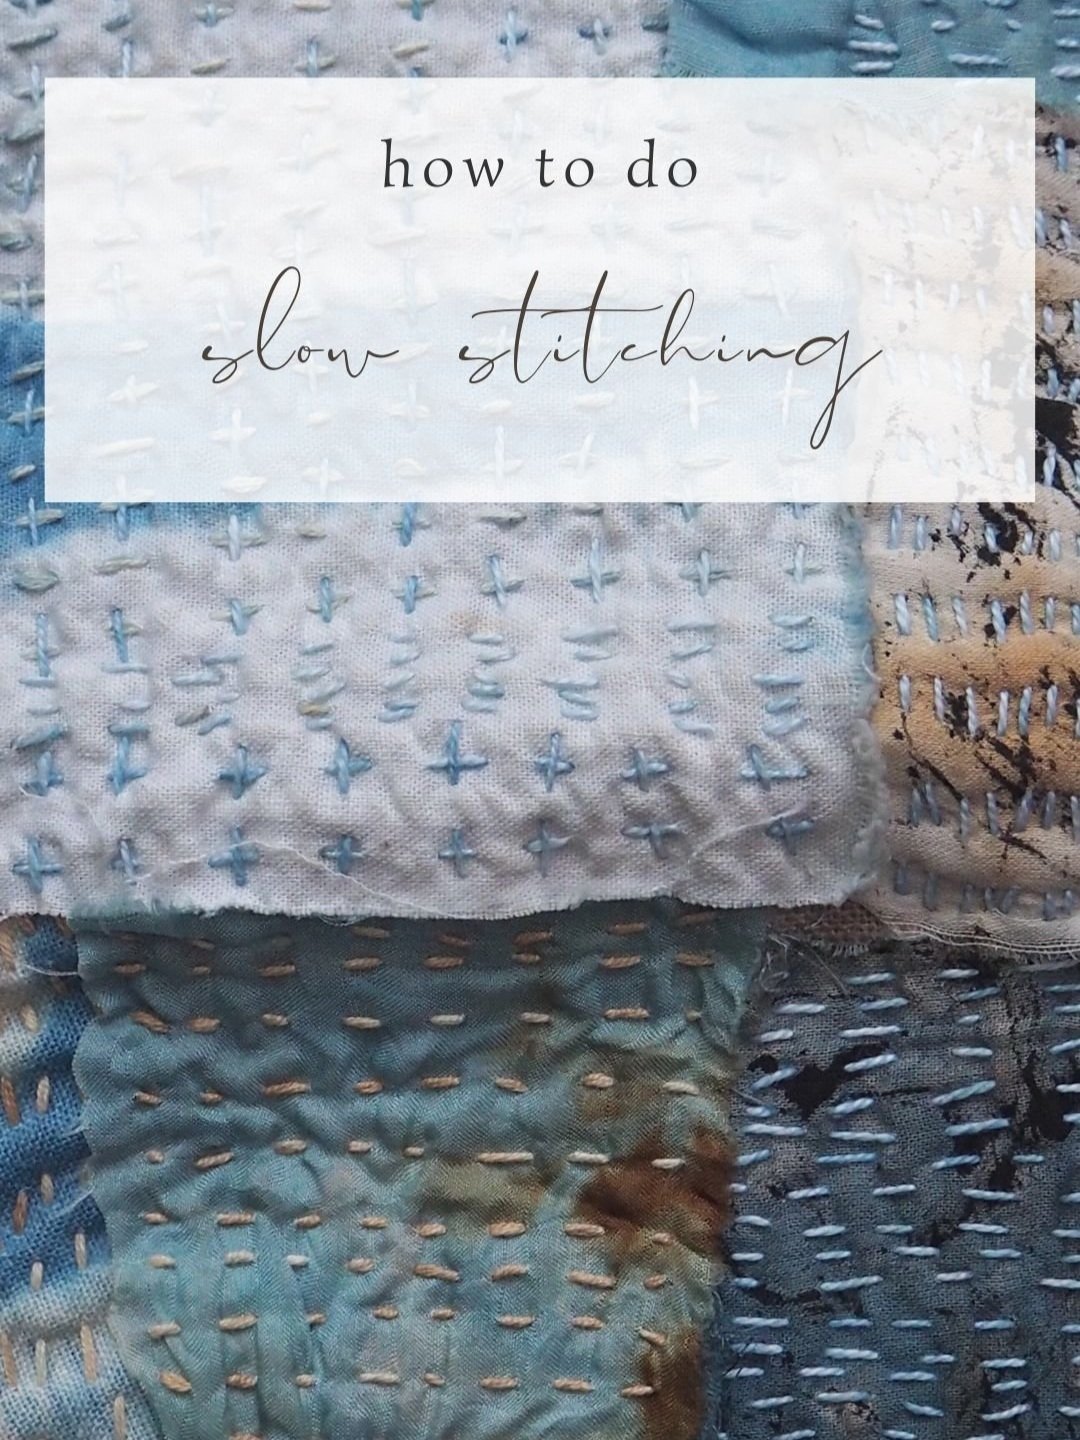
5 ways to make your slow stitching project look amazing
Slow stitching and hand sewing are great techniques for creating unique items that bring joy and delight, both in the finished piece as well as the process of making it. But sometimes a project that can be fun to make doesn’t always end up looking so great. I’ve had this happen more times than I can even bare to think, which is why I’ve got so many UFOs that will never be finished, and are hidden in boxes.
Over time I’ve learned some ways to make sure I have more of a ‘success’ rate with loving the finished piece, even if it won’t ever become an actual practical and used item. By ‘success’ I mean that it is inspiring to me, it makes me want to push further and that the actual process of it was enjoyable, rather than losing interest half-way through; believe me that happens quite a bit too!
I’ve put together some ideas for you on how to make your project work and look great, even when you don’t have a plan for what it’ll become. Lots of my slow stitch projects are ‘process-led’ pieces rather than predetermined finished items.
This can sometimes mean that the piece you create, which you might have spent hours and hours on, isn’t really a cohesive textile item that you want to keep or use.
These methods also allow you to use less fabric, which means you won't need to spend as much money on supplies or contribute extra resources to the massive amounts of clothing and textiles thrown away each day.
To avoid this disappointment and work towards better understanding how to choose before you start on creating something that you’ll love, try these suggestions:
1 Start with a fabric selection that works well together
2 Pick a colour scheme that makes sense
3 Allow the work to guide you: have a conversation with your fabrics and threads
4 Add Some texture or embellishments
5 Don’t be afraid to cut it up or re-work it into something else

1 Start with a fabric selection that works well together
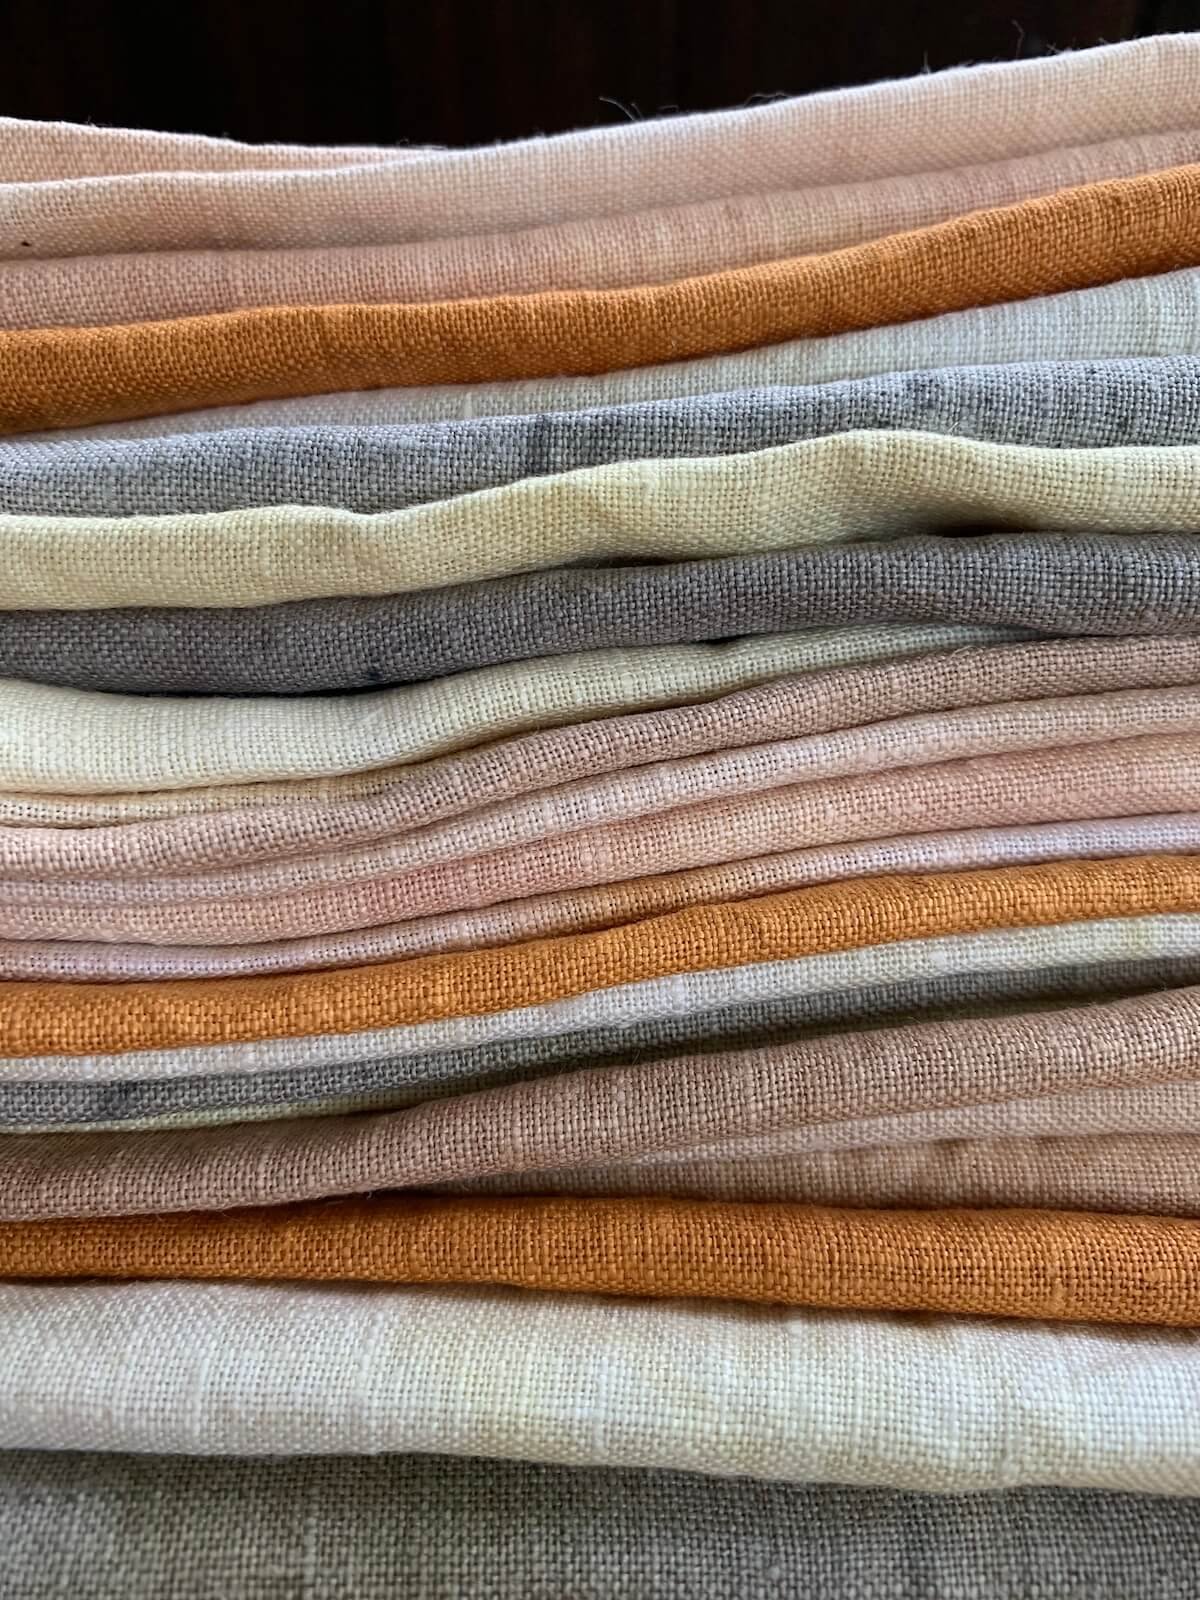
You should start by choosing fabrics that work well together. If you're using two different colours, make sure they complement each other rather than clash. Also, choose fabrics that coordinate with one another so that they blend seamlessly when sewn together.
I’ve written here about choosing fabrics and threads for your stitching projects, but a good rule of thumb is to make sure that the base fabrics you’ll be working with are of similar weight.
This helps to make sure that it’s easier for you to work with; you can use the same needle for the project and your thread will slide through the fabric more smoothly.
When you have this structure to start with you can then add some embellishments with finer fabrics and different thread options.
Mixing and matching fabric weights and weaves is fun to do, and can create an interesting and unusual piece, but if it’s for a practical project then keep this mind when we choose your fabrics.
If you have thicker denim or linen combined with a finer silk, then the silk will likely fray or fall apart more quickly than the linen. This can happen at the seam lines or simply the fabric itself.
This is of course ok if your piece is more decorative, such as a textile wall hanging, but as a practical item it’s something that I consider before I start. Of course, breaking the rules is fine too - just so long as you know that’s what you’re doing and what it might mean for your work later on.
I break the rules often, but I am prepared for the fact that I might need to repair the project by mending or adding new pieces of fabric and extra stitching. This of course is the joy of making by hand, and actually allows us to continue the story of the piece after it’s been officially finished. It’s never quite finished in this case is it?
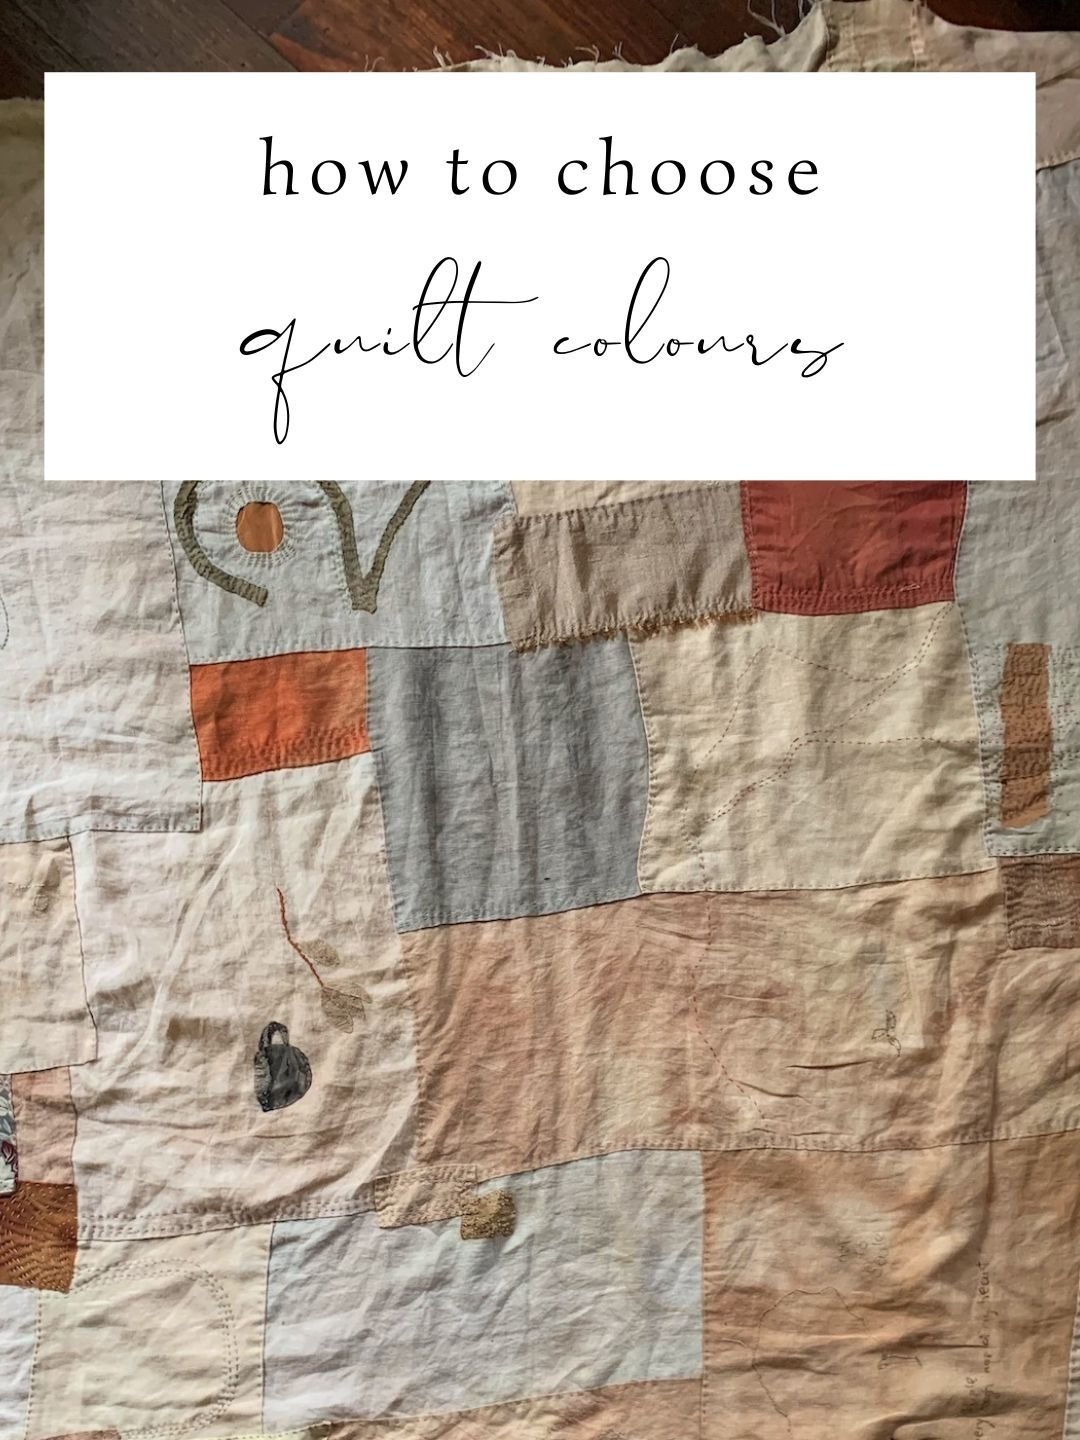
2 Pick a colour scheme that makes sense
Next, pick a colour scheme that makes sense for the project. This means picking colours that will go well together and compliment the fabric you've chosen. If you're making a quilt, for instance, you might want to use bright colours that contrast with the dark background. Or, if you're making a pillow, you might want to stick with neutral tones or a complimentary palette that won't distract from the design.
When I don’t know what my project will end up as and I’m really just working with the play of the making, then I start with a limited colour palette. To me this generally means one main colour and one or two other colours that play supporting roles.
I think about how colours play and interact with each other, and I usually don’t go for massive contrast when I'm choosing these original colours. Of course, as I’m working instinctually and with an improvisational manner I don’t limit myself to the original colour palette if it needs another colour story added in.
This cushion cover started with blues and whites. I did use quite a bit of contrasting pattern, which isn’t something that I often do, so I really wanted to pare back the colours.
When you’re creating something without a pattern it can get a bit too crazy when there’s a lot of clashing colour or pattern, or both. Crazy quilting (see here or here) is something that people love, and if that’s you - then yay, go for it. Use all the colours and patterns you like. But I do think that crazy quilting takes restraint and an understanding of how to work with what you’ve got. It’s not about just throwing all the colours and patterns together and assuming it’ll work.
You’ll see in the blue cushion that I added some yellow and red to the piece, but this was considered and something I added towards the end of the project. At each step I take a step back and look at how it’s all playing together; and if a new colour needs to come in then that’s where I do it.

3 Allow the work to guide you: have a conversation with your fabrics & threads
When I’m in the flow of my stitching or improv quilting I find that the fabrics have a way of guiding the process and telling their own story. I don’t get in the way of this. It’s like we’re doing a little dance together, and we’re both listening and allowing.
There’s a generous and gentle play when this happens. And it’s quite wonderful to find yourself in this space.
It doesn’t always happen, of course, of course it doesn’t. How could we end up in this delicious mind-space every time we create? But when it does happen, lean into it and see where it flows and what evolves.
I actually find that the more that I spend showing up to my work and the creative process the more easily and more often I can slip into the flow of making. This isn’t something I rely on, but it does happen as I dedicate myself to my practice.
If I’ve not being giving attention to my fabric and threads for a while, then my brain takes much longer to focus and have these true conversations with the process of making. The materials might be talking to me, but I’m not open to listening. This can mean that at these times the work I make isn’t always the best it could be.
Best doesn’t have to mean artistically great in any sense, but it can mean more considered and less frantic.
In the image below (left) is some fabric that I started playing with rice / seed-stitch, which look like stars on the rich blue. I worked with these for a long time, and loved the whole process. And then, as I gathered fabrics and sat with it, this wall hanging became the piece it evolved into. By having that balance or ebb-flow of conversations with my process, my materials, the moments this evolved into something that is super special to me.


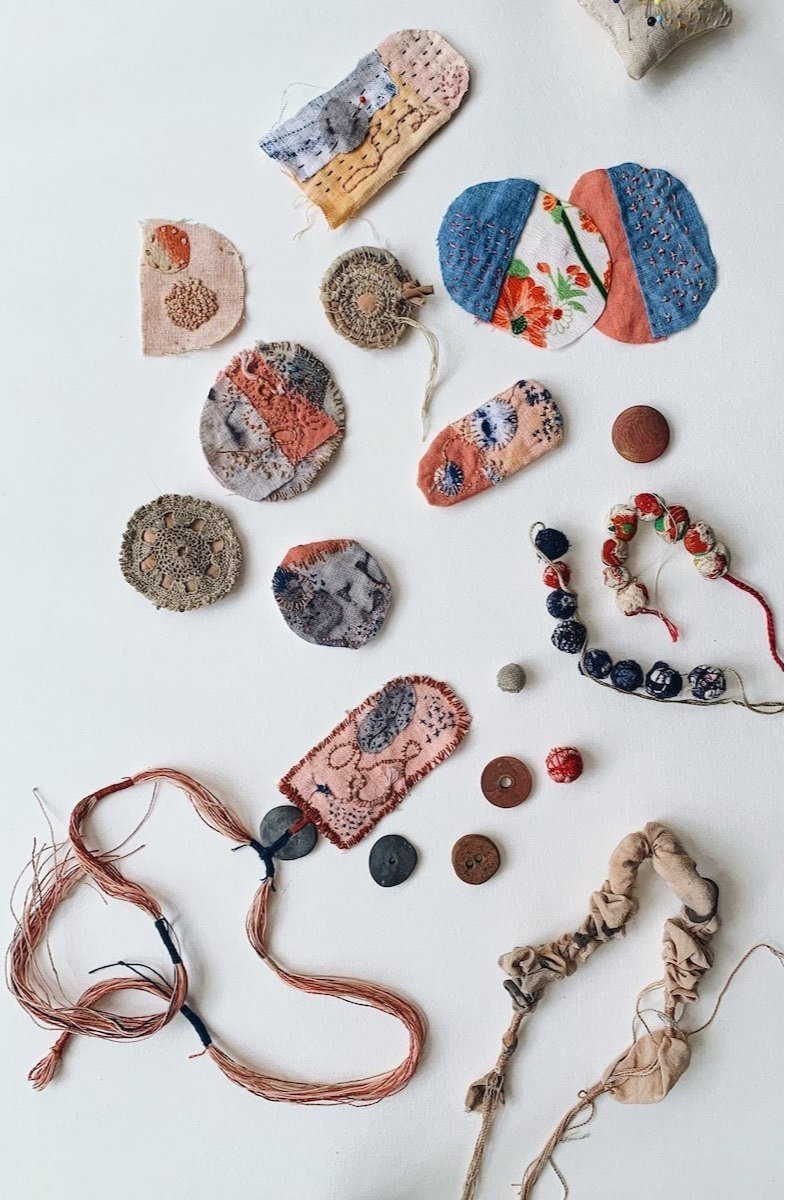
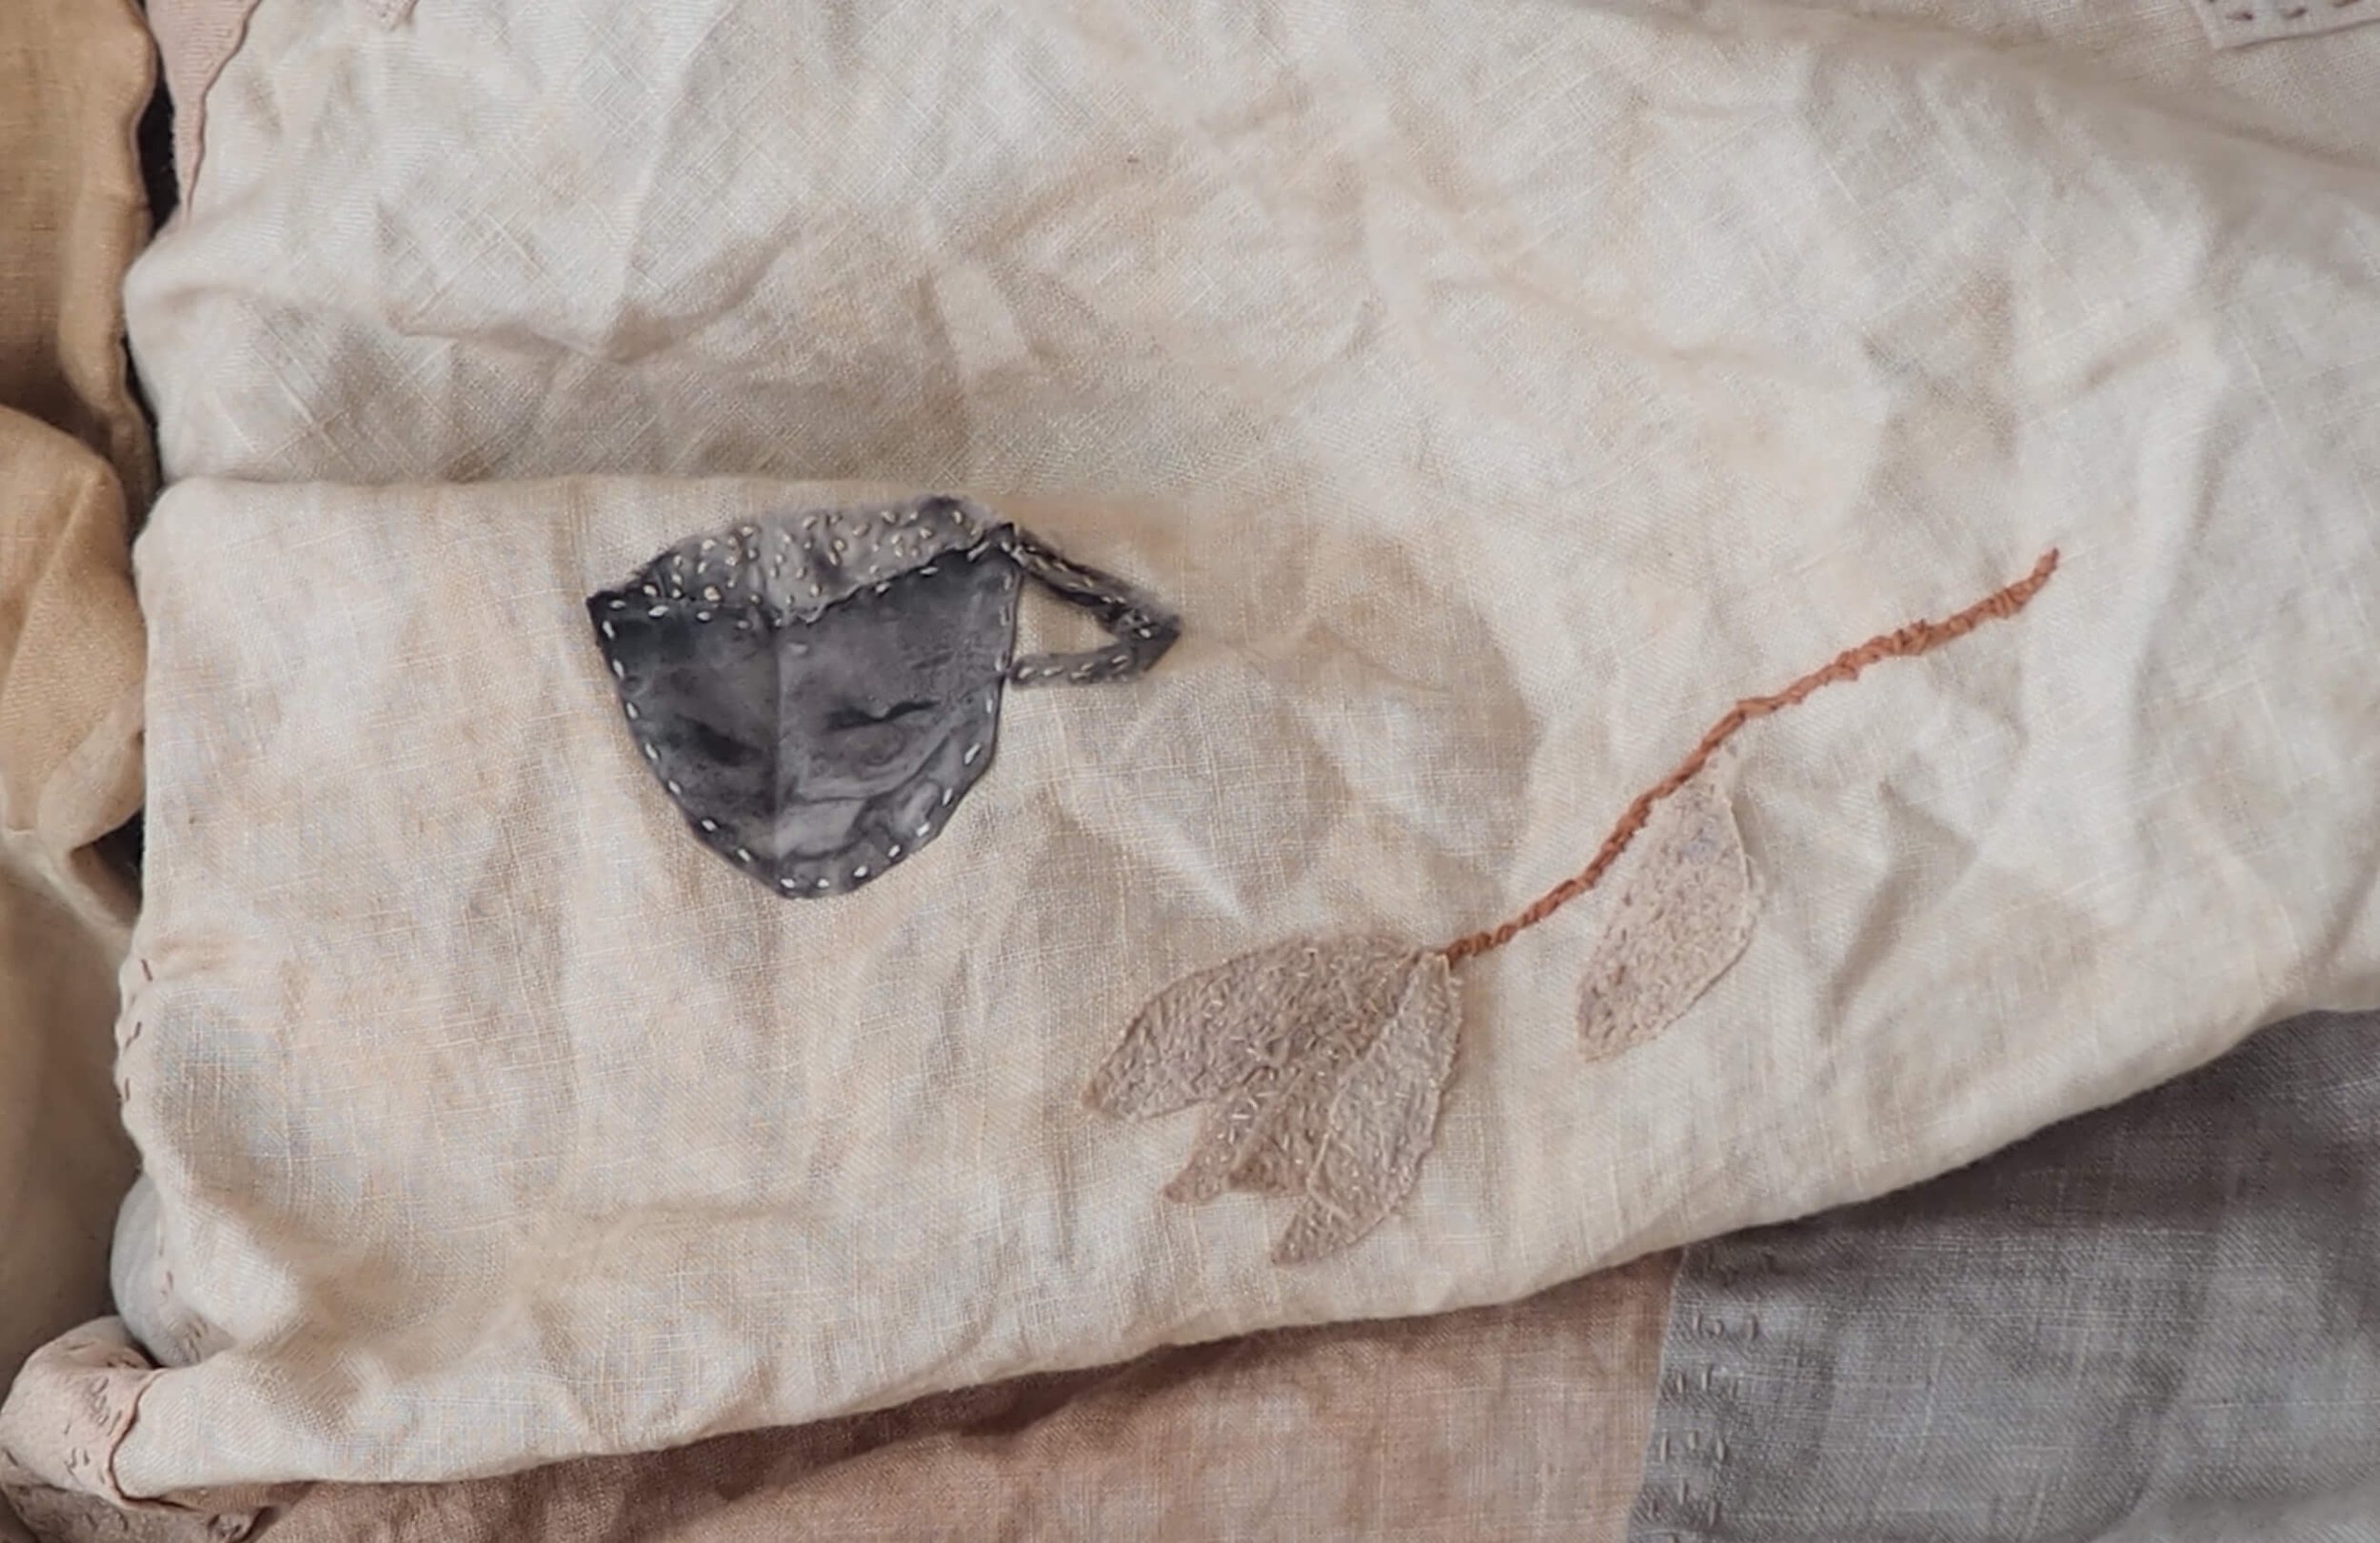
4 Add some texture or embellishments
You can also add texture by adding embroidery stitches, appliqués, buttons, or other embellishments. These details can make a big difference when it comes to creating an eye-catching piece.
In slow stitching this texture comes during the process, as we’re building up the stitches and adding different fabrics along the way. But sometimes when a piece is finished it’s nice to look at it and see if the composition isn’t complete or needs a little something else.
Adding some contrasting thread, either in colours or a thicker thread than the other stitches helps. Changing up the stitch is a fun thing to try. Maybe some couching or perhaps big French knots, or heavier sections of seed (rice) stitch in some sections.
I don’t usually add buttons or ribbons, but I’ve seen amazing work, especially in my community pages, where this is a truly amazing way to elevate the work into something else. It can take a fairly ok piece and turn it into a really well considered artwork.
5 Don’t be afraid to cut it up & re-work it into something else
If all else fails and you really don’t love your piece then you might consider cutting it up and turning it into something else entirely. There is a level of letting go with this process; in itself liberating and fear-inducing.
After having spent possible hours and special fabrics on your piece taking scissors to it does take some bravery. Or maybe just a moment of abandon and ‘go-for-it’ attitude. Of course, don’t be too rash. This as well is something to do in the right frame of mind - to give thought to the shapes that you’ll be creating.
Once you’ve cut then putting it back together becomes another fun way of testing your compositional skills and going through the process again. But you might end up with something that you love so much more because you stepped outside of your comfort zone and liberated both yourself and your stitched piece.
Recently I pulled out some quilt blocks that I’d made a while ago, and while the piecing of them was interesting, the colours didn’t spark much or inspire me to keep going. I knew I didn’t want a whole or even cushion made with them. But of course I wasn’t going to unpick them at all.
Cutting them apart and turning them into something else was a great process to work through - to allow the fact that something I’d previously put hard work into was ok to let go.
These blue and pink quilt blocks that I showed how to make in my online Improv Quilting course, I cut up and hand stitched to become a zippered purse. I thought the colours were too saccharine, but after adding the stitch detail on top and making it into a smaller practical project I do love the colours after all. Having these sweet colours as a sewing project bag makes more sense than having it as a quilt in my home.


I hope these give you some ideas for taking your works to new places, and for making your stitching practice give you more as you can find easier ways to pre-plan an unplanned, improv piece or to change it up at the end if it doesn’t work at all.
you might enjoy reading these other blog posts: