A garden bouquet ~ from my natural dye diaries


Do you want to learn how to make the most beautiful colours on fabric, using gathered garden treasures? Here I've got a simple, yet ever so magical, tutorial so you can create your own. I love the whole process of this project, from the quiet joy of gathering your supplies through to the patience of waiting of it to 'cook' and be ready, through to the marvel of opening up the treasure that you've created.
Each time you dye in this special manner, you get different results, depending on the flowers, leaves and seedpods, and even the fabric that you use. To me, that's a big part of the whole natural & botanical dye process. I don't want things repeated exactly the same, but love the nuances that come out of working with nature, with variations of technique and the simple alchemy of cooking.
You can learn all about this in my online ecourse about Natural & Botanical Dyeing, but here's a little how-to for you, if you want to make your own this weekend:
You'll need:
Some fabric - silk or wool works best, but cotton is good too, something not too heavy or too sheer. You can use small pieces or one large piece, it doesn't matter at all
Flowers, petals, leaves, bark, seedpods gathered from the garden or nearby fields*
Kitchen scraps such as onion skins (brown and red), coffee or tea left overs, passionate fruit skins, avocado skins and seeds (I'll share a full tutorial for this alone soon).
String and scissors
An old saucepan - it's best to use one that you won't be using for cooking again. A second hand one from an op-shop is fine - stainless steel or aluminium.
White vinegar
Here's what you do:
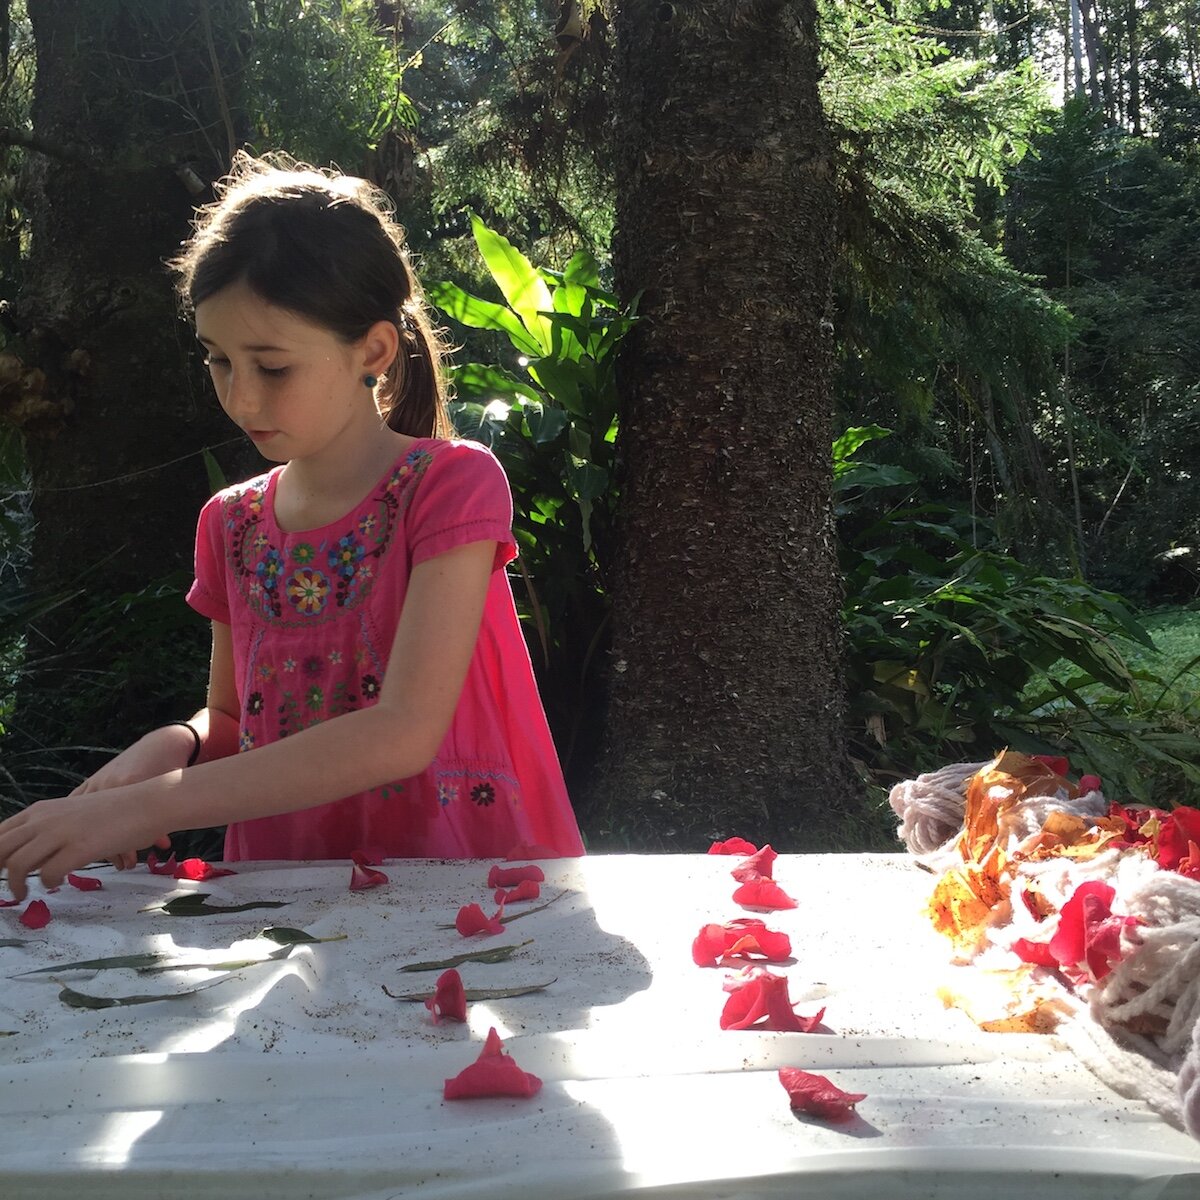
Gather your supplies from the garden. This can be a beautiful way to get kids outside exploring and enjoying the sunshine, and noticing the beauty all around them.
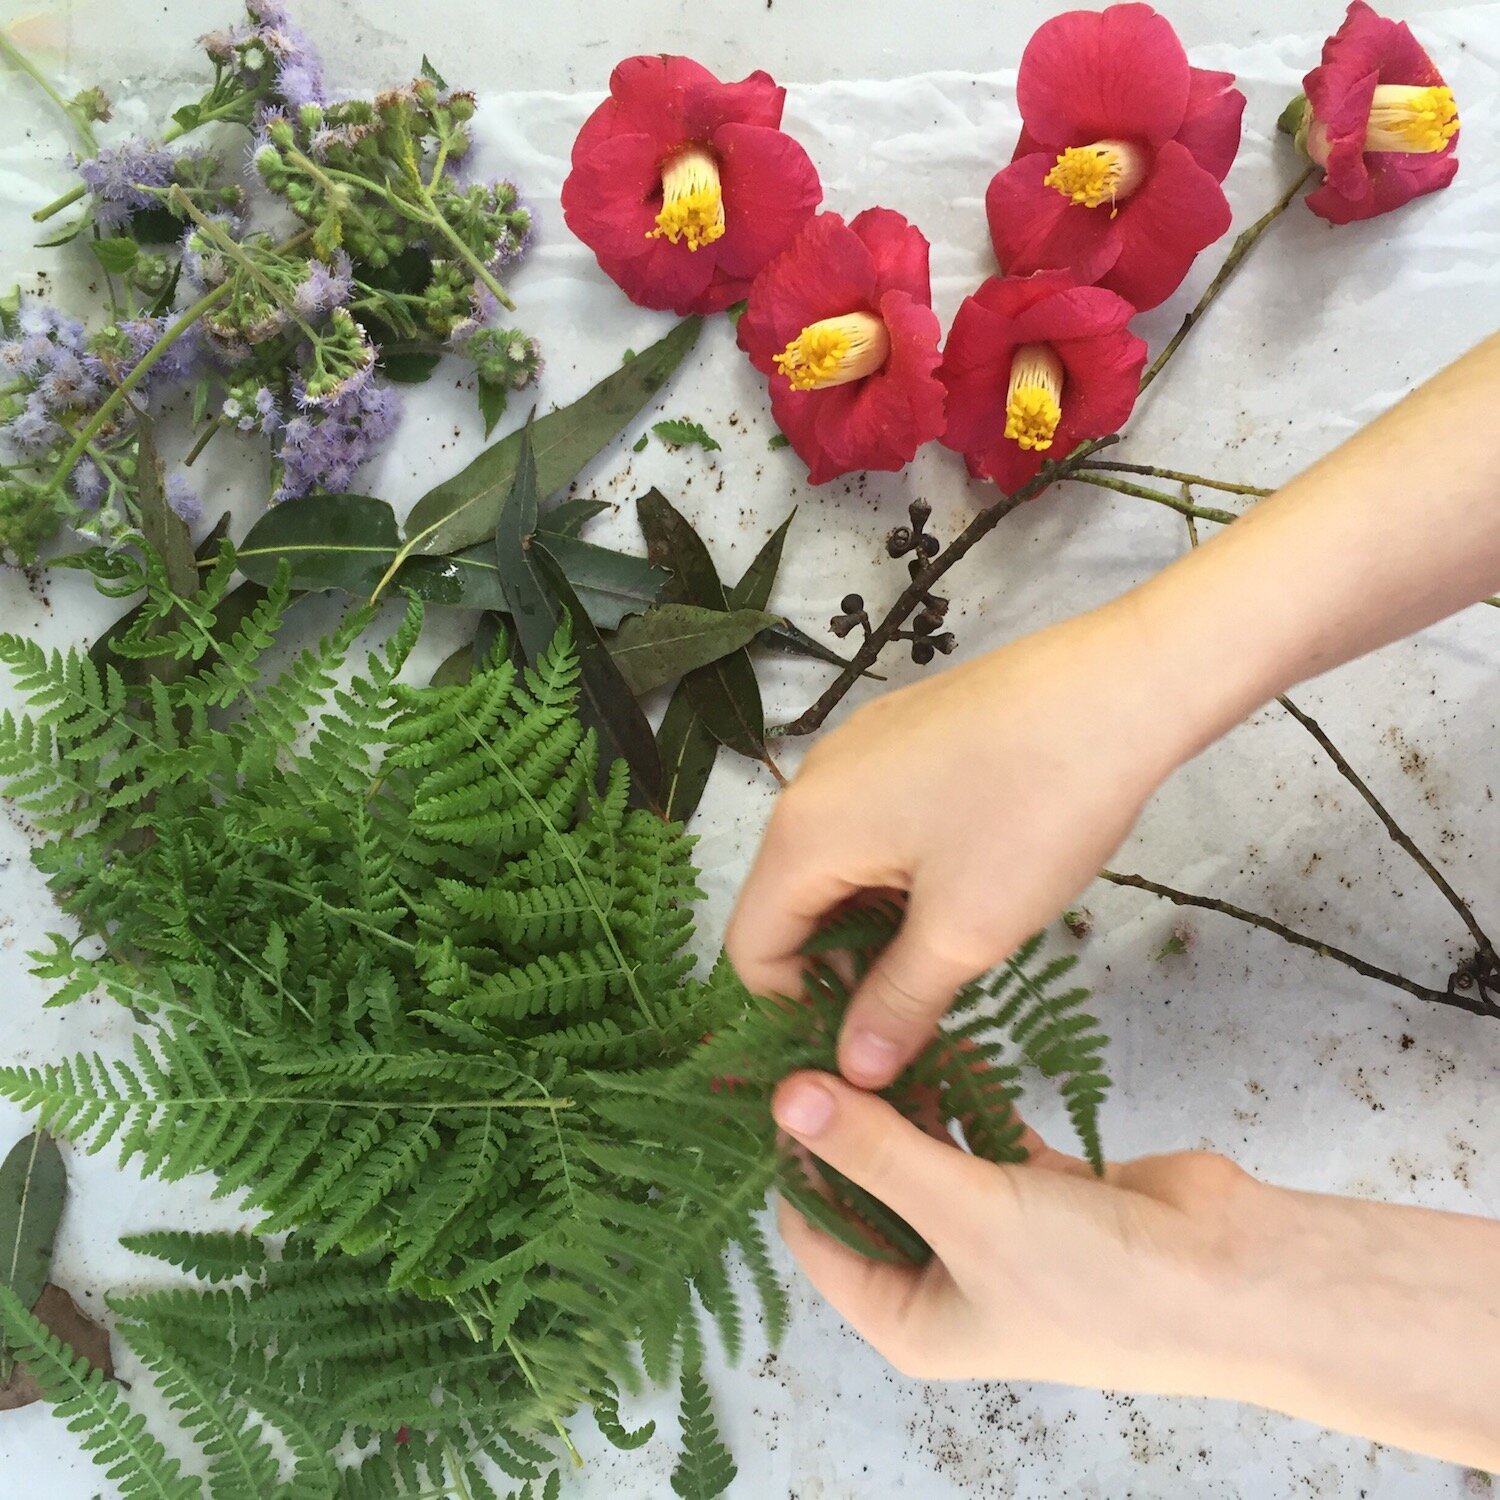
Lay out your fabric and arrange your petals, leaves, bark, onion skins, etc in a pretty pattern. Don't be too worried about the pattern as things shift a little when you roll it up, but what we're hoping will happen is colour and prints (leafy marks) will transfer to the fabric, so keep this in mind when you're arranging. This is a mediation in itself - don't rush this part. (see photos). Don't overfill the fabric, leaves space.
Roll and bundle your fabric as tightly as you can. If you have one large piece you could fold it in half, then roll it up. I've had people aliken this technique to trussing meat, but being a vegetarian I don't know about that. If you roll the fabric into a log-shape as tightly as you possibly can, then you should be good.
Take the string and tie it, super tightly, around your bundle. I've included a few photos to show you the different tying options possible. The string needs to pull the fabric even tighter, because this is the way you'll get contact prints with the leaves. The string will make a mark on your fabric too, which I think is one of my favourite parts of the result.
Put your bundle into the saucepan and cover with regular water **, add in about a cap or two of vinegar and put the lid on. Allow the whole piece to gently simmer for a couple of hours, keep making sure the water is covering your fabric - top it up if necessary. Three or so hours of simmering should be enough, turn the heat off and leave it (lid on) overnight to stew in it's own juices.
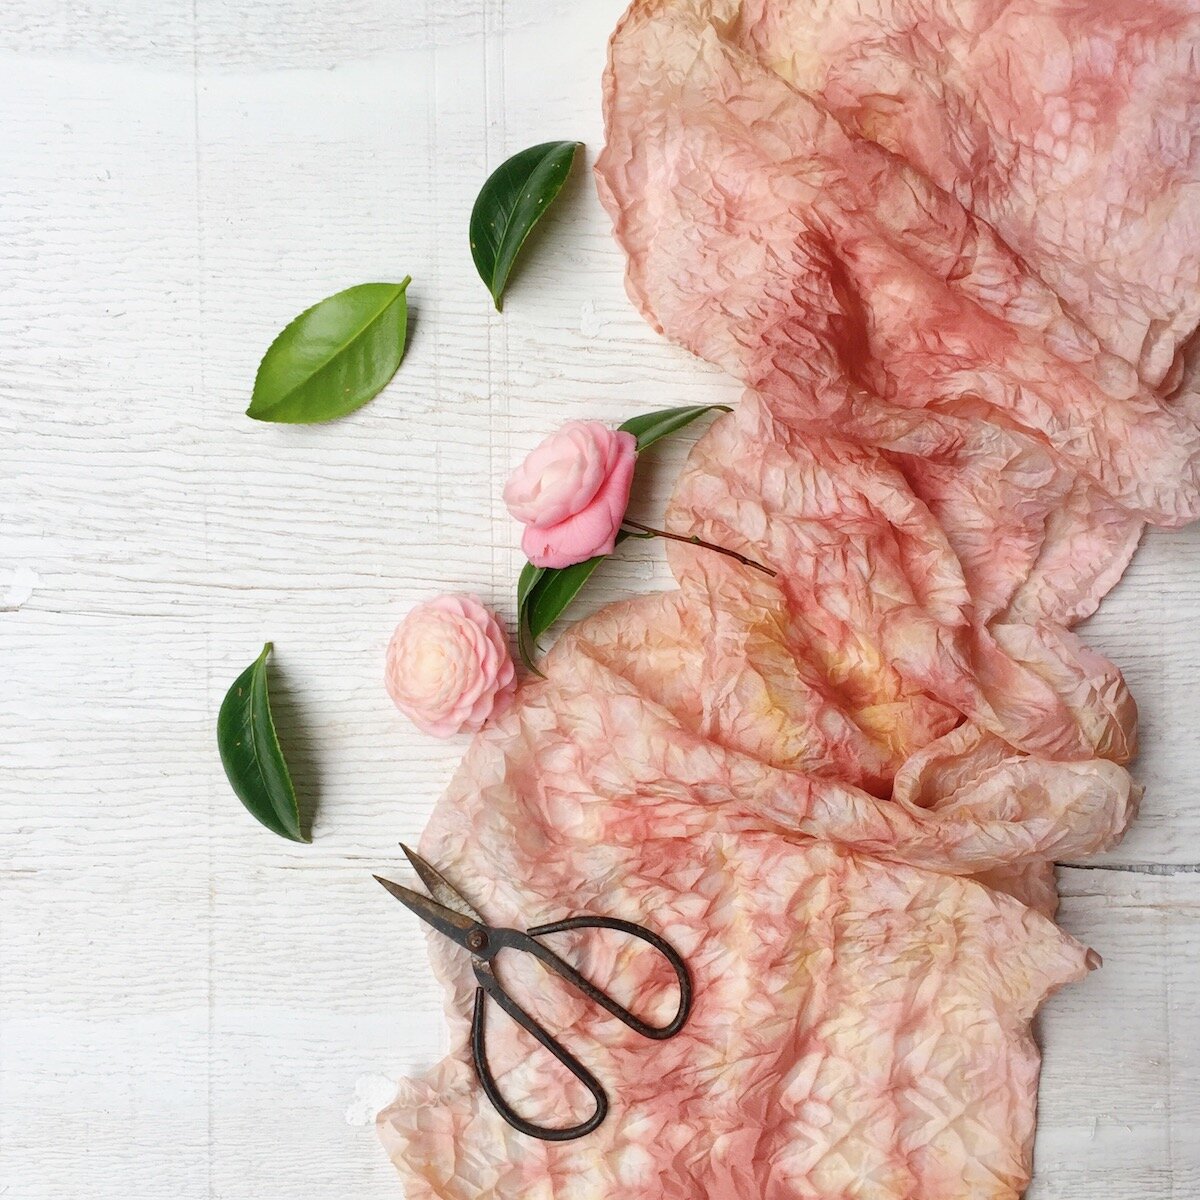
The next morning you can unwrap the present you've made yourself. Don't wash straight away, but allow to dry in the shade (the pieces of leafery and petaly loveliness will fall off as it dries, so don't worry too much as picking it off). Once your fabric is fully dry you can gently wash under the tap; I don't use any soap, but you can use a ph-neutral soap if you'd like. You may find some colour runs off, so wash until the water runs clear, then line dry in the shade again. (Why do I dry, then wash? Because I find that the longer before I wash off the colour the more chance it has of embedding itself into the fabric, as it dried rather than washing it all away straight away).
+ The vinegar acts as a mordant (which helps to bind the dye colour to the fabric), but it's also a ph-colour changer, which means it will shift / alter some things in your dye pot. This is totally ok, and very wonderful, but just something to keep in mind. You can do this without vinegar, but you'll need to either be happy with the fact that some flowers might fade quicker, or know a little more about mordants. Adding some rusty nails / metal to your dye bundle helps a little too, as do other certain plants (barks contain tannins that act as mordant, as does avocado seeds).
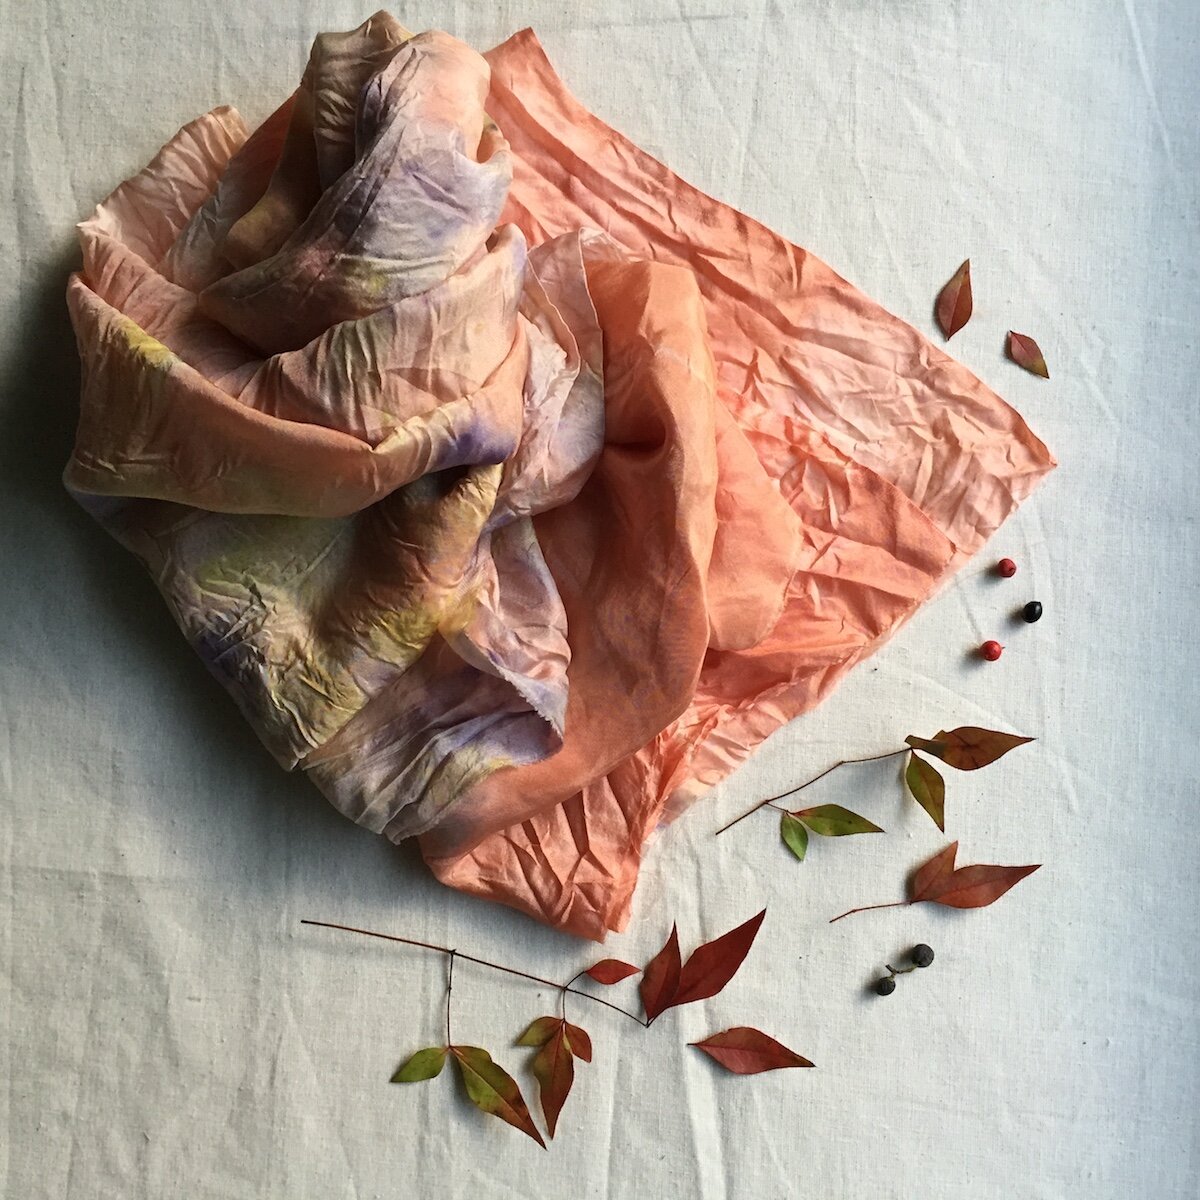
+ The fabric in the top picture was bundle dyed in a pot of coloured dye water - so the parts that would have been white got dyed pink. Do achieve this you could add avocado seeds to your cooking pot, and you'll get some pink, apricot, brown-ish hues. NOTE: do not boil the avocado seed dye pot, as this will turn it brown.